Last Updated on March 20, 2024 by teamobn
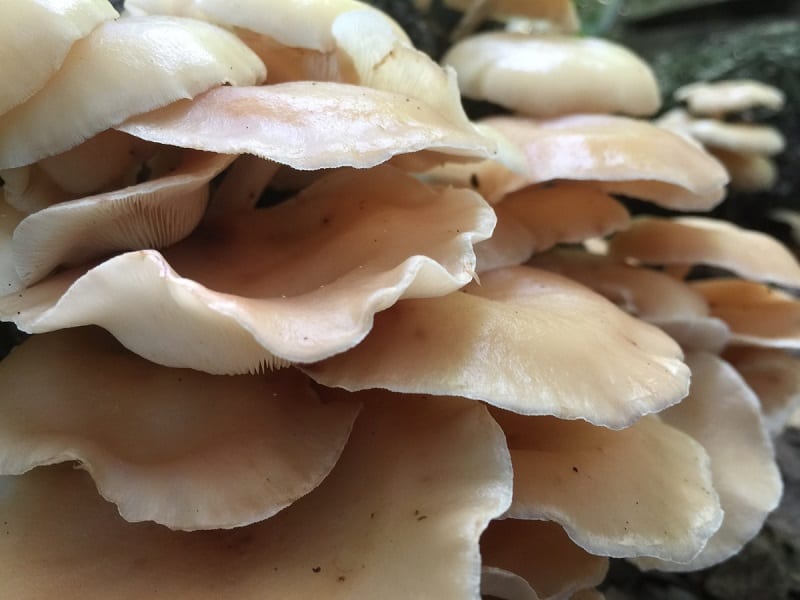
There seems to be a mushroom craze sweeping through produce markets. Mushrooms are literally sprouting everywhere. The demand for this ingredient has led to many growing oyster mushrooms in a bucket.
Oyster mushrooms are highly flexible as an ingredient and are incredibly easy to grow in your home. Below is our complete guide on growing oyster mushrooms in a five gallon bucket.
Growing Oyster Mushrooms in a Bucket
Contents
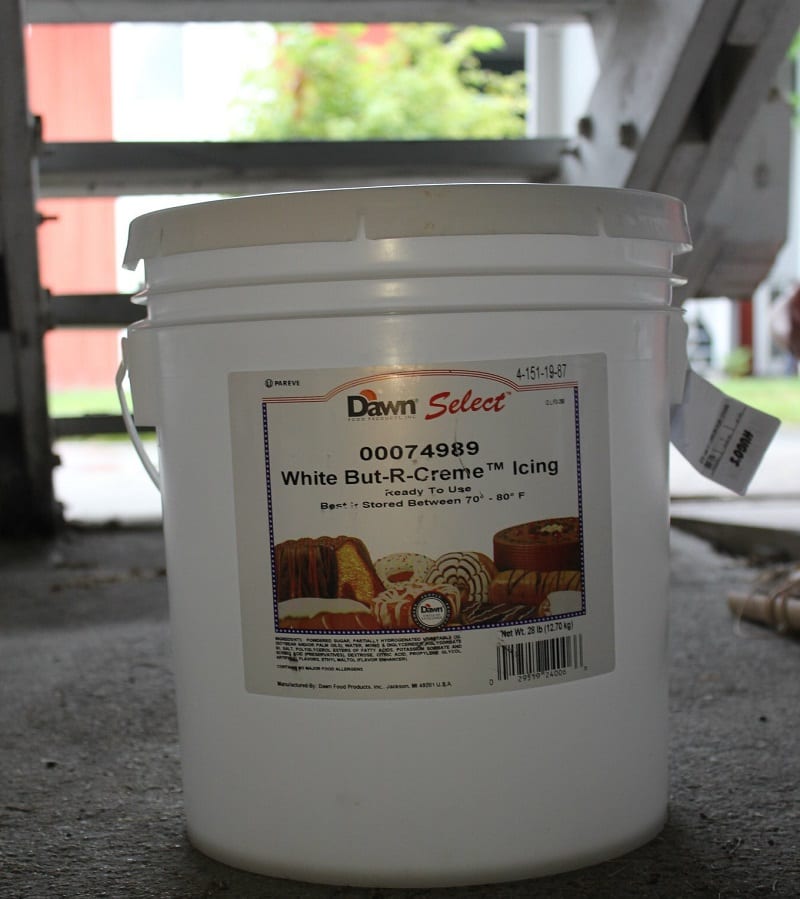
You can grow your own edible mushrooms in a 5-gallon plastic bucket. Oyster mushrooms are the best mushroom variety for bucket growing. They are less sensitive to growing conditions and growing media than other mushrooms.
You’ll need to buy mushroom spawn to culture oyster mushrooms. You can buy them from sources online. Be sure you buy from a reputable seller. Spawns are to mushrooms what seedlings are to plants. In short, quality matters.
The organic material in which mushrooms grow is called the substrate. Used coffee grounds work well for this purpose. Their consistency is good and they’ve already undergone sterilization through the brewing process.
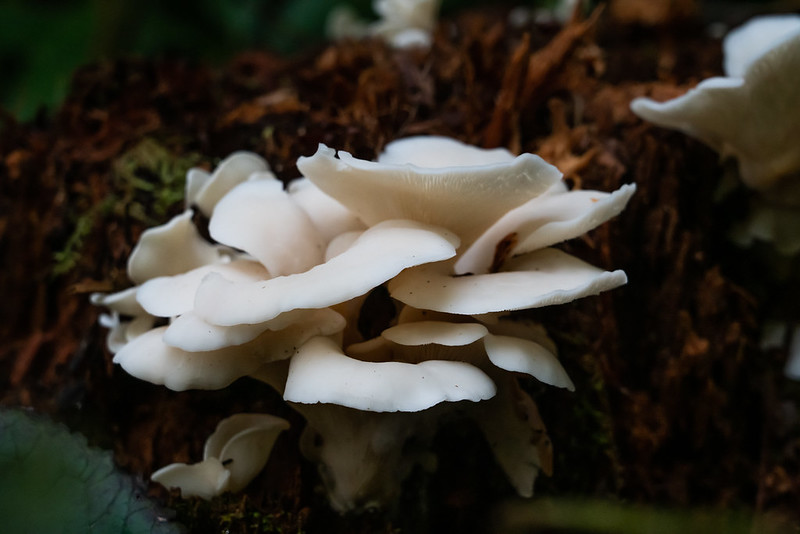
(Photo: Russ Whaley/Flickr)
How to Grow Oyster Mushrooms at Home
You’ll need a cool, dark, damp place indoors to grow mushrooms. You can use your home’s basement. An empty, unused cabinet or closet will also work.
Regarding location, the important factors are darkness and some control over temperature and humidity. Mushrooms grow best in dark places with temperatures between 13°C and 16°C.
Step-by-Step Procedure
Here is how to grow oyster mushrooms indoors in a bucket.
- Using a ½-inch drill bit, drill about ten holes, spaced approximately 6 inches apart, staggered around the center section of the plastic bucket. The mushrooms will grow out of these holes. Dump the plastic shavings out of the bucket once you are done.
- Fill the bucket with the coffee grounds. Then, place your mushroom spawn on the bucket and the coffee grounds. To “plant” the mushrooms, mix the two materials together.
- Cover the bucket’s mouth with a layer of clear cellophane. Poke air holes in the cellophane. The holes will keep the mushrooms’ growing environment sufficiently aerated and moist.
- Spray the coffee grounds with a light mist of water once a day. Replace the cover when you are done.
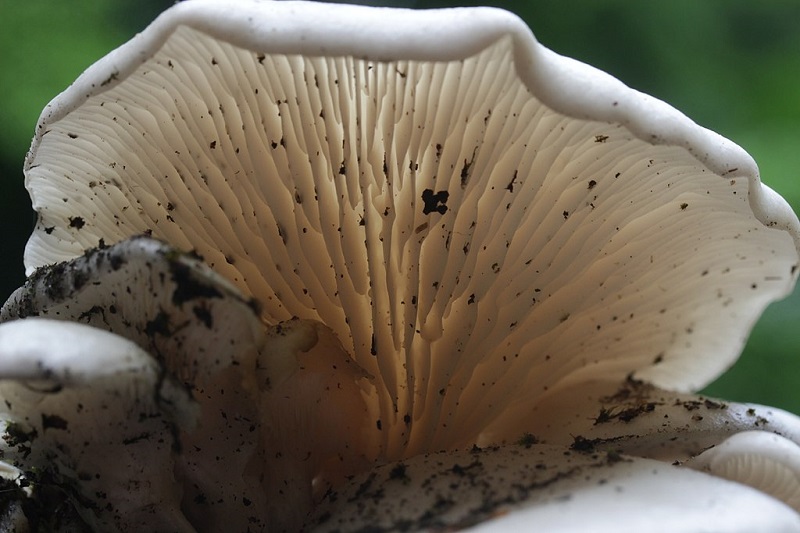
- You should see small oyster mushrooms growing out of the holes in the bucket within three to four weeks. The mushrooms are ready for harvest when the caps have fully opened, separating from the stem.
Optimizing Growing Conditions
Success in growing oyster mushrooms in a bucket hinges on optimizing the natural habitat of these fungi. It would be best if you optimized the environment’s temperature, humidity, and lighting to encourage the development of your oyster mushrooms. An optimized environment results in significant, healthy, and flavorful mushrooms for your kitchen.
Let’s delve into creating the ideal environment for your bucket-grown oyster mushrooms.
Temperature Control
Oyster mushrooms love cozying up in a sweet spot when it comes to temperature, ideally hanging out between 13°C and 16°C (55°F to 60°F). Keeping them in this comfy range when growing oyster mushrooms in a bucket is important. When the chill sets in, you may have to warm them with a gentle heat source.
On the flip side, a cool basement or a similar chill spot can be just what they need if it’s getting warm. It’s a good idea to keep a thermometer handy to frequently check in on the temperature of their growing spot, ensuring it’s always just right.
Humidity Management
Humidity is another critical factor in growing oyster mushrooms in a bucket. Oyster mushrooms prefer high humidity levels, around 80-90%, to mimic their natural, damp forest environments. In a home setting, achieving and maintaining this humidity level can be challenging.
As mentioned, covering the bucket with a cellophane with air holes punched in it helps retain moisture. Additionally, misting the substrate with water daily ensures the environment stays moist. A hygrometer can help monitor humidity levels, allowing you to adjust your misting routine as needed.
Light Conditions
While mushrooms don’t require light for photosynthesis like plants do, some light is beneficial for oyster mushrooms’ proper growth and development. Indirect sunlight or fluorescent home lighting for a few hours daily is sufficient when growing oyster mushrooms in a bucket.
This light helps the mushrooms know which direction to grow. However, direct sunlight should be avoided as it can raise the temperature and lower humidity, negatively affecting growth. The key is to provide enough light to support growth without disrupting the other carefully controlled conditions.
Optimizing the conditions for growing oyster mushrooms in a bucket is a balancing act that requires attention to detail and a bit of patience. By closely managing your increasing area’s temperature, humidity, and light, you can create an ideal environment that encourages your oyster mushrooms to flourish. Remember, the goal is to replicate their natural habitat as closely as possible. You’ll enjoy a bountiful harvest of fresh, delicious oyster mushrooms from your home in the right conditions.
Selection and Care of Mushroom Spawn
Growing oyster mushrooms in a bucket begins with one crucial step: selecting the right mushroom spawn. The spawn acts as the seedling for your mushrooms, and its quality is pivotal to your success.
This section will guide you through choosing the best spawn for your project and provide tips on caring for it to ensure a fruitful mushroom harvest.
Choosing the Right Spawn
- Type of Spawn: Oyster mushrooms can be grown from several spawn types, including grain, sawdust, and plug spawn. For bucket cultivation, grain or sawdust spawn is often preferred due to its easy mixing with the substrate.
- Source Reliability: Purchase your spawn from a reputable supplier. Look for sellers with positive reviews from mushroom growers and consider seeking recommendations in gardening forums or community groups. Reliable spawn increases the chance of a successful and contaminant-free mushroom crop.
- Strain Selection: Oyster mushrooms come in various strains, each with its growing requirements and fruiting temperatures. Research strains well-suited to your local climate and the indoor conditions you can provide. Some strains may be more resilient or produce more abundantly under specific conditions.
- Adaptability: Since you’re growing oyster mushrooms in a bucket, look for spawn that’s known for its robustness and adaptability. Some spawns are better suited for container cultivation and can handle the confined space of a bucket more effectively.
- Growth Speed: The speed at which different spawns colonize the substrate can vary. For growing oyster mushrooms in a bucket, selecting a fast-colonizing spawn can lead to quicker harvests, making it an ideal choice for those looking to enjoy their mushrooms sooner.
- Consult Experts: Consider contacting suppliers or experienced growers with specific experience with growing oyster mushrooms in a bucket. Their insights can guide you toward the best spawn for your particular setup and goals.
Caring for Your Spawn
- Storage: Upon receiving your spawn, if you’re not ready to use it immediately, store it under the right conditions to maintain its viability. Most spawns should be kept in a cool, dark place. Grain spawn, for example, often does best when refrigerated.
- Hydration and Sterility: Before introducing your spawn to the substrate, ensure it is adequately hydrated according to the supplier’s instructions. Also, working in a clean environment is imperative to prevent contamination. Wash your hands thoroughly and sterilize any tools or surfaces that will come into contact with the spawn or substrate.
- Mixing with Substrate: For bucket cultivation, evenly mixing your spawn with the chosen substrate is key to successful colonization. Ensure that the spawn is well-distributed throughout the substrate to promote even growth. The better the mix, the more successful your mushroom bucket garden will be.
- Regular Checks: Regular checks are crucial after introducing the spawn to the substrate in your bucket. Monitor the colonization process and look for abnormal growth or contamination signs. Growing oyster mushrooms in a bucket requires vigilance to ensure the environment remains conducive to healthy mushroom development.
- Optimal Conditions: To support the spawn you’ve chosen for growing oyster mushrooms in a bucket, ensure the bucket is placed in an environment that mimics the spawn’s natural conditions as closely as possible. This involves controlling temperature, light, and humidity to meet the specific needs of the spawn you’ve selected.
- Spawn-to-Substrate Ratio: For growing oyster mushrooms in a bucket, achieving the right balance between spawn and substrate is crucial. Too little spawn may slow colonization, while too much can be wasteful. Experiment with ratios to find the perfect balance for your bucket setup.
- Handling and Hygiene: Every time you handle the spawn or engage in any step of growing oyster mushrooms in a bucket, maintaining a high level of hygiene is essential. This includes wearing gloves, sterilizing tools, and cleaning the workspace. This care prevents contamination and promotes the health of your mushroom spawn.
Choosing and caring for your spawn with attention and diligence lays the foundation to growing oyster mushrooms in a bucket. By selecting the right spawn type from a trusted source and providing it with the care it needs, you’re setting the stage for a rewarding experience of growing your own mushrooms at home. Remember, the quality of your spawn directly influences the health and yield of your mushroom crop, making this step one of the most important in your mushroom-growing journey.
Conclusion
Many gardeners wonder if it’s possible to growing oyster mushrooms in a bucket These lovely, enjoyable fungi are typically grown indoors rather than in the garden. But beyond this, growing your own mushrooms is easy – and you can do it any time of the year, too.
Experienced mushroom growers will tell you that home-grown mushrooms are tastier and more delicious than any mushroom you can buy from the supermarket.