Last Updated on August 6, 2023 by teamobn
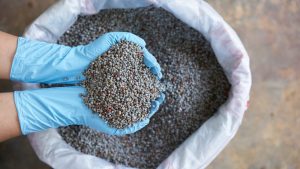
The Washington Post reports that people in the US are suddenly rushing to buy seeds. The rush has been such that seed sellers are scrambling to keep up with the steep rise in demand.
“We are definitely seeing an increase in sales,” said Jamie Mattikow, chief executive and president of W. Atlee Burpee & Co. in Warminster, Pa. “Online we are getting many more customers coming to us, and interest is skewed toward vegetables.”
The Post suggests homeowners are either seeing the value of growing their own food or feel “their very existence depends on getting some beans to germinate.”
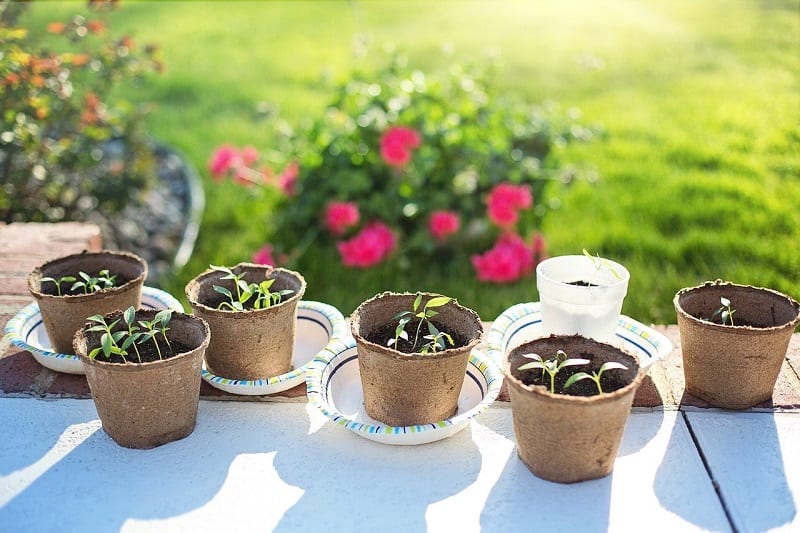
Starting Seeds Indoors
Contents
There are other reasons for buying seeds, of course. In addition to the serene joy afforded by gardening, starting seeds indoors is a good way to deal with any anxiety brought on by our uncertain times.
Still, quite apart from that, coaxing young plants from seeds has practical benefits, too.
You’ll get an earlier start to your garden and you’ll be able to raise varieties not offered as starts by your local garden store or nursery.
Starting seeds indoors isn’t that much different from starting them outdoors. However, maintaining your indoor starts requires careful attention and discipline.
You’ll need to use appropriate containers and proper growing mediums. You will also need to keep a vigilant eye on growing conditions.
Below are a few pointers on how to start seeds indoors.
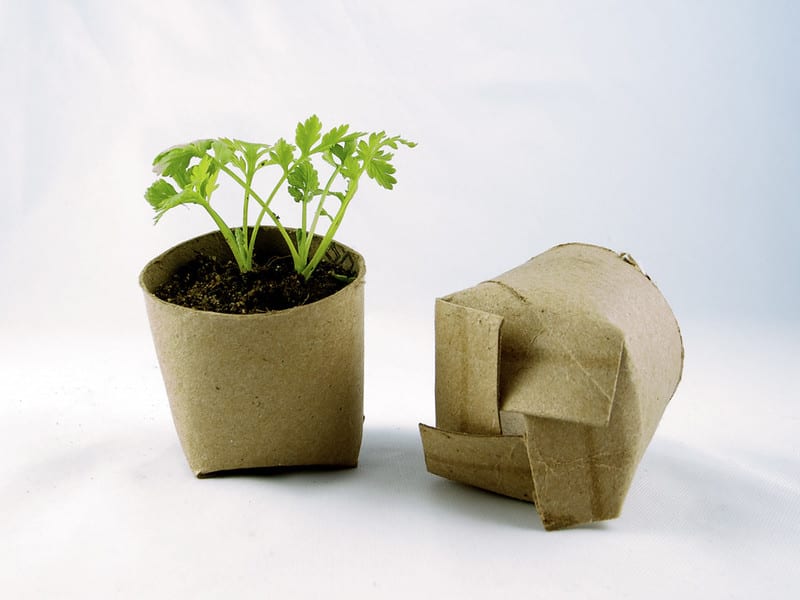
1. Selecting Containers
Begin with clean containers that have good drainage. You can use almost anything as a container. You can utilize egg cartons, seed starting trays, milk cartons, or whatever else you find around the house.
If you want to employ used pots or anything that might carry fungus or disease, be sure to wash these with a bleach solution. For best results, your solution should contain one-part bleach for every 10-parts of water.
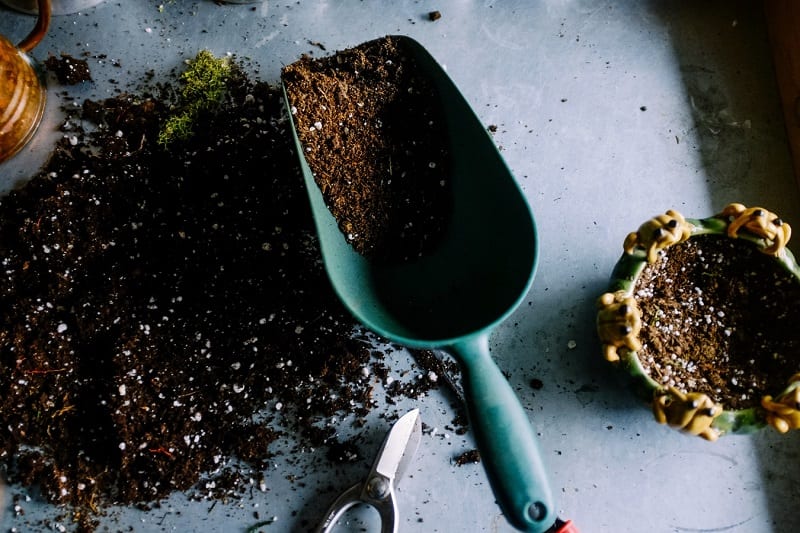
2. Choosing a Growing Medium
The next step involves choosing an organic growing medium. You’ll find many good commercial mediums online. These mixes don’t contain any actual soil but they provide ideal conditions for starting seeds. They minimize the possibility of disease and permit a good balance of drainage and water-absorption capacity.
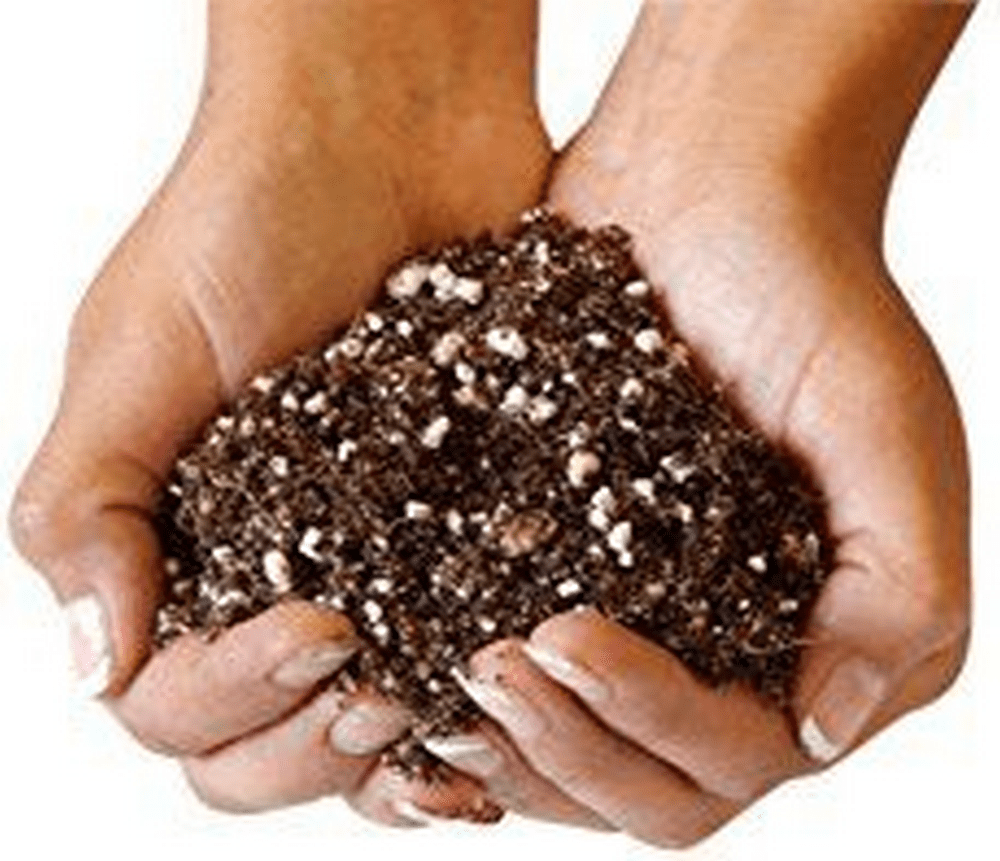
A simple, DIY potting mix would consist of equal parts of loam and perlite. You can also use one-part of sand for every part of moist peat or leaf mold.
Remember to loosen and dampen the soil before putting it into the containers. This will ensure even moisture.
Fill the containers with potting mix to about a quarter of an inch of the top. Do not pack the potting mix down. Instead, tap the containers on a table or other hard surfaces to help the medium settle. Use your fingertips to gently firm the soil.
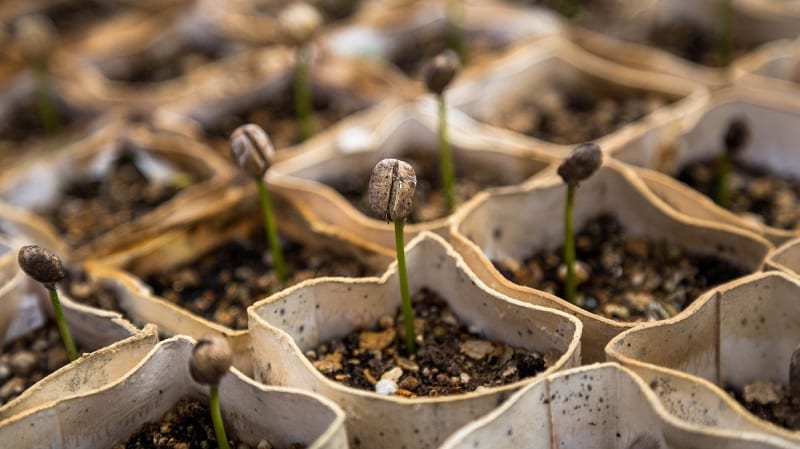
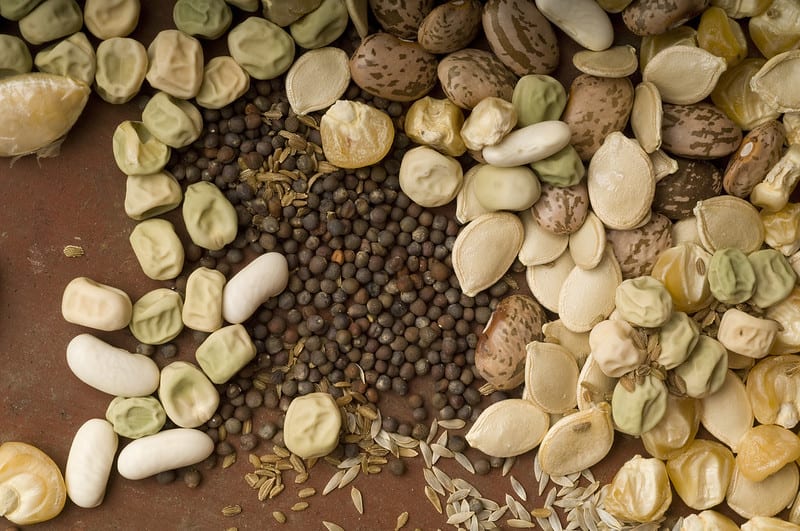
3. Planting the Seeds
Consult the seed packet to determine how deep you should sow the seeds. You don’t need to measure precisely, but be careful not to plant any deeper than the directions suggest.
The general rule is that you should sow seeds four times as deep as they are wide. Use the end of a pencil to create a small hole, drop the seed in, and cover lightly.
Some seeds require soaking or chilling before sowing. Some larger seeds, such as squash, beans, and peas will germinate more quickly if soaked overnight. Don’t soak seeds for more than 8 hours as they may rot or become vulnerable to fungus.
Remember, not all seeds will germinate and not all germinated seeds will survive. For good measure, you should plant at least three seeds in each container. Once that’s done, moisten the soil with a mister.
4. Keeping the Medium Moist
Slide your containers or flats into plastic bags to keep moisture levels high and even. The outer coating of the seeds must remain wet to break down and start germination. However, too much moisture can lead to the growth of molds and fungi. To prevent this from happening, allow airflow under the plastic bag.
Make sure the potting mix has the consistency of a wrung-out sponge. You can also make individual greenhouse tops for your containers using plastic bottles or from clear, take-out container lids.
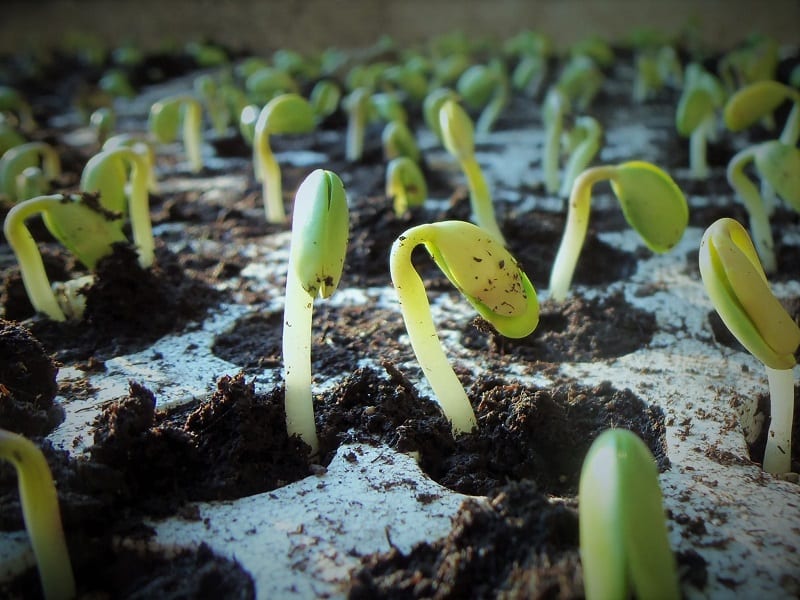
5. Caring for Seedlings
Keep the containers in a warm, draft-free location. Some experts recommend the top of the refrigerator. You can also purchase a heat mat specially designed for starting seeds.
Check the containers daily. Once seedlings emerge, remove the plastic covers and place the containers in a spot with good air circulation. A sunny window will do, but adding consistent light from supplemental fluorescent lamps provide the best results.
Suspend the lights just an inch or two over the tops of the plants. The seedlings will require 12 to 16 hours of light a day.
When the seedlings are an inch or two high it is time to transplant them to individual containers or to thin out the existing containers.
To thin seedlings, cut – rather than pull – the weakest ones. Pulling unwanted seedlings can damage the roots of the those you are trying to keep.
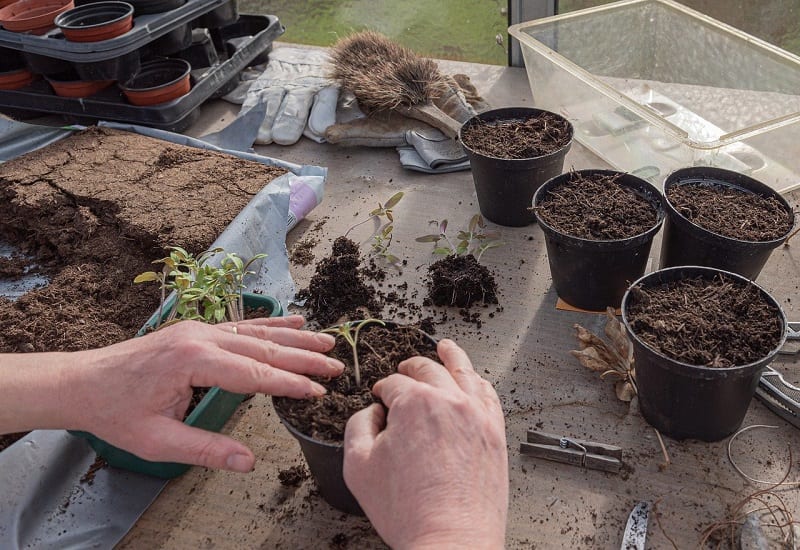
6. Transplanting Your Seedlings
You should start hardening off the seedlings about a week before the planned transplanting. Start setting the containers outside in the shade for a few hours before bringing them back inside.
Permit the seedlings more time outside and more time in direct sunlight each day. Be sure to keep them well watered. Check daily for insects or disease.
When the plants are hardened off and ready to be transplanted, be sure to water them well. Water the ground where they will be planted, too. This will help minimize transplant shock.
If possible, wait for a cloudy or overcast day to transplant. Dig holes about twice the size of the transplants’ root-balls. Put the seedlings in the holes and back fill each with soil.
Check the plants for moisture daily for the first week or so. Don’t let the soil dry completely. Deep, infrequent watering will help ensure that your plants develop long roots.