Last Updated on August 21, 2024 by teamobn
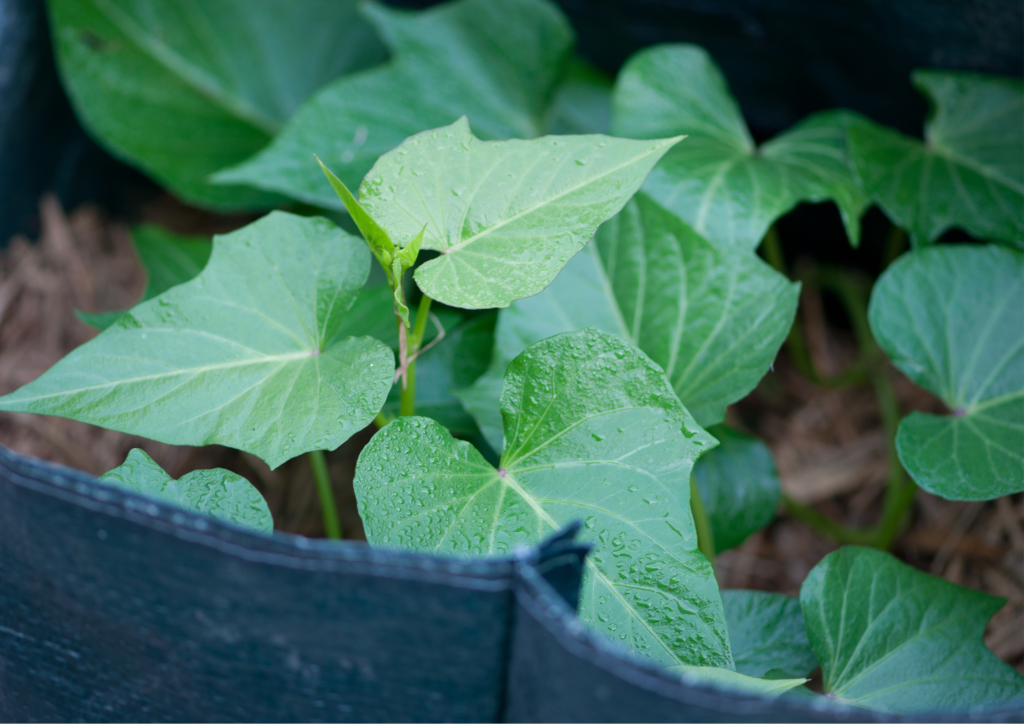
Welcome to the world of grow bag gardening! If you’re looking for a versatile and convenient way to cultivate a thriving vegetable garden, look no further than grow bags. These lightweight, portable containers have revolutionized the gardening world, allowing even those with limited space or poor soil conditions to enjoy the bounties of homegrown produce.
In this comprehensive guide, we will walk you through the steps of growing an amazing vegetable garden in grow bags. From selecting the right bags to nurturing your plants to harvest, get ready to embark on an exciting gardening adventure!
Why Choose Grow Bag Gardening?
Contents
The innovative grow bags offer a range of benefits that will enhance your gardening experience like never before. The following are the game-changing benefits of grow bag gardening:
- Portability: Imagine having the freedom to move your garden wherever you please. With grow bags, you have the flexibility to rearrange your plants based on sunlight exposure or simply to change up your garden layout. Take advantage of their lightweight and portable design to transform any area into a flourishing oasis.
- Soil Independence: Grow bags liberate you from the limitations of the native soil. Say goodbye to rocky, sandy, or clayey soils that struggle to sustain healthy plants. With grow bags, you have full control over the soil composition, allowing you to create the perfect nutrient-rich blend for your plants’ needs.
- Enhanced Nutrient Retention: Planting in grow bags means no more nutrients leaching away into the ground. The confined space of the bag ensures that the fertilizers you apply stay accessible to the plants, resulting in better nutrient uptake and healthier growth. Get ready to witness your plants thrive in a nutrient-rich haven!
- Better Root Aeration: Healthy roots are the foundation of a successful garden. With grow bags, your plants will experience superior root aeration due to their breathable fabric construction. This allows roots to access oxygen more efficiently, promoting robust growth and preventing the risk of root-bound plants. Witness your plants flourish with their roots in perfect harmony.
- Improved Drainage: Say goodbye to waterlogged plants and root rot! Grow bags are engineered to provide excellent drainage, preventing excess moisture from accumulating around the roots. This ensures optimal soil moisture levels and reduces the risk of plant diseases caused by poor drainage. Watch your plants thrive in this well-drained environment.
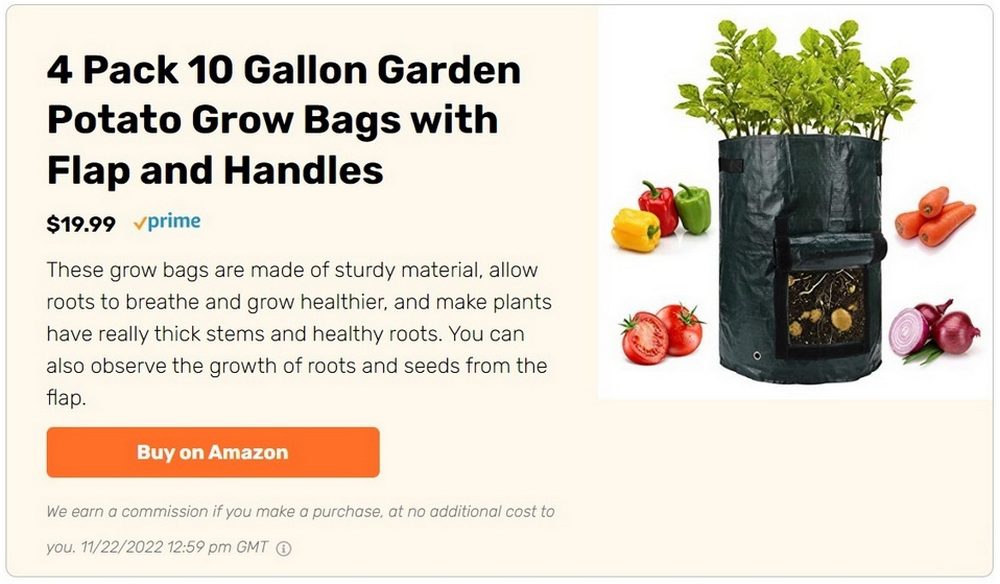
- Maximize Limited Outdoor Areas: Don’t let a lack of square footage hinder your gardening dreams. Grow bags allow you to make the most of every inch by utilizing vertical space and compact arrangements. Whether your outdoor area is petite or your gardening spot is confined to a narrow passageway, grow bags offer the ideal answer to unlock your full growing potential. And guess what? You can even grow potatoes in these bags!
Get ready to harness the potential of grow bag gardening and witness your garden flourish, regardless of your space limitations or challenging soil conditions. With their portable nature, improved drainage, and ability to overcome soil limitations, grow bags are your gateway to a flourishing garden.
Getting Started With Grow Bags
Are you ready to embark on your grow bag gardening journey? Follow these detailed steps to ensure a successful start and set the stage for a thriving vegetable garden:
Step 1: Choosing the Right Grow Bags
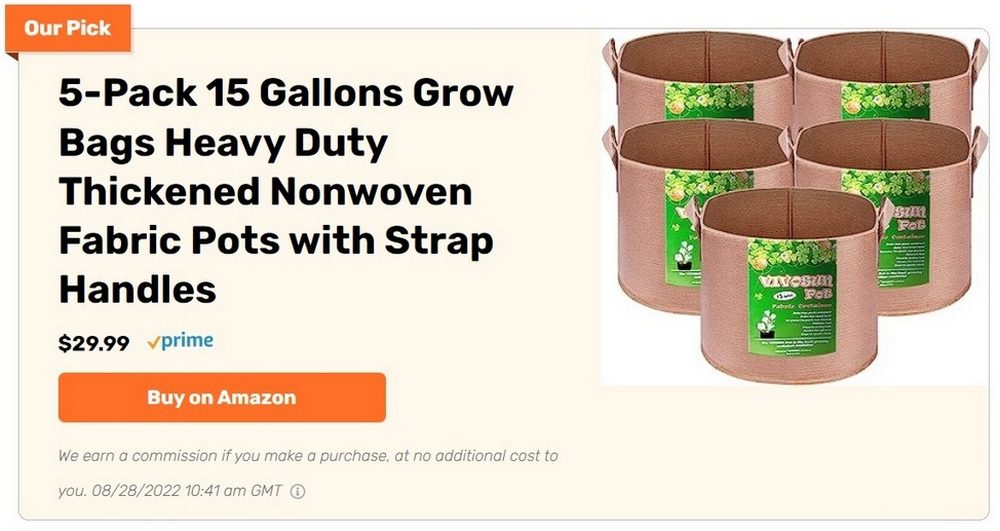
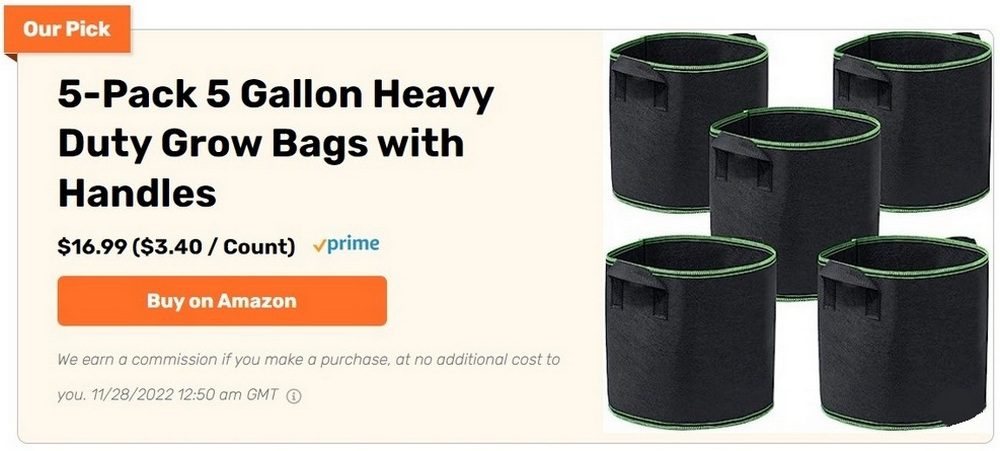
- Consider the type, size, and material of the grow bags based on your gardening needs and preferences.
- Select the appropriate size to accommodate the mature size of your plants and their growth habits.
- Explore different materials such as fabric, polypropylene, or biodegradable options, considering factors like durability, breathability, and eco-friendliness.
Step 2: Preparing the Grow Bags
- Wash and sterilize the grow bags before use to eliminate any potential contaminants.
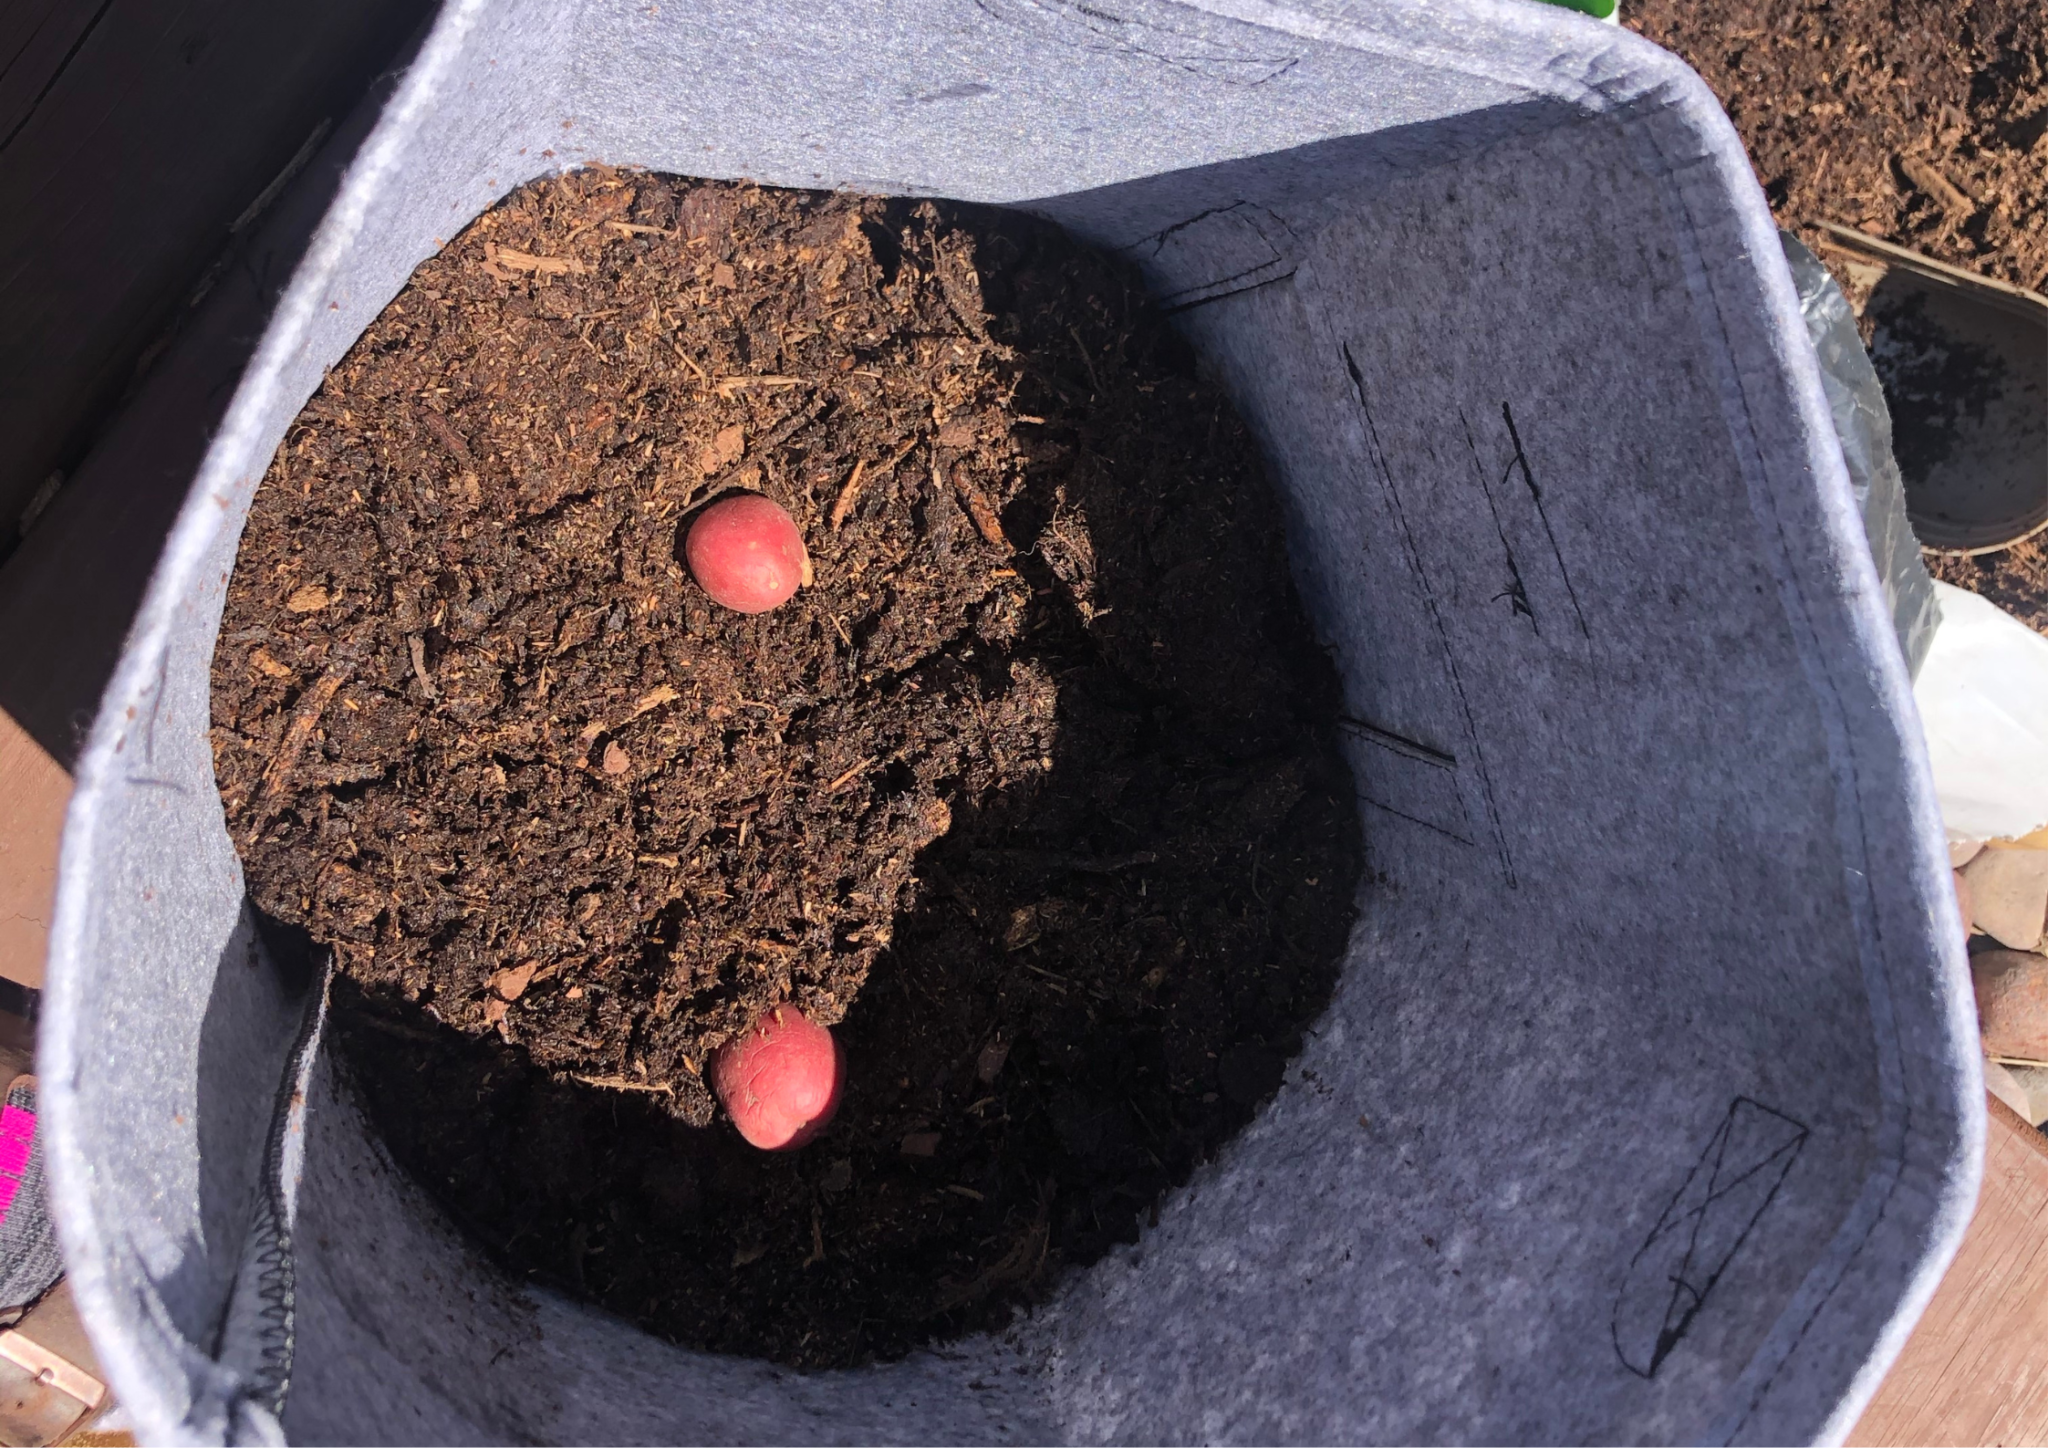
- Fill the bags with a high-quality potting mix, ensuring a well-balanced and nutrient-rich medium for your plants.
- Ensure proper drainage by creating drainage holes in the bottom of the bags if they are not already present.
Step 3: Determining the Ideal Location
- Assess the sunlight requirements of your plants and choose a location that provides the optimal amount of sunlight throughout the day.
- Consider microclimates within your outdoor space and position the grow bags accordingly to maximize sunlight exposure.
- Take advantage of the portability of grow bags and their ability to be moved to different locations if needed.
Step 4: Planting Your Seeds or Seedlings
- Follow the planting instructions specific to each vegetable or herb you intend to grow.
- Create appropriate spacing between plants to allow for proper growth and development.
- Water the newly planted seeds or seedlings gently to ensure proper hydration without overwatering.
Step 5: Watering and Maintenance
- Ensure that the potting mix is neither dry out nor becomes waterlogged.
- Apply fertilizers or organic compost according to the specific needs of your plants to provide them with essential nutrients.
Step 6: Pruning and Training (if applicable)
- For certain vegetables like tomatoes or cucumbers, pruning, and training may be necessary to promote proper growth and maximize yield.
- Remove suckers or side shoots from tomato plants and use stakes or trellises for support and guidance.
- Train vine-like plants to grow vertically, optimizing space utilization and improving airflow around the foliage.
Step 7: Regular Monitoring and Care
- Inspect your plants regularly for signs of pests, diseases, or nutrient deficiencies.
- Address any issues promptly by using organic pest control methods or applying appropriate treatments.
- Harvest your vegetables at the right time to enjoy the freshest produce from your grow bag garden.
Remember, gardening is a continuous learning experience, and each season brings new opportunities to refine your skills. Enjoy the process, experiment with different plants, and watch your amazing vegetable garden prosper in the convenience and versatility of grow bags.
Harvesting Your Bountiful Rewards
Discover the art of timing as you learn to recognize the perfect moment for harvesting your homegrown vegetables.
Here are some signs to look for to determine if your vegetables in grow bags are ready for harvest:
- Size and Color: Check if the vegetables have reached the appropriate size and colour for their specific variety. Different vegetables have different optimal sizes and colours when fully mature.
- Firmness and Texture: Gently squeeze the vegetables to assess their firmness. They should feel firm but not overly hard or soft. Additionally, examine the texture to ensure it is smooth and consistent.
- Visual Clues: Look for visual cues such as the appearance of fullness or the development of characteristic features that indicate readiness for harvest. For example, cucumbers should be well-formed and plump, and lettuce should have mature leaves.
Extra Tip: It’s better to harvest slightly earlier than too late, as vegetables may become overripe and lose their optimal flavour and texture. Regular monitoring and observation of your plants will help you determine the perfect time to harvest and enjoy the bountiful rewards of your grow bag gardening.
Getting the Most From Homegrown Vegetables
Learn various techniques to ensure the proper harvest of your vegetables, from gentle twists and snips to careful handling and storage.
- Gentle Twists and Snips: Some vegetables, like herbs and leafy greens, can be harvested by gently twisting or snipping off the desired portion. This method allows you to selectively harvest what you need while leaving the rest of the plant intact for future growth.
- Careful Handling: Handle harvested vegetables with care to prevent damage and maintain their freshness. Avoid squeezing or bruising the produce, especially delicate varieties. Place them gently into a harvest basket or container to minimize any potential bruising.
- Timing is Key: Harvest vegetables during the cooler parts of the day, such as early morning or late evening, to preserve their quality. Heat can cause vegetables to wilt quickly, so harvesting when temperatures are lower helps maintain their crispness and flavour.
- Proper Storage: After harvesting, it’s important to store your vegetables correctly to prolong their freshness. Some vegetables, like root crops, can be stored in a cool and dark place with appropriate humidity levels. Leafy greens can be stored in the refrigerator, either loosely wrapped or placed in a container with a damp paper towel to maintain their moisture.
Mastering the art of harvesting ensures that you can enjoy the full potential of your homegrown vegetables. By using proper techniques and handling, you’ll preserve their flavour, texture, and nutritional value, allowing you to fully relish the rewards of your hard work and dedication in the garden.
The Magic of Vegetable Gardens in Grow Bags!
You are now equipped with the knowledge and confidence to embark on your own grow bag gardening journey. Whether you have a sprawling backyard or a cozy balcony, grow bags offer a fantastic solution for cultivating a remarkable vegetable garden.
By following the steps and tips outlined in this guide, you can transform your space into a green oasis bursting with fresh, homegrown produce. So, grab your grow bags, select your favourite vegetables, and get ready to experience the joy and satisfaction of growing an amazing vegetable garden right at home. Happy gardening!


