Last Updated on May 1, 2024 by teamobn
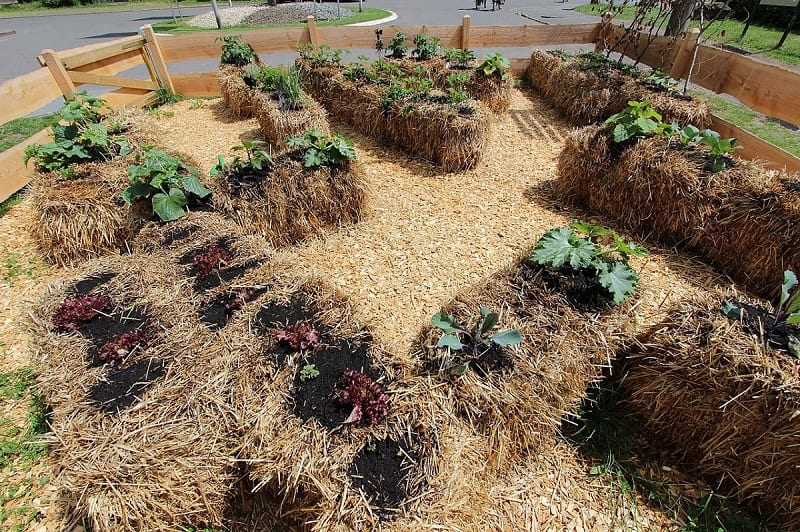
The principle behind it is simple: the bale is the garden. The straw bale is both the container and the soil. Straw bales are a more convenient alternative to building raised beds or buying pots for a container garden. You can easily expand your garden just by adding more bales, too.
But for many, the best thing about straw bale gardens is that they are easy on the budget!
Grow a garden where you want!
Contents
There’s a reason why straw bale gardening is getting a lot of attention lately. The practice allows you to grow a substantial but temporary garden just about anywhere. You don’t even have to worry if the type of soil in your backyard isn’t suited for your favorite vegetables.
Straw bales allow you options. If the sunniest spot in your home is along your driveway, you can situate your temporary garden there. A strawbale garden is a raised container garden – but the containers are both biodegradable and recyclable.
Below are a few pointers on starting a straw bale garden.
Sourcing Your Bales
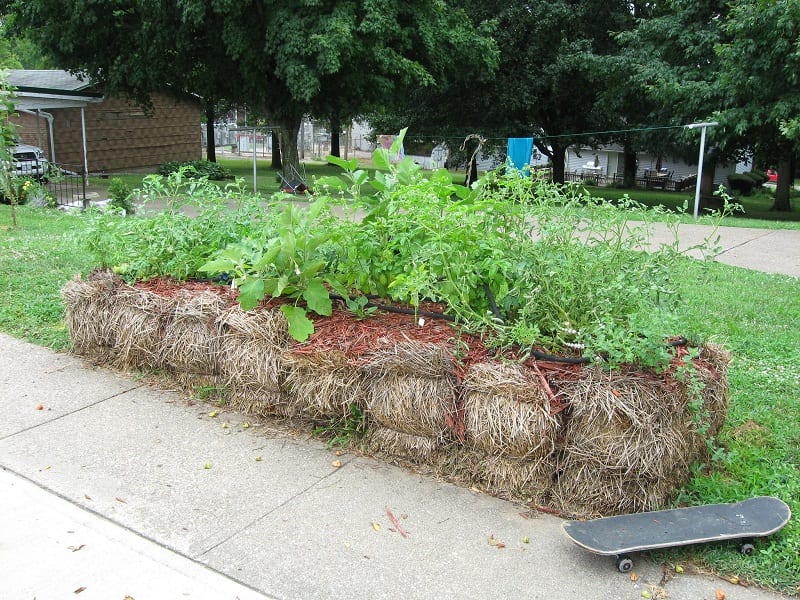
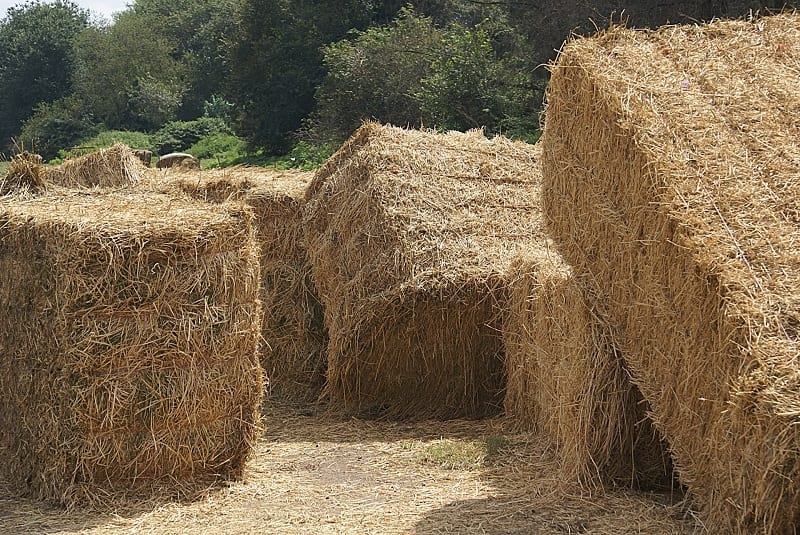
When choosing your bales, make sure you buy straw bale, not hay. Straw is made from the seed-free stalks of barley, oats, rye, wheat, or rice. Hay is a byproduct of whole grass – seeds and all. If you try using hay bales, you’ll soon find yourself growing a bale lawn.
Do not buy straw from a field that has been sprayed with
synthetic herbicides. The chemicals can actually harm your garden plants.
Manure in the straw can also contain residue of herbicides sprayed on the hay.
The chemicals don’t affect the animals but they could kill your vegetables.
Establishing Your Bale Garden
You can establish your straw bale garden anywhere with enough space and enough sun to keep your plants healthy. Ideally, the spot should receive at least six to eight hours of direct sunlight a day.
While you can relocate your bale garden mid-year, the bales
will be considerably heavier by then from moisture and conditioning. That’s why
it’s best to choose a spot that is suitable for the entire season.
Ensuring a Protected Environment
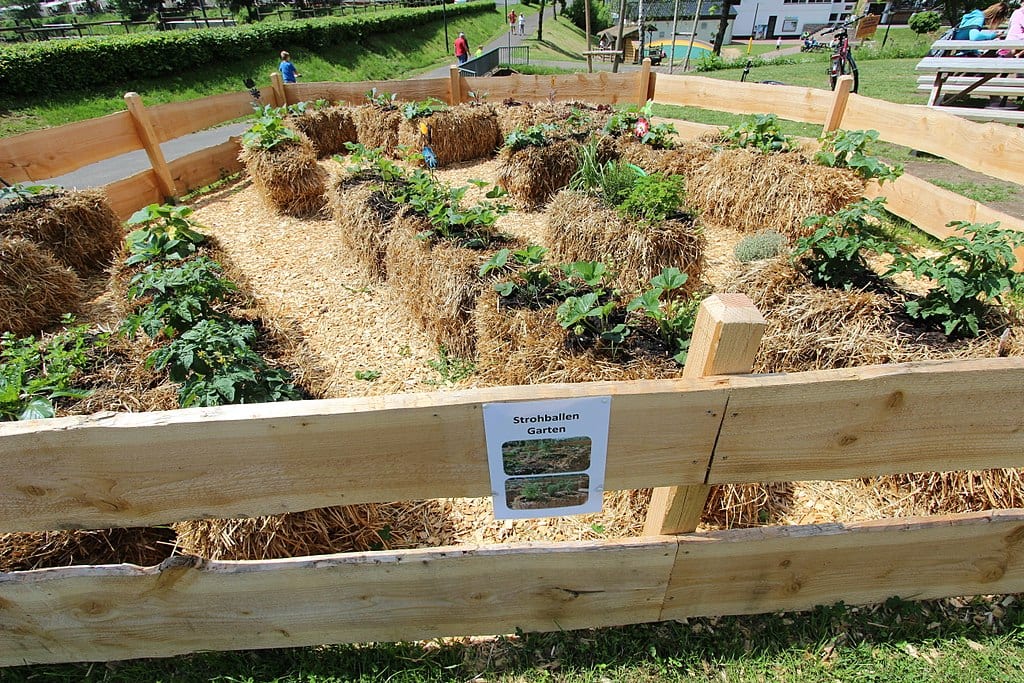
Set down a layer of weed fabric, cardboard, or several layers of newspaper where your bales will rest. This will prevent weeds from growing through the bales. You’ll need a layer of gopher wire, as well, to keep rodents from moving into the bales.
Position your bales so that the baling twine is on the sides. This will help you prevent accidentally cutting them open while planting or harvesting. The bales should hold their shape through the season.
Make sure one of the long narrow sides of the bale is facing
up. Compare the two long sides. The side with the most cut-straw tips should
form the top.

Conditioning Your Bales
Your bales require conditioning about a week before you plant. Place your bales in their final position before you start. Conditioning jumpstarts the bales’ decomposition, which causes the middle of the bales to heat up and then drop back to ambient temperature.
Doing this in advance stops plant-roots from getting
overheated. The process turns the straw into a nutrient-filled substrate for
your plants.
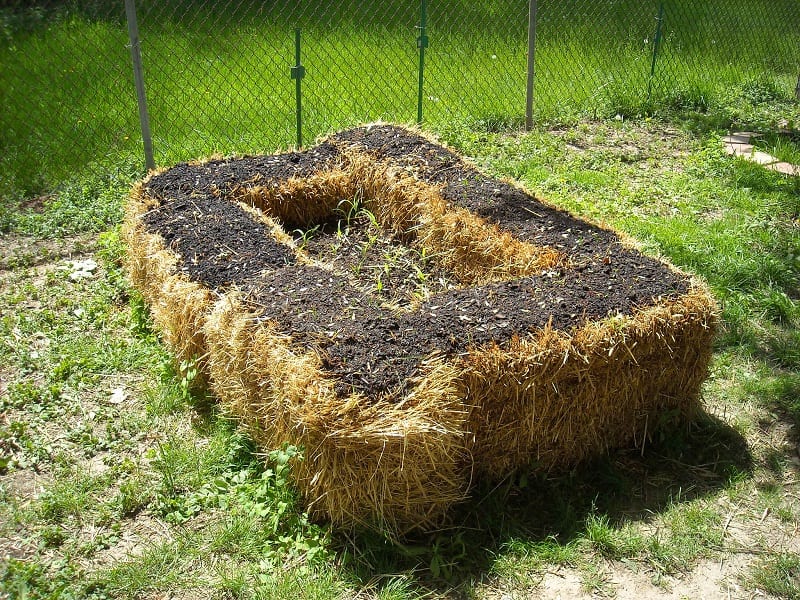
For the first six days, water the bales thoroughly. Spread 3 cups of organic fertilizer on the top of the bale every three days and water. On days 7, 8 and 9, spread only 1.5 cups of the fertilizer on top, and water that, as well.
Finally, on day 10, spread 3 cups of such as fishbone meal. Keep watering the bales daily, checking the internal temperature as you go.
Your bales are ready to be planted when the temperature in the core is the same as the air outside the bale.
You can also start planting while the core is slightly warmer than ambient temperatures if you are starting in early spring.
You can measure the temperature within the bale with a
compost thermometer. If you don’t have a thermometer, you can simply stick your
hand into the bale.
You can plant anything in your straw bale garden!
You can plant almost any annual flowers, fruits, herbs, and vegetables in a bale that you’d normally grow in your garden. However, tall plants like corn and indeterminate tomatoes may get too large and heavy. This will cause the bale to tip over or tear apart.
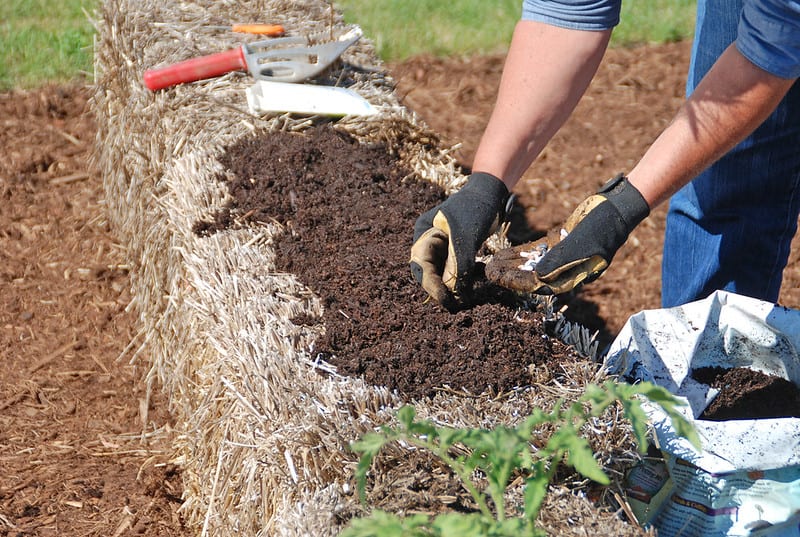
To plant in your bales, remove some straw to form a hole as deep as the plant roots will grow. Fill the hole with potting soil, and plant the seedlings or the seeds. As always when plating, water well.
You can build a trellis over your bales for climbing plants
like peas, beans, and cucumbers. Simply anchor two bamboo poles in the ground
on either side of the bale and run twine in between. Trailing plants with heavy
fruits like winter squashes, pumpkins, and watermelons, however, are best
planted directly into the ground.
Benefits of Straw Bale Gardening for Urban Dwellers
Urban gardening can be challenging due to space constraints and the absence of traditional garden plots. Straw bale gardening emerges as a highly adaptable and space-efficient solution for city residents wanting to cultivate their own garden. This method utilizes straw bales as both the container and the growing medium, offering numerous advantages that align perfectly with the urban lifestyle.
Space Efficiency
One of the primary benefits of a straw bale garden is its compact nature. Straw bales can be placed on balconies, rooftops, patios, or small patches of concrete, making them ideal for urban settings where ground space is limited. This flexibility allows urban dwellers to maximize their available space and still enjoy the benefits of gardening.
Portability
Unlike traditional gardens, a straw bale garden is not fixed to one spot. The relative ease of moving a straw bale before it becomes too wet or begins to decompose means residents can adjust the location of their garden to capture the best sunlight or to accommodate other spatial needs. This mobility is particularly beneficial in multifunctional spaces common in urban homes.
Reduced Soil Contamination Risks
Urban soil often suffers from contamination due to pollutants and past construction. Straw bale gardens use the straw itself as the growing medium, bypassing the need for soil and eliminating the risk of soil-borne diseases and contaminants affecting plant health. This is a significant advantage for growing healthier and safer vegetables and herbs.
Ease of Setup and Maintenance
Setting up a straw bale garden requires minimal tools and expertise, which is ideal for urban dwellers who might not have access to gardening resources or extensive gardening knowledge. The height of straw bales also makes planting and harvesting easier by reducing the need to bend down, thus making gardening more accessible and less physically demanding.
Eco-Friendly and Sustainable
Straw bale gardening is an environmentally friendly option. It makes use of a biodegradable resource that can be composted after the growing season, enhancing sustainability. Additionally, straw bales help conserve water as they retain moisture well, reducing the need for frequent watering, which is an essential benefit in urban areas where water use may be restricted.
Straw bale gardening offers a practical and effective solution for urban gardeners looking to maximize their limited space while enjoying the full benefits of home gardening. With its ease of setup, flexibility, and eco-friendly nature, a straw bale garden proves to be an excellent choice for city dwellers eager to cultivate their own patch of green.
The Ultimate Recyclable Garden
The bales will eventually fall apart. If you live in a hot, humid region, your bales may decompose too quickly. If this is the case, you’ll need to select fast-growing crops such as greens and herbs for your bale garden.
Fertilize your straw bale garden every week or two and keep your bales well-watered. You can easily irrigate your bale all season long by running a soaker hose or some drip tape across the surface, says Meredith Cherry for Grow Organic.
The straw bale will make great compost material at the end of the year. By spring, it will be ready to spread around your permanent gardens.
Have you tried straw bale gardening? If you have, we’d love to hear about your experiences!
Here’s a quick video…

