Last Updated on June 19, 2025 by teamobn
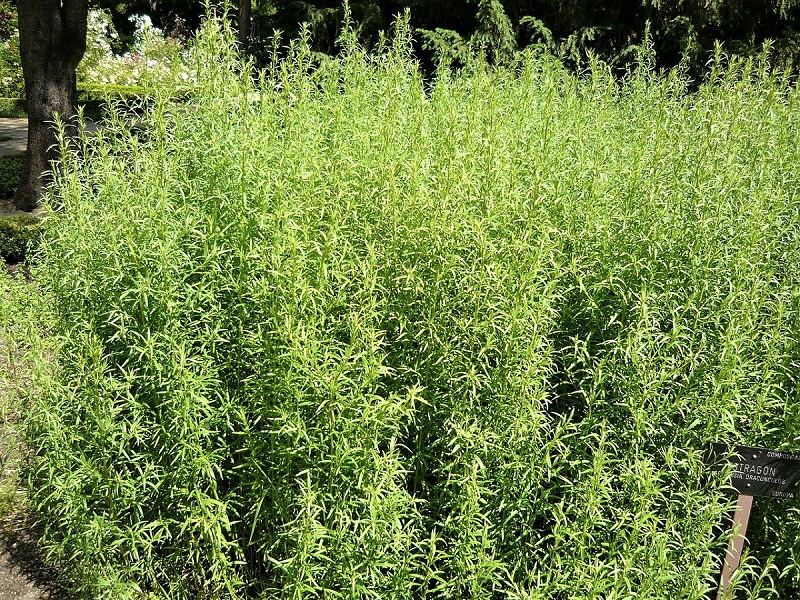
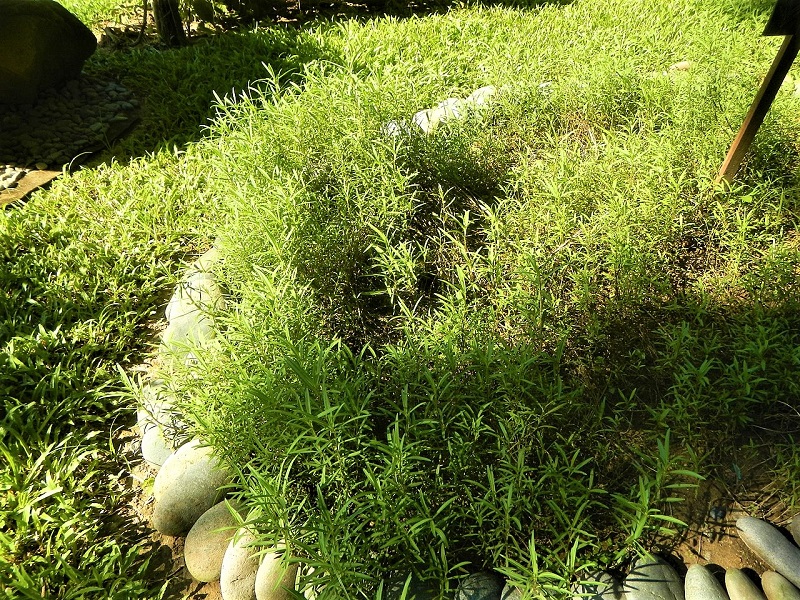
(Photo: Cillas/Wikimedia Commons)
Unlike those overbearing herbs that dominate whatever dish they touch, French tarragon is a gentle mediator. The slender, aromatic, anise-flavored leaves of the perennial herb provide an essential flavoring to buttery béarnaise sauce. French chefs use them promiscuously in salads, fish, egg, and chicken dishes. A small sprinkling eases the saltiness of lobster and allows fresh scallops to find a rare and subtle sweetness.

French tarragon does not set viable seed. That’s why the Royal Horticultural Society recommends that you start the herb from cuttings or young plants you can purchase from your local garden center in spring. Below is our guide on growing tarragon.
Growing Tarragon
Contents
French tarragon loves warmth and light yet hates wet feet. These placement and setup tips help cuttings root fast and form robust culinary shrubs helps in growing tarragon.
Choosing the Ideal Spot
Pick a bed that gets six or more hours of direct sun and sits against a wall or fence that blocks wind. Loose loam with pH between 6.0 and 7.5 lets roots breathe and pull nutrients with ease.
If you garden on heavy clay, raise the bed by six inches and blend in coarse sand, compost, and shredded bark. The mix boosts drainage without letting soil dry to dust. Good air flow discourages fungal spores and keeps foliage fragrant.
Preparing and Planting Cuttings
Use green, pencil thick shoots cut just below a leaf node at four to six inches long. Strip the lower leaves and dip the end in rooting hormone powder for quicker callus. Slip each cutting into a small hole made with a dibber, firm the soil around it, and water gently to settle air pockets.
Keep spacing generous, about three feet, because tarragon branches outward fast. Align the root ball top with the surface to stop stems from rotting after rain.
Feeding and Watering Routine
Water deeply once a week during dry spells rather than splashing foliage daily. Deep soaks train roots to search for moisture and resist heat stress. Mulch with aged compost or finely shredded leaves to lock in humidity and add slow nutrients.
Two light applications of balanced organic fertilizer in late spring and midsummer keep leaf growth tender and aromatic. Avoid heavy nitrogen that pushes lanky stems at the expense of flavor.
Early Care and Training
Pinch the growing tips once plants reach eight inches tall. This simple task encourages branching, gives you a first small harvest, and slows unwanted flower buds. Keep an eye on morning sun angle.
Turn container grown cuttings a quarter turn every few days so stems stay upright. Remove weeds fast because tarragon dislikes crowded roots and weak competition invites aphids. Clean pruners before each trim to prevent transferring fungal spores among plants.
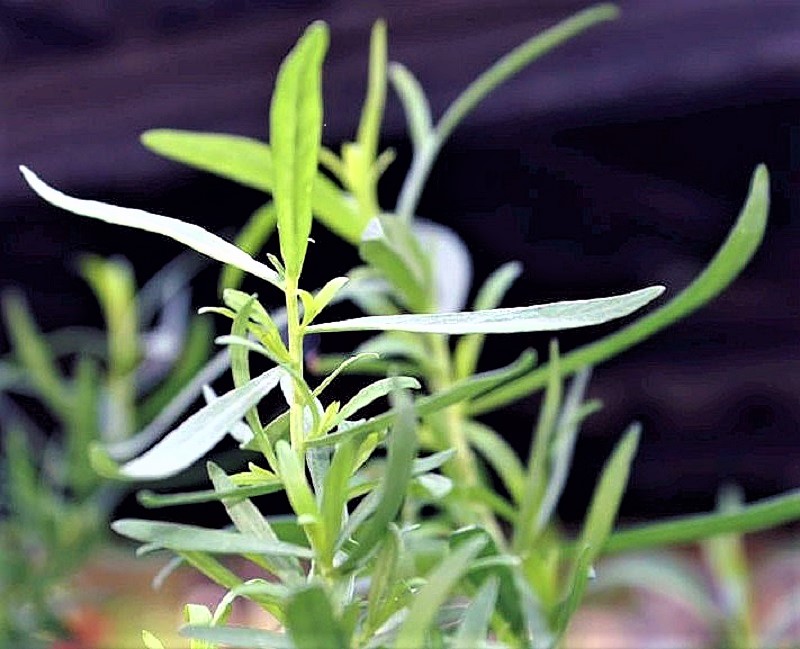
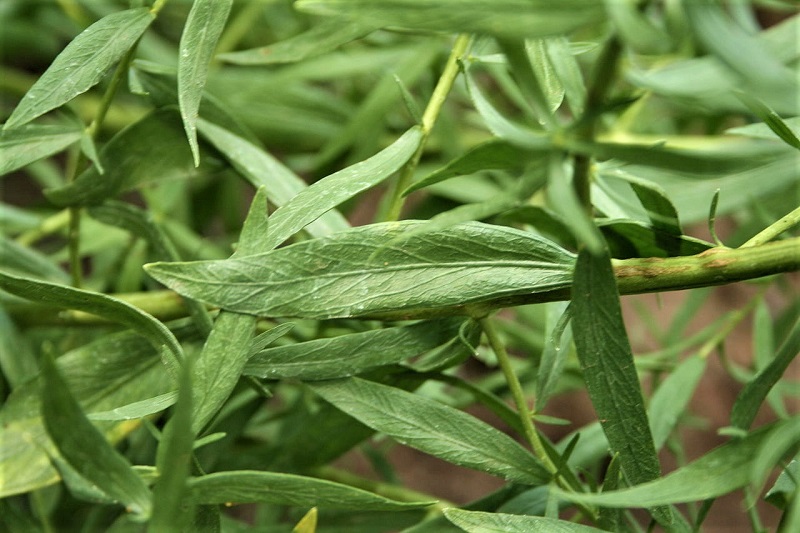
(Photo: David Stang/Wikimedia Commons)
Care and Maintenance
Healthy, aromatic tarragon thrives when you match its Mediterranean roots with balanced moisture, smart nutrition, and fast disease intervention. These care habits keep upkeep simple and effective.
Consistent Moisture Without Waterlogging
Tarragon roots hate standing water yet wilt if soil dries out completely. Check moisture daily by pressing a finger two inches deep beside the stem. Water when the soil feels barely damp, then soak until the bed is wet six inches down.
Morning watering lets foliage dry fast and blocks fungal spores. A two-inch mulch of shredded leaves or straw traps moisture, cools the soil, and cuts back weeds that steal water. Lift mulch edges every week to make sure no snails hide beneath.
Feeding for Flavor-Packed Leaves
Strong flavor depends on a steady trickle of nutrients rather than heavy doses. Work a scoop of finished compost around each plant in early spring. Follow with a diluted organic liquid feed at quarter strength once in June and again in August.
This gentle schedule fuels leafy growth without pushing the soft, bland stems that high-nitrogen products create. Rinse leaves after feeding to remove any residue and avoid leaf burn. Skip granular fertilizers that release salts too fast in warm weather.
Managing Powdery Mildew and Rust
Powdery mildew shows up as a white film on older foliage whenever nights stay humid and air flow stalls. Improve spacing, snip overcrowded stems, and spray a weekly mix of one tablespoon baking soda in a quart of water.
Rust appears as orange or black blisters that warp leaves. Pull and discard badly hit branches right away to stop spores spreading. Keep beds clean of fallen debris and rotate tarragon with other herbs every three years to break disease cycles.
Pruning and Pinching for Dense Growth
Pinch shoot tips every time they reach eight inches tall. This quick move redirects energy into side branches and doubles your harvest. Remove flower buds the moment they form so plants stay leafy and sweet.
Use sharp, clean snips to avoid crushing stems and opening doors for infection. Collect trimmings for the kitchen or freeze them in ice-cube trays filled with olive oil for winter sauces. Regular shaping also stops stems flopping over and shading neighbors.
Winter Protection and Dormant Care
Tarragon foliage browns and retreats underground once temperatures drop near freezing. Cut stems to two inches and clear away spent mulch that might harbor pests. In zones with hard frosts, spread fresh straw or horticultural fleece over crowns after the first freeze.
Containers can move into an unheated garage where they stay cool but not icy. Check pots monthly and mist lightly if soil turns bone dry. Plants wake in early spring, ready for another season of vibrant growth.
(Photo: Judgefloro/Flickr)
Harvesting Tarragon
Harvesting for peak flavor starts when stems are lush and green in late spring. Careful timing and gentle handling guarantee tarragon’s signature anise notes stay bright and sweet.
Ideal Harvest Window
May to September offers a long picking span, yet the first flush of growth delivers the richest oils. Pluck stems on dry mornings after dew has evaporated. Sun-warmed leaves bruise less and release fewer volatile compounds, so flavors stay concentrated until you hit the kitchen.
Avoid cutting during midday heat because essential oils evaporate fast. Evening harvests invite trapped moisture that encourages mildew inside storage jars.
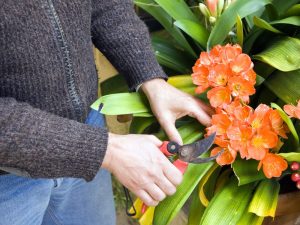
Technique for Clean, Flavorful Cuts
Slide sharp, disinfected secateurs just above a leaf joint and snip four-inch tips. This method removes the youngest, most fragrant foliage while triggering two new shoots at the cut site. Hold each stem by the base and strip leaves downward with your fingers.
Gentle pressure prevents tearing that can darken edges and shorten fridge life. Gather only what you’ll use in three days if cooking fresh. Regular light harvests keep plants dense and delay flowering.
Drying and Storing for Year-Round Flavor
Air drying works best in a warm, shaded room with low humidity. Bundle eight stems, secure with cotton string, and hang upside down for one to two weeks. Once leaves crumble between your fingers, transfer them to airtight glass jars and label with the date.
Store jars in a cool cupboard away from direct light. Dried tarragon loses some brightness but holds a mellow sweetness perfect for soups and slow sauces through winter. Crush only before use to preserve aroma.
Freezing Methods That Lock in Aroma
Freezing captures peak summer taste better than drying. Rinse leaves quickly, pat them dry, and spread in a single layer on a baking sheet. Flash-freeze for two hours, then funnel the brittle leaves into freezer-safe bags, squeezing out excess air.
Another chef favorite is to mince fresh leaves and pack them into ice cube trays topped with olive oil or melted butter. Pop out the cubes once solid and stash in zip bags for instant seasoning all winter.
Rejuvenating the Patch Through Division
Productivity fades after the second or third year as central stems turn woody. Dig up clumps in early spring or cool autumn days when stress is low. Slice through the root mass with a sharp spade, ensuring each division carries healthy shoots and plenty of fine roots.
Replant sections at original spacing in fresh soil enriched with compost. Water thoroughly to settle soil around the roots. This simple routine refreshes vigor, resets flavor intensity, and extends your tarragon supply for seasons to come.
(Photo: Alice Chodura/Wikimedia Commons)
Soil Preparation and pH Adjustments for Successful Tarragon Growing
Preparing tarragon’s soil foundation sets the stage for bold flavor and strong disease resistance. Aim for light fertile ground tuned to the herb’s ideal pH.
Assessing Native Soil Texture
Good soil begins with knowing what you already have. Grab a handful of moist earth, squeeze it gently, then open your hand. Sandy soil crumbles fast and feels gritty, while clay stays in a stubborn lump. Loam falls apart slowly and shows faint ridges from your fingers.
Tarragon thrives best in that loamy middle ground because roots get both air and moisture. If the test reveals heavy clay or pure sand, plan on several amendments before planting begins.
Improving Drainage with Amendments
Drainage matters more than raw fertility for this Mediterranean herb. Mix coarse horticultural sand or fine gravel into clay beds to open tight pores. Fold in finished compost to hold moisture without puddling. Raised rows or mounded beds lift roots above stubborn wet spots and warm faster in spring.
Container growers can craft a custom blend using two parts potting mix, one part perlite, and a scoop of aged compost. The goal is crumbly soil that drains within five minutes after a deep watering.
Balancing Nutrient Levels for Herbaceous Growth
Tarragon needs moderate nutrition, not the rich feast vegetables crave. Work a half-inch layer of well-rotted compost into the top eight inches of soil. Compost supplies slow nitrogen, calcium, and trace elements that sharpen essential oil production.
Avoid high-nitrogen synthetic fertilizers because they push lanky stems that taste bland. If a quick test kit shows phosphorus or potassium deficiencies, sprinkle bone meal or wood ash sparingly. Re-test the bed each spring so you can fine-tune amendments without guessing.
Target pH Range and Simple Testing Methods
The herb pulls nutrients best when soil sits between pH 6.0 and 7.5. Drop a tablespoon of soil into a clear glass, add distilled water, and stir. Insert an inexpensive paper strip or digital probe to read the solution.
Consistent readings outside the sweet spot signal time for adjustment. Test several spots across the bed because pH shifts quickly near old paths, compost piles, or walls. Record the numbers in a garden journal to track improvements year to year.
Organic pH Adjustment Strategies
Soils below pH 6.0 need liming. Sprinkle ground dolomitic limestone lightly, then fork it six inches deep. Recheck pH after four weeks before adding more. Beds creeping above 7.5 respond well to elemental sulfur or peat moss.
Spread sulfur in cool weather to avoid burning microbes, and water deeply afterward. Organic options act slowly but keep soil life healthy, which boosts nutrient cycling and disease resistance. Reapply only when tests say so; overshooting the mark creates new problems.
Pre-Planting Soil Conditioning Timeline
Start amendments six months before set-out if possible. Autumn liming gives calcium time to mellow acidic soils by spring. Spread compost every fall to feed worms that loosen subsoil naturally. In early spring, break crusts with a garden fork and rake smooth.
Let beds settle two weeks, then test pH again. If numbers look good and texture feels friable, you’re ready to plant vigorous tarragon cuttings that root fast and offer rich harvests for seasons ahead.
Conclusion
Growing tarragon isn’t hard when you start with loose, sunny soil. Keep plants evenly moist and pinch tips often. Quick harvests reward you with bright anise notes for many dishes. Divide clumps every few years to renew vigor. With these simple habits, you’re set for seasons of fragrant, flavorful leaves.
Are you ready to grow your own French tarragon?