Last Updated on May 15, 2024 by teamobn
Organizing may seem like a daunting task. It can be, especially if you’re organizing blindly. This is why getting the proper tools is imperative. This will significantly cut down your workload and take the stress out. A garden tools rack can solve your problems.
I know this because a couple of months ago, the mere sight of my garden shed gave me anxiety. It was so disorganized – garden tools were everywhere, gloves hung here and there. It was literally a mess.
One of the things that helped me a lot was when my husband built a garden tools rack for me. Instead of having the rakes and shovels all over the floor, they now hang neatly against the wall. From there, I was able to organize the rest of the shed. It was a good starting point.
Building a Garden Tools Rack
Contents
Materials
- Wooden boards
- Screws
- Wood glue
Tools
- Measuring tape
- Table saw
- Speed square
- Clamps
Instructions
Step 1: Design and Planning
- Determine the size of the rack based on your available space and the number of tools you need to store.
- Sketch a simple design, including dimensions. A typical rack might be about 5 feet tall and 3 feet wide, with several horizontal bars for hanging tools.
Step 2: Cutting the Wood
- Use the measuring tape and speed square to mark the cut lines on your wooden boards according to your design.
- Set up your table saw for the cuts. Ensure it’s aligned and the blade is sharp for clean cuts.
- Cut the wooden boards to your measured lengths, using clamps to secure the wood if necessary.
Step 3: Assembling the Frame
- Lay out the cut pieces on a flat surface to form the frame of the rack. The frame should consist of two vertical posts and several horizontal bars spaced to allow easy hanging of tools.
- Apply wood glue at the joints for extra stability.
- Use the speed square to ensure all corners are right angles.
- Screw the frame together at each joint, drilling pilot holes first to avoid splitting the wood.
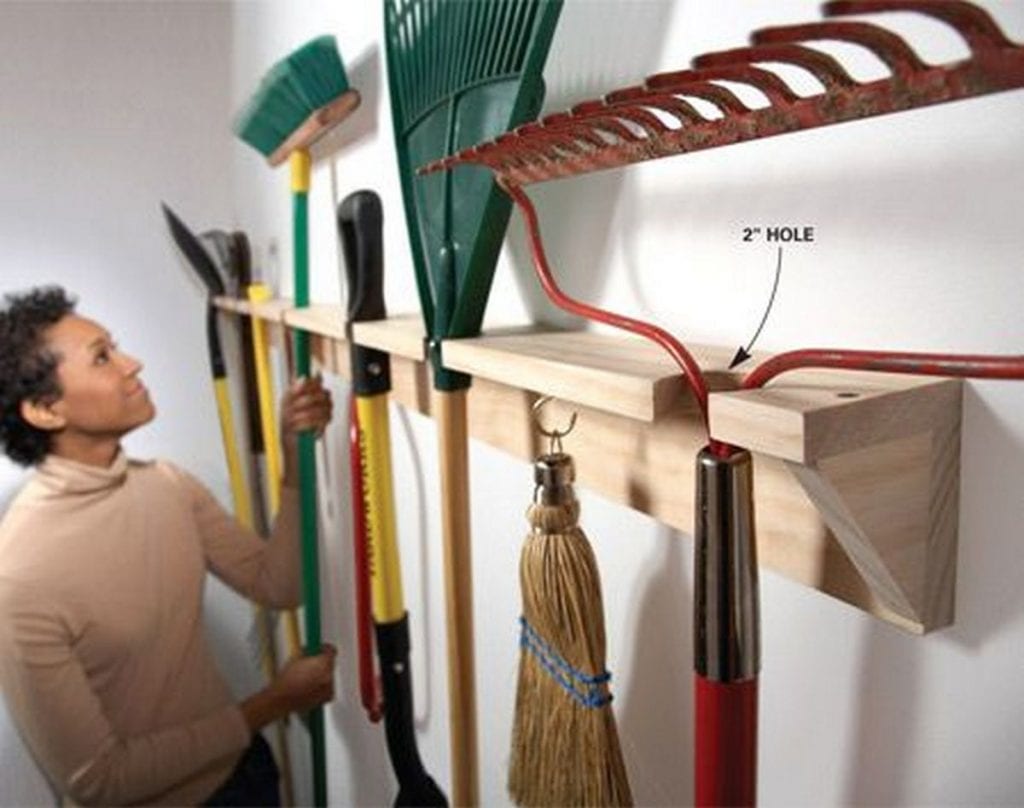
Step 4: Adding the Tool Hanging Bars
- Measure and mark where you want the horizontal bars that will hold the tools.
- Apply wood glue to the ends of each bar, then position them between the vertical posts of the frame.
- Secure each bar with screws, ensuring they are firmly attached and level.
Step 5: Sanding and Finishing
- Sand the entire rack with medium-grit sandpaper to remove any rough edges and splinters.
- Wipe down the rack with a damp cloth to remove sawdust.
- You can leave the wood natural, stain it, or paint it to match your shed or garage.
Step 6: Installing the Rack
- Choose a suitable location for your garden tool rack. It should be easily accessible and in a dry area to protect the tools from moisture.
- Secure the rack to the wall or stand it on the ground. If wall-mounting, ensure it is anchored securely into studs to support the weight of the tools.
Step 7: Organizing Your Tools
- Hang your tools on the rack. Arrange them in a way that balances the weight evenly across the rack.
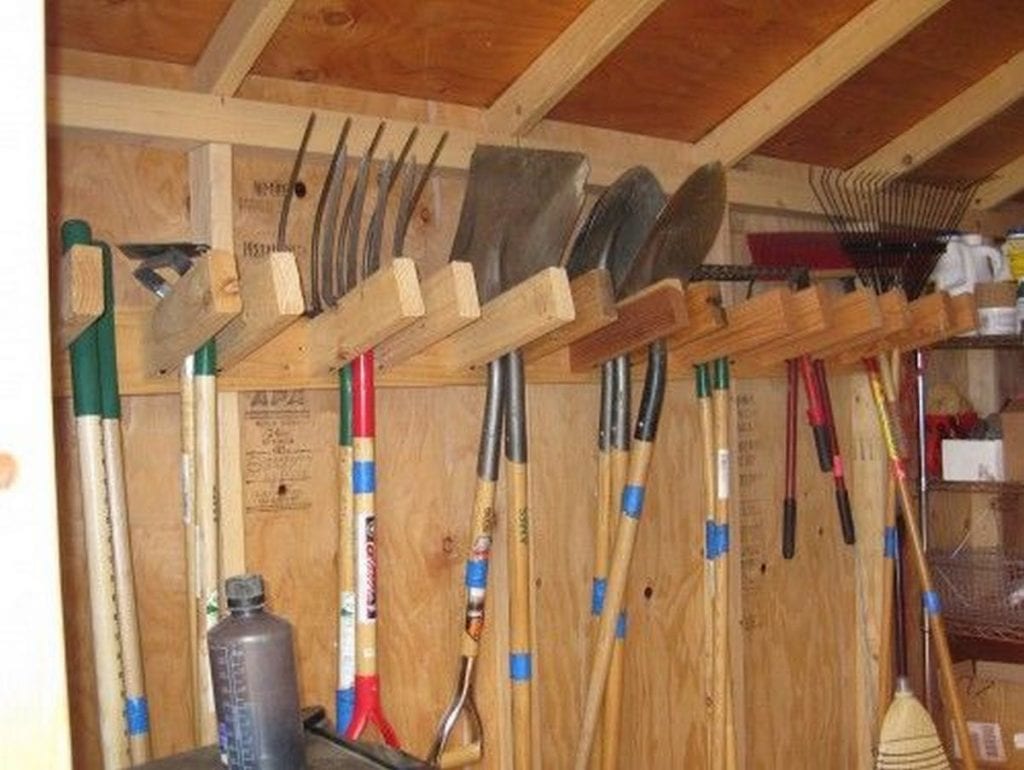
- Larger tools like rakes and shovels should hang on the lower bars, while smaller tools can be hung higher up.
Click on any image to start the lightbox display. Use your Esc key to close the lightbox.
Learn how to build a garden tools rack by watching the video below.
Customization Options for the Garden Tools Rack
Customizing your garden tools rack can significantly enhance its functionality and aesthetic appeal, making it a perfect fit for your specific needs and space. Below are various ways to tailor your garden tools rack, ensuring it serves you effectively while complementing your garden shed or workspace.
Adjustable Shelves and Hooks
Adding adjustable shelves and hooks to your garden tools rack allows for flexibility in storage options. This feature lets you rearrange the shelves and hooks based on the size and type of tools you need to store.
For instance, during different gardening seasons, you may require quick access to different tools. An adjustable garden tools rack ensures you can easily make these changes without needing additional equipment.
Foldable Design
For smaller spaces or multipurpose areas, a foldable garden tools rack can be a game-changer. This design allows you to fold the rack away when not in use, freeing up space for other activities. A foldable garden tools rack is ideal for seasonal gardeners who may not need access to their tools year-round.
Integrated Storage Bins
Consider integrating storage bins into your garden tools rack for smaller items like gloves, pruning shears, or plant tags. These bins can be attached to the sides of the rack or incorporated into the design at the base. This customization not only keeps all gardening necessities in one place but also ensures smaller items are neatly organized and easy to find.
Weather-Resistant Materials and Finishes
If your garden tools rack will be exposed to the elements or located in a damp area, choosing weather-resistant materials and finishes is crucial.
Options like stainless steel hardware, waterproof wood treatments, or plastic coatings can protect your garden tools rack from rust, decay, and other weather-related damages. This customization prolongs the life of both your rack and the tools it holds.
Each of these customization options enhances the functionality and durability of your garden tools rack, making it an indispensable part of your gardening routine. Whether adjusting for space, convenience, or durability, these features ensure that your garden tools rack meets your specific needs perfectly.
Tool Maintenance and Storage Tips
Proper maintenance and thoughtful storage of your garden tools can significantly extend their lifespan and maintain their effectiveness.
Here are some essential tips on maintaining and storing your garden tools, ensuring they remain in top condition and are ready to use whenever you need them.
Regular Cleaning
- Clean After Each Use: To prevent soil and sap from damaging your tools, it’s crucial to clean them after each use. Rinse off any dirt with water and use a stiff brush for stubborn soil. For tools used on sappy plants, a cloth dipped in mineral spirits can help remove sap residue.
- Deep Clean Seasonally: At least once a season, give all your tools a thorough cleaning. Disassemble any that have moving parts, clean them well, dry them, and lubricate the components to prevent rust and ensure smooth operation.
Sharpening Blades
- Regular Sharpening: Sharp tools make gardening easier and are less damaging to plants. Sharpen blades regularly using a file or whetstone, focusing on shears, pruners, and spades. Always follow the original angle of the edge when sharpening.
- Professional Sharpening: For tools with more complex blades, like hedge shears or certain types of pruners, consider professional sharpening once a year to maintain optimal performance.
Proper Storage
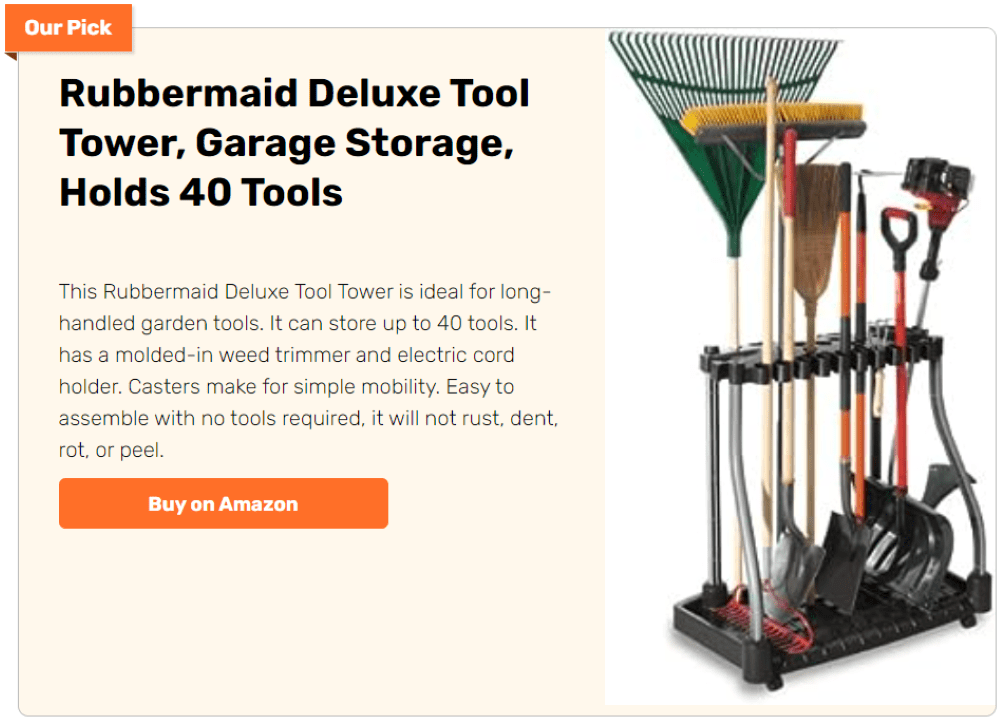
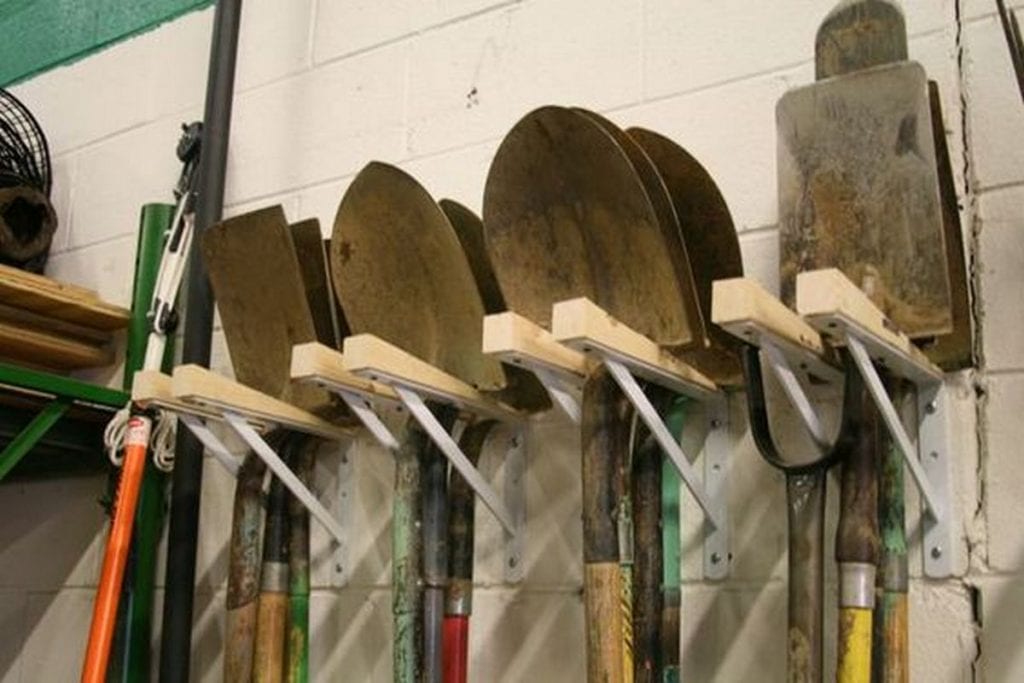
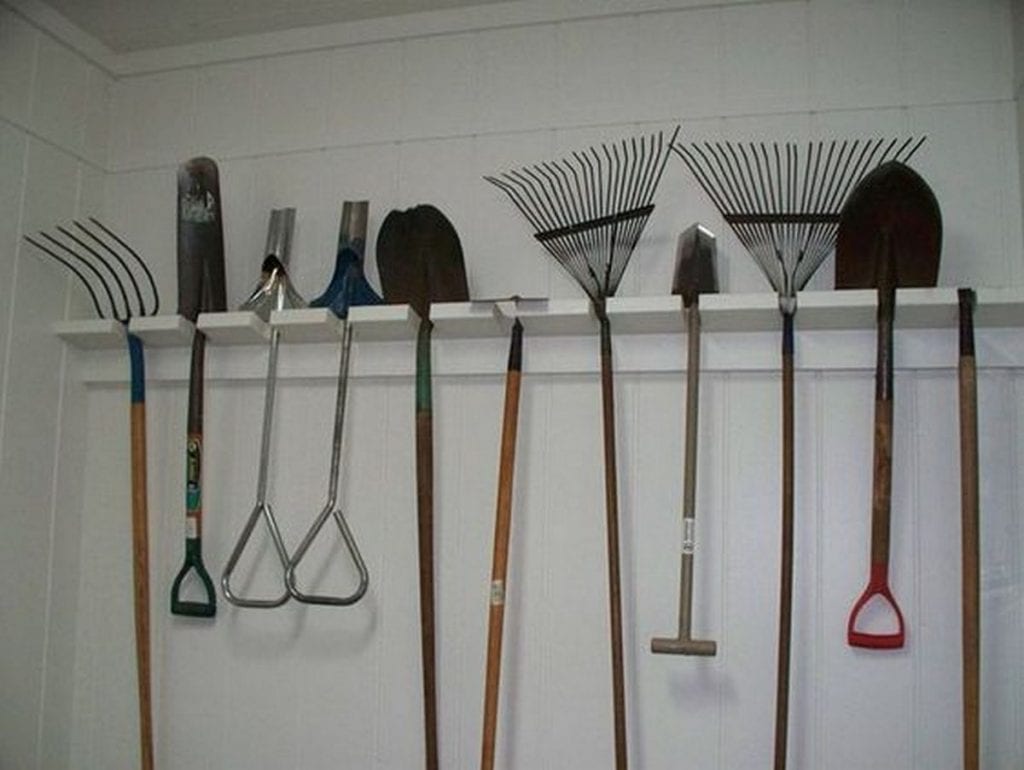
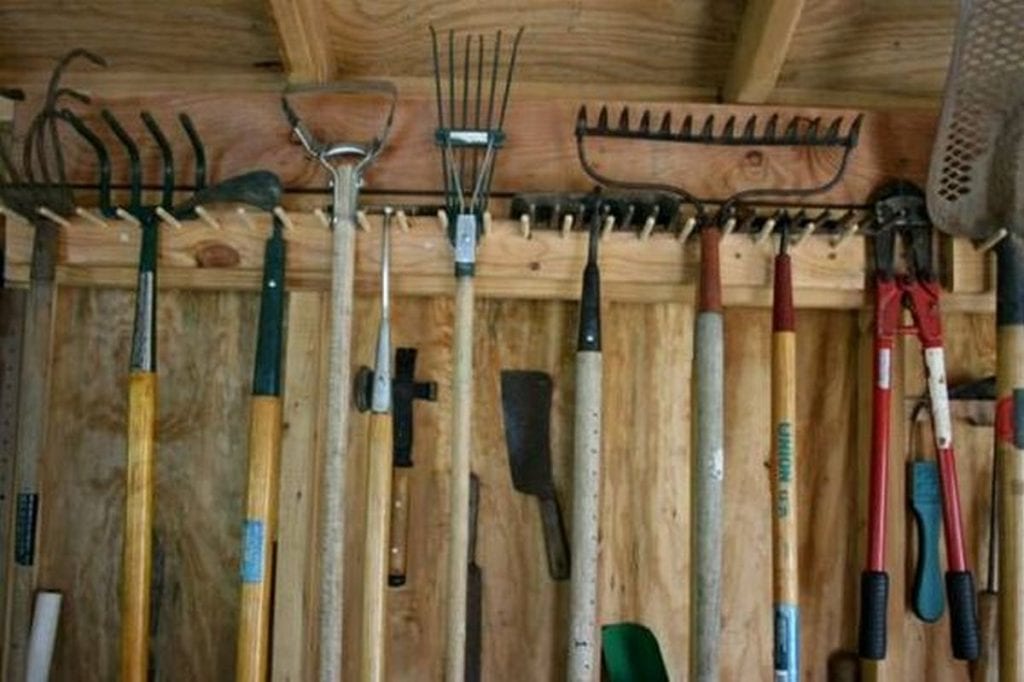
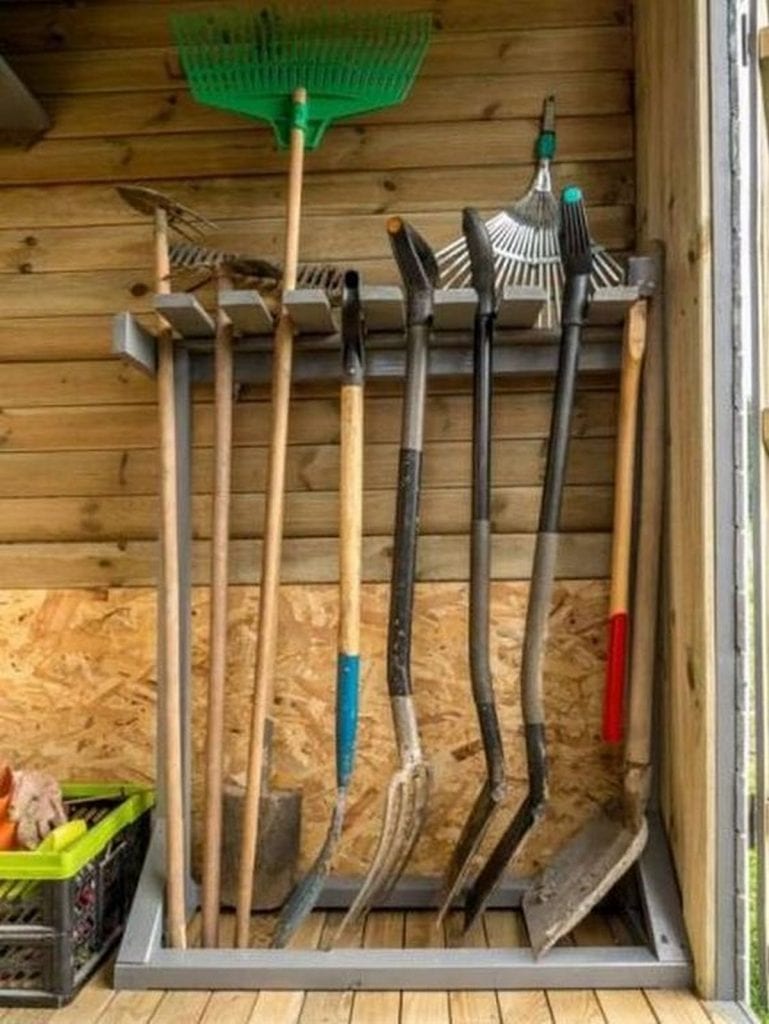
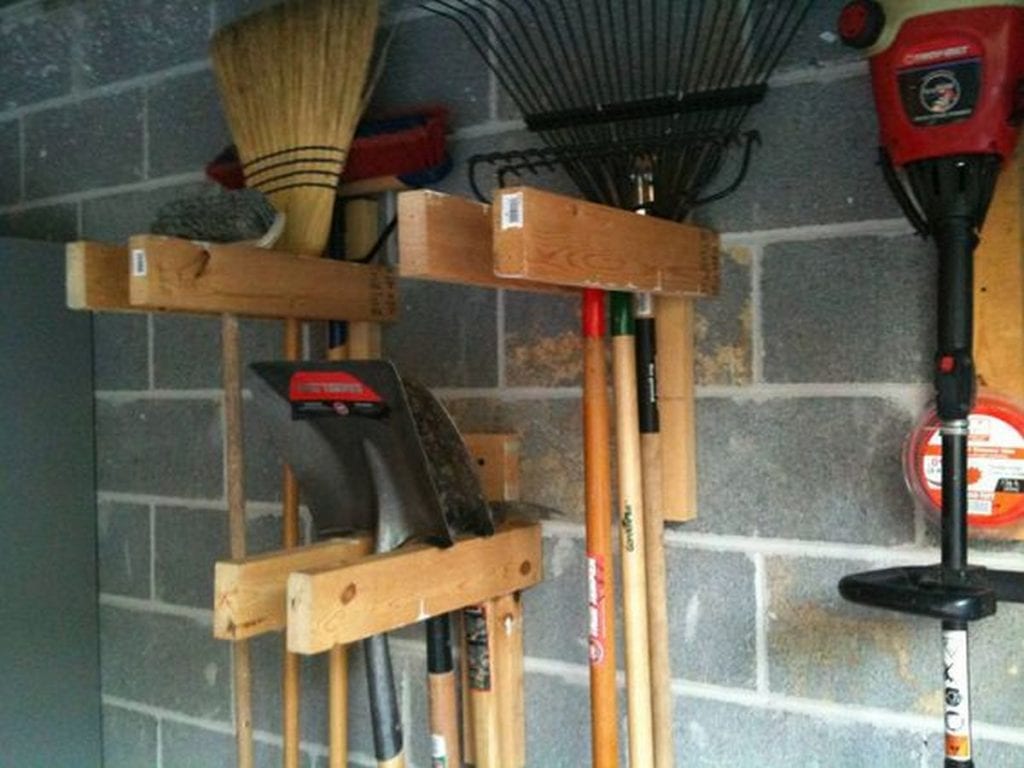
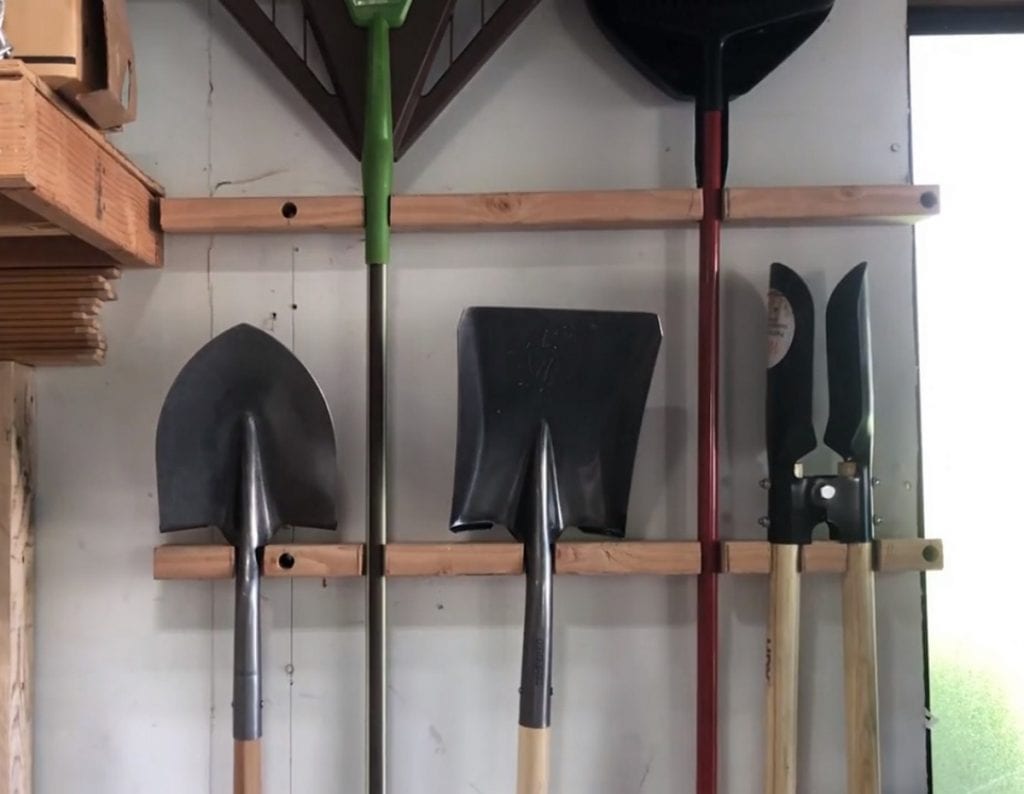
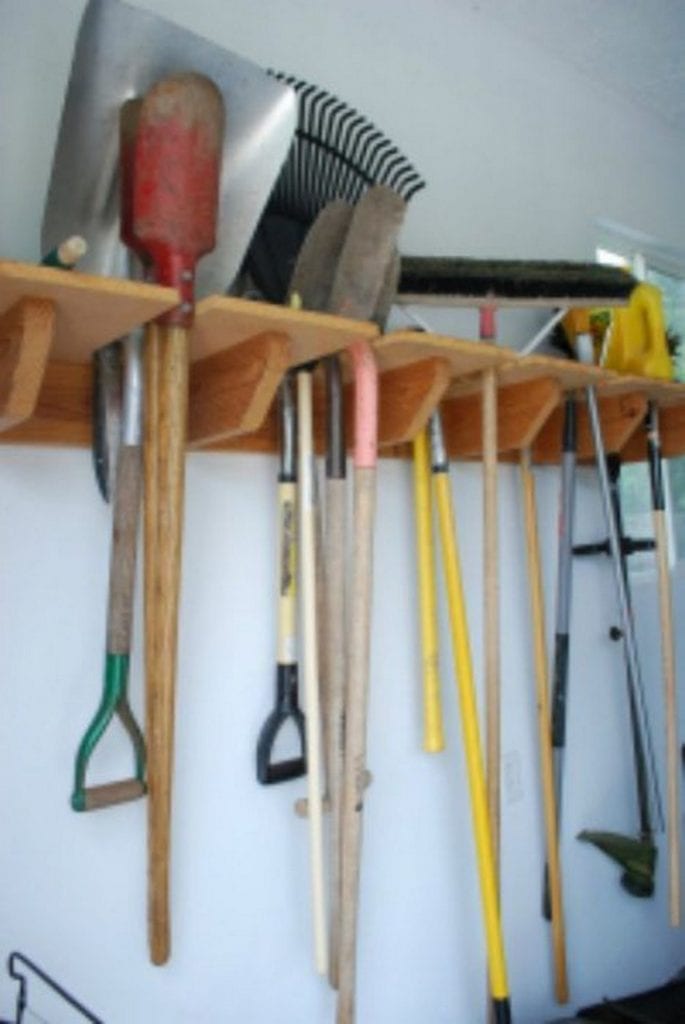
- Use a Garden Tools Rack: Storing tools off the ground on a garden tools rack prevents damage from moisture and soil contact. This also keeps your workspace organized and tools easily accessible.
- Control Humidity: If you store tools in a shed or garage, ensure the space has good ventilation to prevent rust. Using silica gel packs in the storage area can also help absorb excess moisture.
- Hang Tools Vertically: Hanging tools vertically on your garden tools rack not only saves space but also prevents them from colliding and damaging each other. Ensure heavier tools are securely mounted to avoid accidents.
Routine Inspections
- Check for Damage: Regularly inspect your tools for signs of wear or damage, such as cracked handles or bent blades. Repair or replace damaged parts promptly to ensure gsafety and effectiveness.
- Tighten Loose Handles: Wooden handles can loosen over time, especially in tools like hammers or axes. Check the handles regularly and tighten them if necessary. If a handle is beyond repair, replace it to maintain the tool’s integrity and safety.
Lubrication and Rust Prevention
- Apply Oil to Metal Parts: Regularly apply a light coat of oil to the metal parts of your tools to prevent rust and corrosion. Mineral oil or a specific tool oil can be used for this purpose. This is especially important before storing tools for the winter.
- Use Sand and Oil for Storage: Consider filling a bucket or large container with sand mixed with motor oil and store your metal tools (blades down) in it. This setup helps keep the tools clean, sharp, and well-lubricated.
Handle Care
- Seal Wooden Handles: To prevent wooden handles from splitting and deteriorating, treat them with a wood sealant or linseed oil. This treatment should be applied at least once a year to maintain the integrity and grip of the handles.
- Inspect and Replace Grips: Rubber or plastic grips on tool handles can degrade over time. Check these grips periodically and replace them if they are worn or cracked to ensure safety and comfort while working.
Storage Solutions
- Tool Covers: Use covers or sheaths for sharp tools like axes, hoes, and pruners when not in use. This not only protects the blades from moisture and rust but also ensures safety for anyone moving around the storage area.
- Magnetic Tool Bars: Install a magnetic tool bar on the wall of your shed or garage. These are excellent for storing small metal tools such as trowels, pruners, and hand rakes, keeping them out of harm’s way and preventing clutter.
Environmental Control
- Avoid Direct Sunlight: Store your tools in a cool, dry place out of direct sunlight. Prolonged exposure to the sun can degrade handles and make metal parts hot, potentially causing burns during handling.
- Optimize Space with Vertical Storage: Utilize vertical space effectively by installing additional shelving or hooks on your garden tools rack. This approach helps keep different types of tools separated and organized, making them easy to find and less likely to be damaged.
Periodic Maintenance Checks
- Seasonal Adjustments: Adjust the maintenance frequency and methods according to the seasons. For example, during damp winter months, increase the frequency of oiling and check for rust more regularly.
- Keep a Maintenance Log: Maintain a log of all maintenance activities performed on each tool. This can help track when each tool needs servicing or replacement, ensuring that no tool is overlooked.
Keeping your garden tools in top shape will help you garden more effectively and enjoyably if you follow this care and storage advice. Along with extending the life of your tools, good maintenance safeguards your investment in high-quality gardening equipment.
Conclusion
Any gardener will find great advantages in the doable task of creating a garden tool rack. Your gardening productivity is increased by the easy accessibility and organization of your priceless instruments. Time well spent designing a personalized rack can pay off by maintaining your gardening area neat and your tools in excellent condition.