Last Updated on May 23, 2024 by teamobn
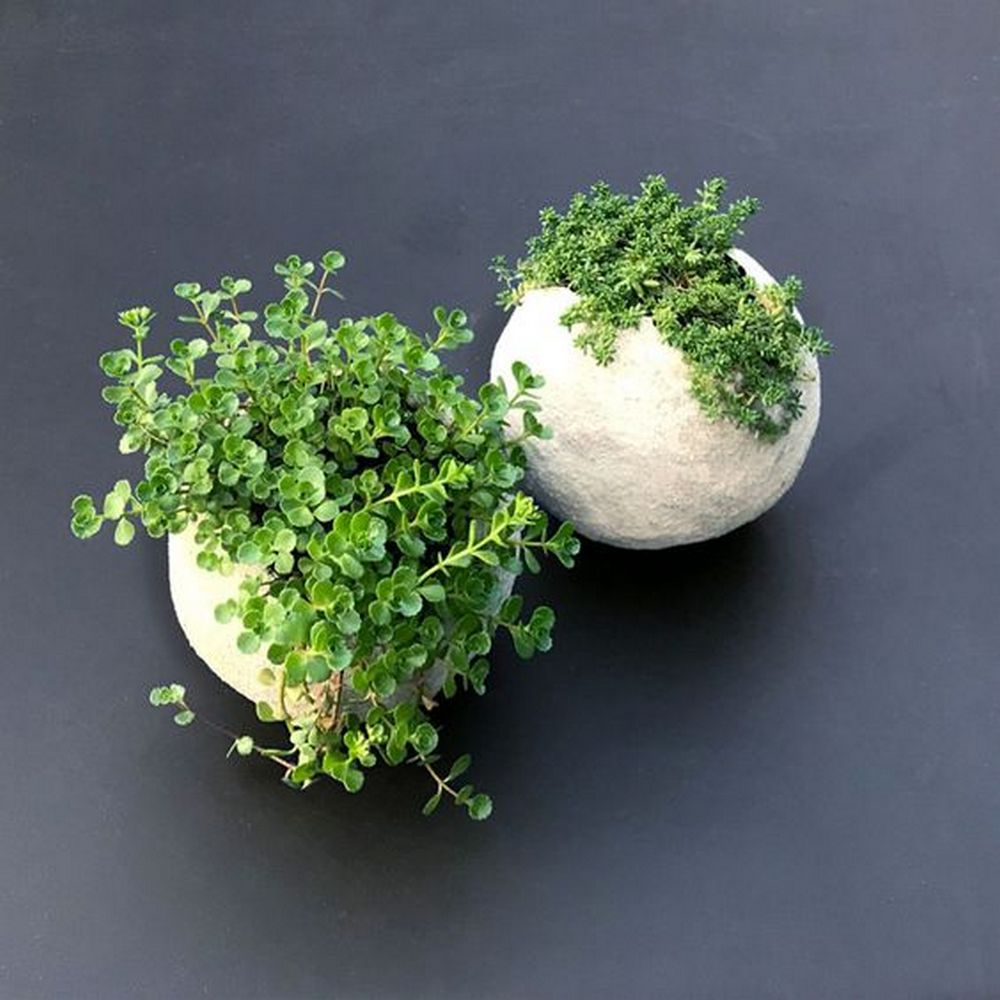
Gardens are spaces of joy. For most people, it’s a place for relaxation. Garden lovers usually find new things to add, just to update and upgrade. Some excellent additions include a pergola, a bench, or cute planters – all depending on the budget, of course.
In this post, we will explore an affordable and creative DIY project that can add a unique touch to any garden: cement balloon planters.
Adding Charm to Your Garden
Contents
However, you’ll be pleased to know that not all garden projects are expensive. If you love DIY, you’ll definitely save a lot of money. Here’s one example that costs little yet goes a long way: cement balloon planters by Artsy Pretty Planters.
The Appeal of Cement Balloon Planters
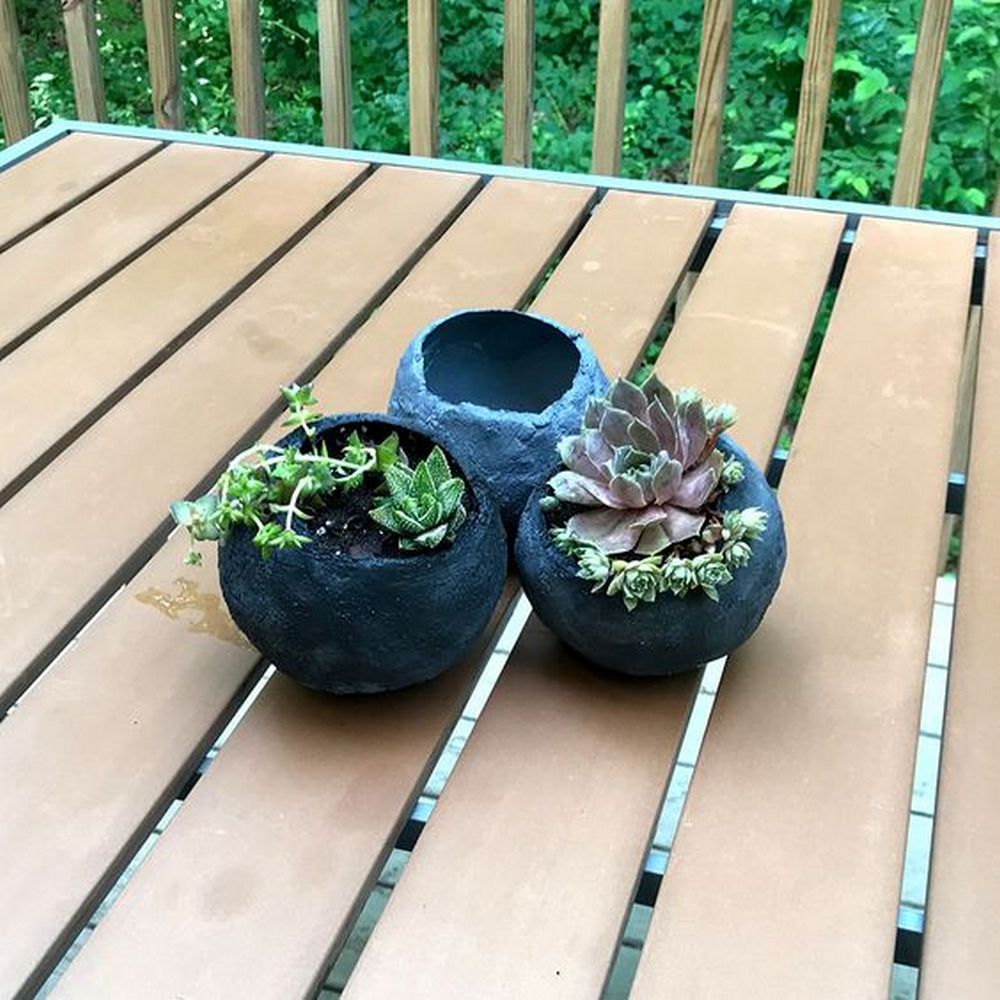
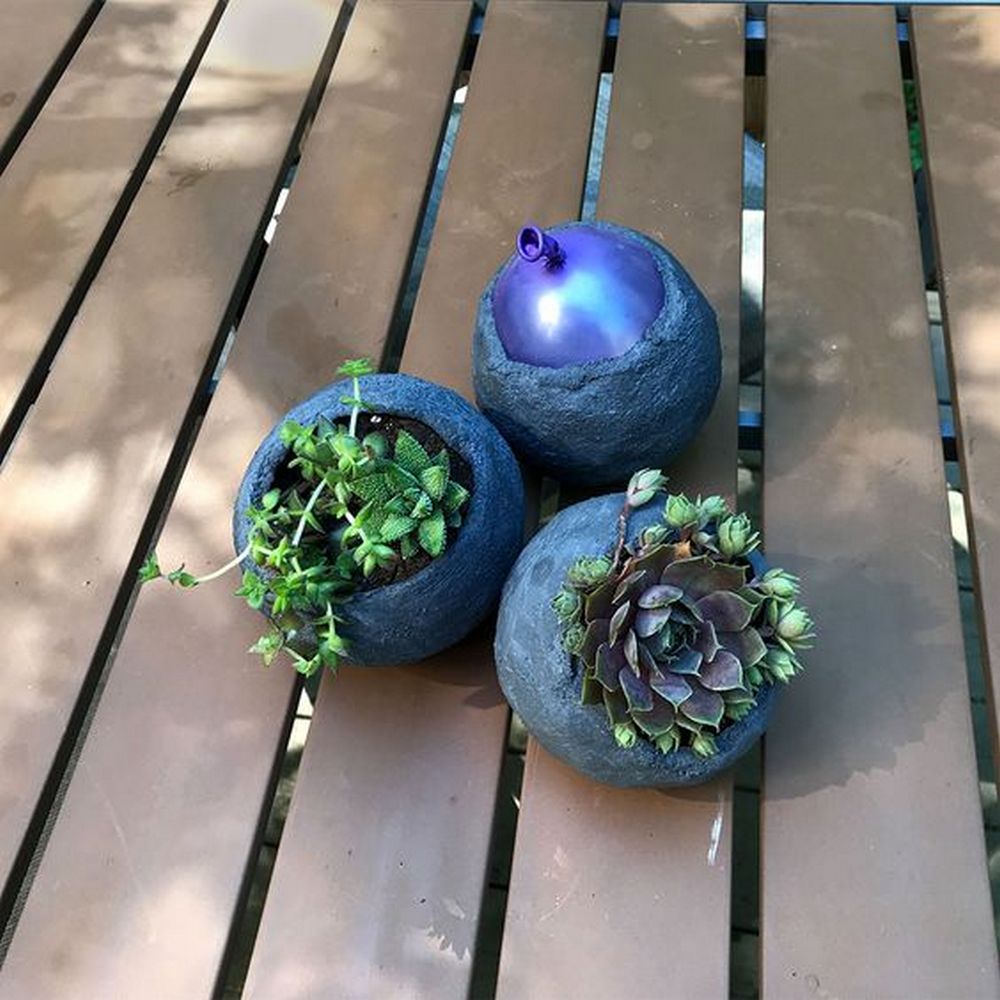
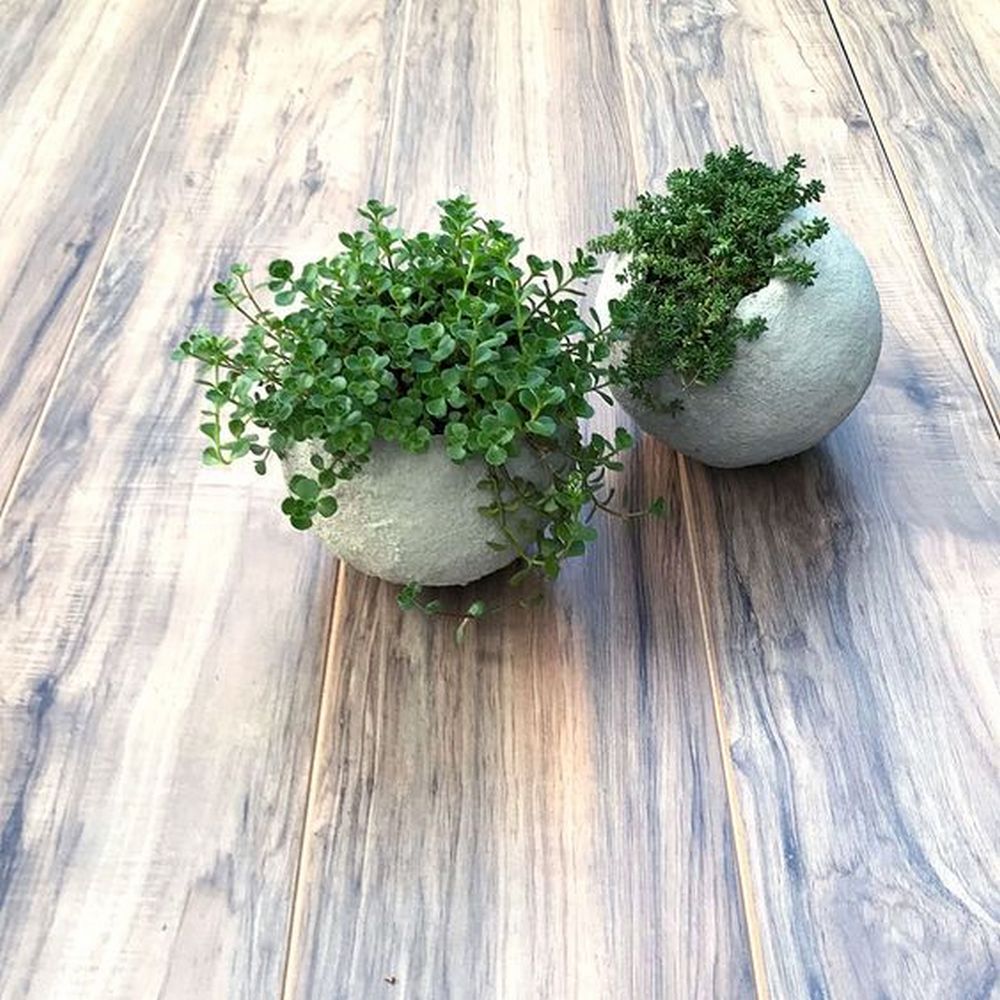
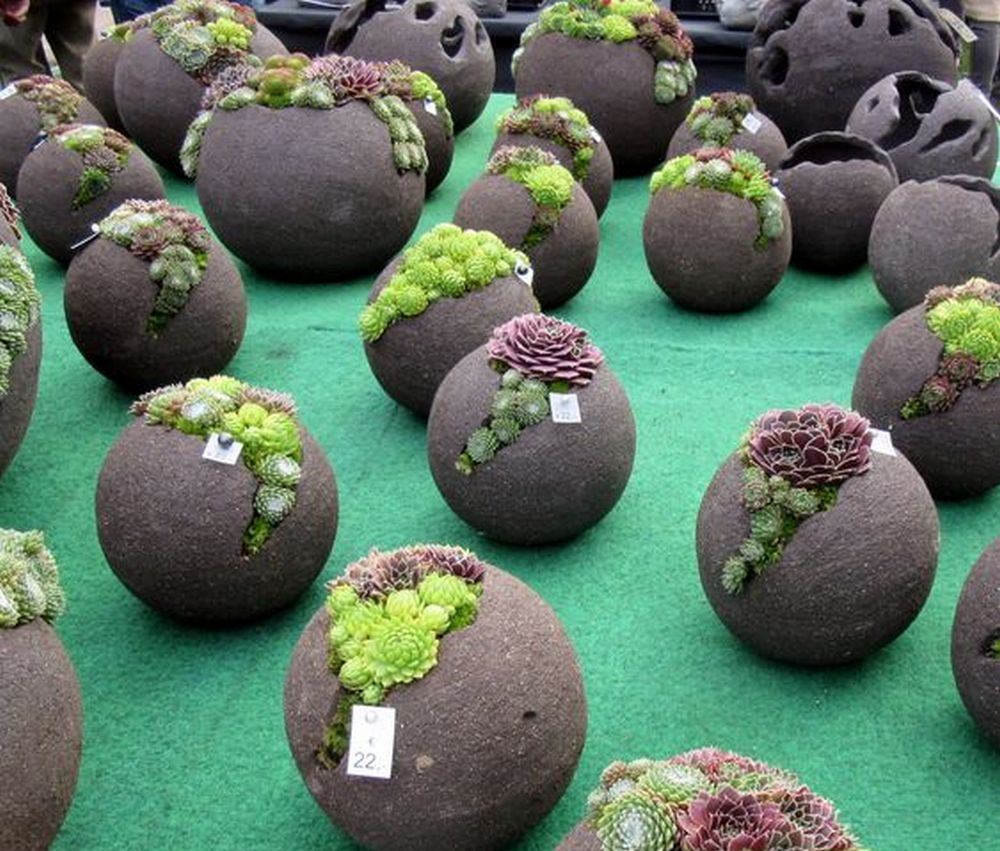
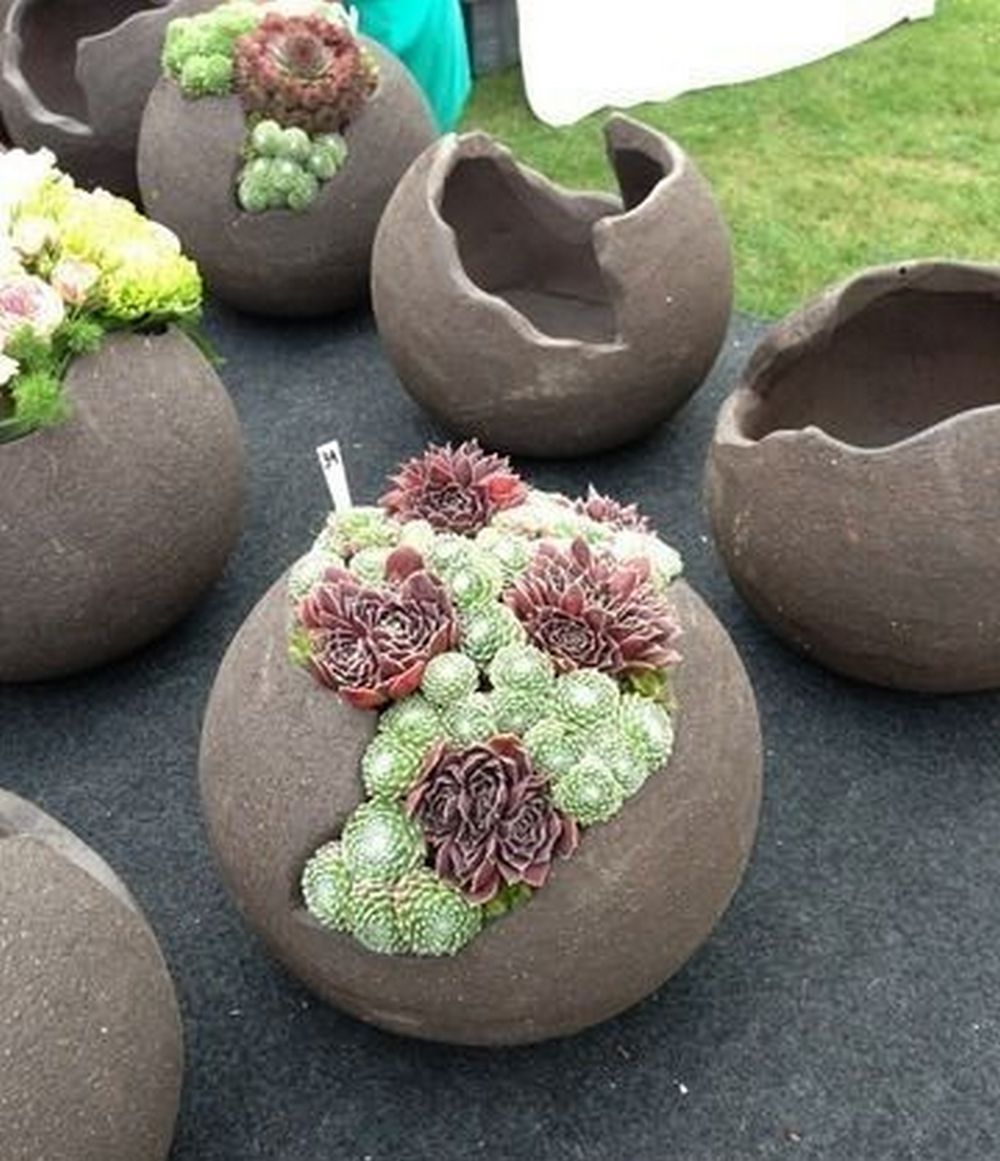
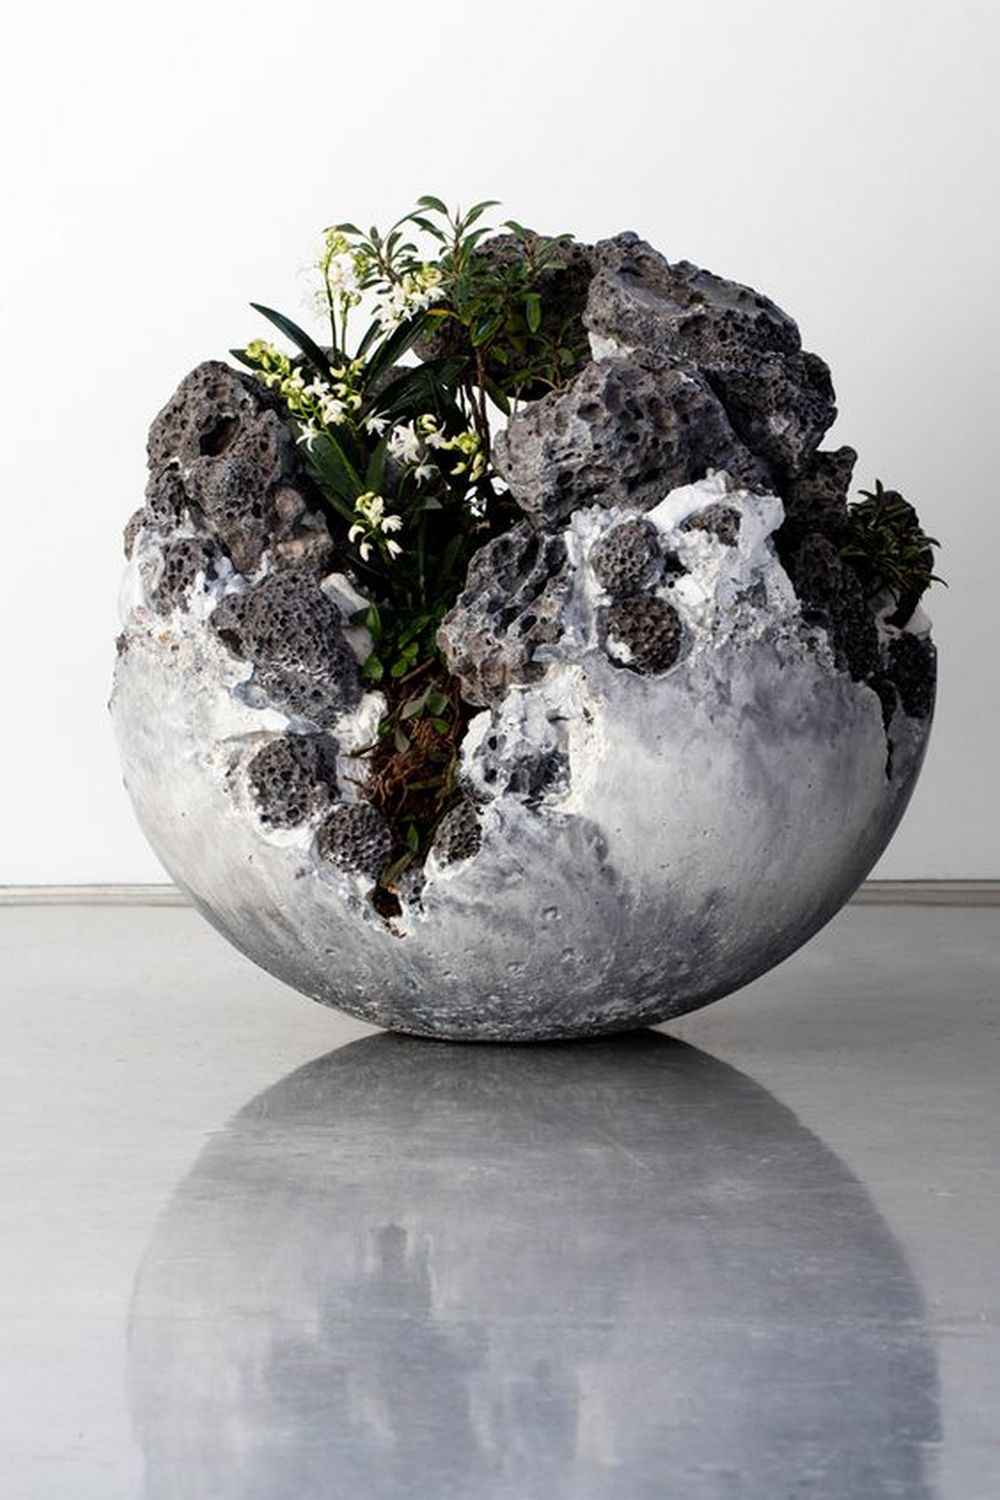
Cement balloon planters are not only budget-friendly but also incredibly charming. If you’re tired of the same old boring pots in your garden, this project is definitely worth a try. These rounded planters can be grouped together or scattered throughout your garden, adding a delightful touch to the overall aesthetic.
Materials Required
To make your own cement balloon planters, you will need the following materials:
- 7” round balloons
- The balloons serve as the mould for shaping the cement into a spherical form. Their round shape allows you to create a pleasing and symmetrical planter design.
- It’s important to choose balloons of the appropriate size to ensure enough space for the plants to grow.
- 10 or 20-lb bag of Cement All, Rapid Set
- This particular type of cement is ideal for this project because of its quick setting time. It allows you to complete the planter creation process efficiently.
- Cement All is known for its strength and durability, making it suitable for outdoor use.
- Soil
- Choose a high-quality soil mix that is suitable for the types of plants you intend to grow in your cement balloon planter.
- Plants
- The choice of plants depends on your personal preferences and the environmental conditions of your garden.
- Select plants that thrive in your climate, ensuring they are well-suited to the amount of sunlight and water available in your garden.
- Consider both aesthetics and functionality when choosing plants for your planter.
Tools for the Project
Before diving into the creation process, gather the necessary tools:
- Latex gloves
- Wearing latex gloves during the project protects your hands from the potentially harsh chemicals in the cement mix.
- It also helps maintain hygiene and cleanliness throughout the process.
- Disposable plastic mixing bowl
- The plastic mixing bowl is used to prepare the cement mixture.
- It should be lightweight, easy to clean, and can be discarded after use, minimizing cleanup.
- Liquid measuring cup
- The measuring cup ensures accurate proportions when mixing the cement.
- Following the instructions on the cement bag is crucial to achieve the desired consistency and strength of the mixture.
- Q-tips
- Q-tips serve a specific purpose in this project: creating a drainage hole.
- Large sponge
- The large sponge is useful for smoothing out any rough edges or uneven surfaces on the cement balloon planter. It allows you to refine the shape and texture, resulting in a more polished and visually appealing final product.
- Old wire mesh strainer with hooks
- The wire mesh strainer with hooks serves as a means to hang the balloon planter while it dries. It allows the planter to hang freely, providing optimal conditions for the cement to cure and harden.
- Plastic grocery bag
- Will serve as a protective layer on the surface you are working on.
The Cement Balloon Planter Creation Process
Now that you have your materials and tools ready, it’s time to bring your cement balloon planters to life. Follow these step-by-step instructions to ensure successful results:
Prepare the Work Area
Choose an area in your home or outdoor space that is clean, well-lit, and properly ventilated. This will help create a comfortable and safe environment for working on your cement balloon planters.
Before you begin, protect the surface you’ll be working on by laying down a plastic sheet or newspaper. This will prevent any spills or splatters from staining or damaging the underlying surface.
The plastic sheet or newspaper will also make cleanup easier once you’re done with the project.
Inflate the Balloons
Inflate the balloon gradually, being mindful not to overinflate it. Leave enough room inside the balloon to accommodate the plants that will be placed in the planter. Remember that the size of the balloon will determine the size of your cement balloon planter.
You can inflate the balloons to the same size for uniformity or vary the sizes for a more eclectic look. s you inflate the balloons, consider the size and type of plants you plan to use, ensuring they will fit comfortably within the finished planters.
While it’s essential to leave enough room for the plants, it’s also important to maintain the structural stability of the balloon. Avoid overinflating the balloon to the point where it becomes too thin or vulnerable to popping.
Mix the Cement
Before handling the cement, it’s important to protect your hands by wearing latex gloves. Refer to the instructions on the bag of Cement All, Rapid Set to determine the appropriate mixing ratio and method.
It’s essential to follow the manufacturer’s guidelines to achieve the desired consistency and strength of the cement mixture. Typically, you will need to combine the cement powder with water in specific proportions.
To ensure accurate measurements, use a liquid measuring cup to measure the amount of water needed for the cement mixture. Pour the measured water into the mixing bowl containing the cement powder.
With your latex gloves on, use a stirring motion to blend the cement powder and water together thoroughly. Continue stirring until the mixture reaches a smooth and uniform consistency.
The cement should not be too runny or too dry, but rather have a workable texture that allows for shaping and adhering to the balloons.
Apply the Cement
Begin by taking the inflated balloon and holding it firmly in your hands or putting it over to a sponge. With the cement mixture ready, start applying it to the surface of the balloon. You can start from the top and work your way down, gradually covering the balloon with the cement mixture. Use your hands to mold and shape the mixture as desired, ensuring a smooth and even layer.
As you mold the cement mixture onto the balloon, make sure to leave a portion uncovered. This uncovered section will serve as the opening of the cement balloon planter, allowing you to place the plants inside later on. It’s important to create a wide enough opening that provides sufficient space for planting and allows for proper drainage and airflow within the planter.
Smooth Out the Surface
After molding the cement mixture onto the balloon, gently smooth out any rough edges or uneven surfaces. You can use your hands or a sponge to achieve a more refined and polished look. Smoothing out the surface will enhance the overall aesthetics of the cement balloon planter and create a professional finish.
Add a Drainage Hole
Push the Q-tip into the cement with a gentle but firm motion, ensuring that it penetrates deep enough to allow excess water to escape. As you press the Q-tip into the cement, it will create a hole that serves as a drainage outlet for the planter.
This hole is crucial to prevent waterlogging and ensure the optimal health of your plants. It allows excess water to escape from the planter, preventing the roots from becoming waterlogged and potentially rotting.
Allow for Drying Time
It’s important to be patient and give the planter sufficient time to dry completely. Avoid rushing the process as premature handling or disturbance can compromise the integrity of the cement structure.
Remove the Balloon
Once the cement has dried, carefully pop the balloon and remove it from the planter. Be gentle to avoid damaging the cement structure.
Prepare the Planter for Plants
Fill the planter with soil, leaving enough space for the roots of your chosen plants. Make sure to select plants that are suitable for the environment and climate of your garden.
Plant and Decorate
Add your chosen plants to the planter, arranging them creatively. Consider different colours and textures to create an eye-catching display. You can also add decorative elements to personalize your cement balloon planter further.
Conclusion
Gardens are undoubtedly spaces of joy and relaxation. With the addition of unique elements like cement balloon planters, you can elevate the beauty and charm of your garden without breaking the bank. This affordable and creative DIY project offers endless possibilit0ies for customization.
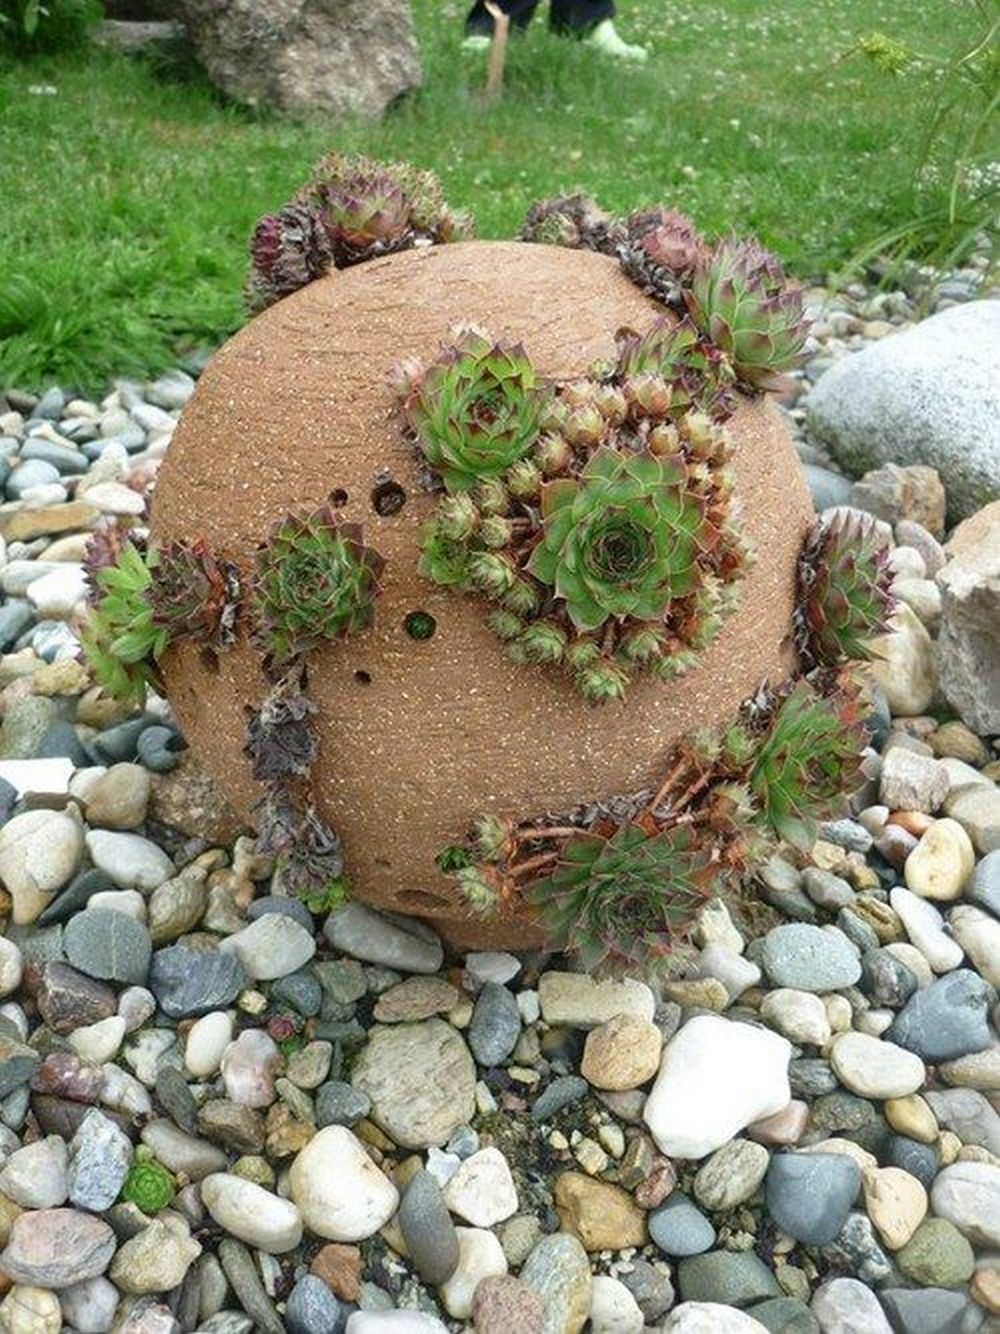
Whether you choose to cluster the planters together or distribute them throughout your garden, they are sure to become eye-catching focal points. These are also great additions to rock landscapes. Unleash your creativity and transform your garden into a personal oasis with these delightful cement balloon planters!
Click on any image to start the lightbox display. Use your Esc key to close the lightbox.



FAQs (Frequently Asked Questions)
- Are cement balloon planters suitable for outdoor use? Yes, cement balloon planters are perfect for outdoor gardens. The cement material is durable and can withstand various weather conditions.
- Can I paint the cement balloon planters? Absolutely! You can personalize your cement balloon planters by painting them in different colours or designs. Use outdoor-grade paint for best results.
- Are cement balloon planters heavy? Cement balloon planters are relatively lightweight, especially when compared to traditional clay or ceramic pots. However, it’s essential to consider the weight of the plants and soil when hanging them.
- How long does it take for the cement balloon planters to dry? The drying time depends on various factors, such as the type of cement used and the ambient temperature. Follow the instructions on the cement packaging for specific drying times.
- Can I reuse the balloons for multiple planters? No, it’s recommended to use fresh balloons for each planter. Reusing balloons can lead to uneven shapes and compromised structural integrity.


