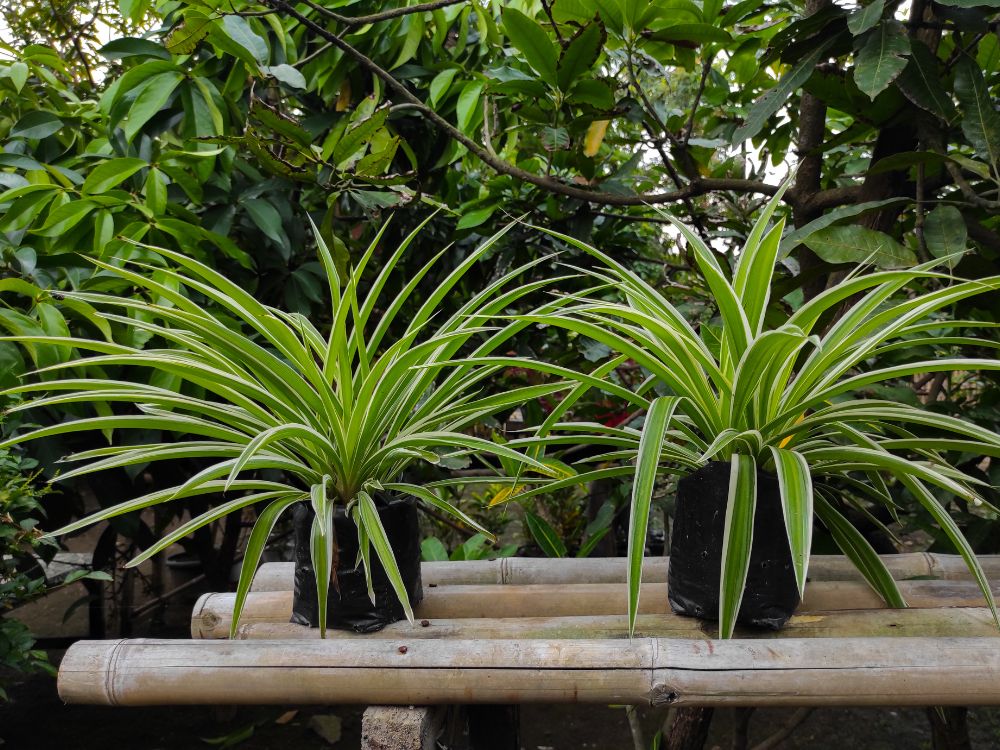
Spider plants are popular houseplants known for their air-purifying abilities. They are easy to grow and adapt to various conditions. If you’re new to plant care, spider plants make a great starting point. Their arching leaves and baby plantlets add visual interest. This guide will show you how to grow spider plants from seed and keep them healthy.
How to Grow a Spider Plant from Seed
Contents
Growing spider plants from seed is rewarding and easy for beginners. You can enjoy healthy, thriving spider plants in weeks with minimal supplies and patience.
Materials Needed
- Spider plant seeds
- Small seed tray or individual pots
- Well-draining potting mix
- Spray bottle for misting
- Plastic dome or clear plastic wrap
- Labels and waterproof markers
Prepare the Seed Tray
Fill your seed tray or pots with moist, well-draining potting mix. Gently level the surface without compacting the soil. Mist the mix lightly until it feels damp but not soggy. Label each container with the planting date and variety.
Sow the Seeds
Place one or two seeds on the surface of each container. Press them lightly into the mix so they have good contact, but do not bury them more than a quarter inch deep. Cover the tray with a plastic dome or plastic wrap to keep the humidity high.
Provide Proper Conditions
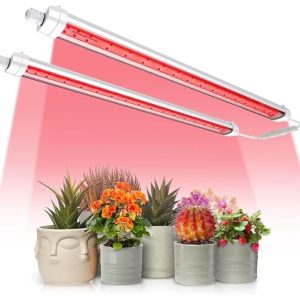
Set the tray in a warm, bright spot away from direct sunlight. The ideal temperature ranges between 70°F and 75°F. Mist the soil once daily to keep it consistently moist. Remove the plastic covering once the seedlings emerge to prevent mold growth.
Transplant Seedlings
When seedlings have two true leaves, gently lift them and transplant to individual pots. Use the same well-draining potting mix and water lightly. Place them in bright, indirect light and water when the top inch of soil feels dry. Over time, gradually introduce them to more light.
Caring for Your Spider Plant
Growing a spider plant is straightforward and rewarding. With consistent care, your plant will thrive, produce vibrant foliage, and even send out baby plantlets you can propagate. These hardy plants adapt to various indoor environments, making them ideal for beginners and busy plant parents alike.
Light Requirements
Place your spider plant in bright, indirect light. Direct sunlight can scorch its leaves, causing browning or yellowing. In lower-light conditions, growth slows and leaves may lose some vibrancy.
If you notice pale or limp leaves, try moving it closer to a window that receives filtered light. Rotate the pot occasionally so all sides of the plant receive equal illumination and maintain even growth.
Watering
Keep the soil evenly moist without letting it become soggy. Water when the top inch of soil feels dry to the touch. Overwatering leads to root rot, often indicated by yellowing leaves and a musty smell from the pot. Underwatering causes brown leaf tips and curling leaves.
Always use room-temperature water to avoid shocking the roots. Ensure excess water drains freely; avoid letting the pot sit in standing water. In winter, reduce watering slightly since growth naturally slows.
Soil and Potting Mix
Use a well-draining potting mix rich in organic matter. A blend of peat moss, perlite, and standard potting soil provides good aeration and moisture retention. Maintain a slightly acidic to neutral pH around 6.0 to 7.0.
Terracotta pots can help wick away excess moisture, but plastic pots retain humidity. Choose based on your home’s dryness. Repot every one to two years when roots become crowded, selecting a container one size larger to allow room for growth. Be gentle when loosening root-bound plants to avoid damage.
Humidity and Temperature
Spider plants prefer moderate humidity levels. In dry homes or during winter heating, leaf tips may brown from low humidity. To boost moisture, mist leaves lightly once or twice a week or place a humidity tray filled with water and pebbles beneath the pot.
Maintain indoor temperatures between 65°F and 75°F (18°C–24°C). Avoid exposing the plant to drafts from doors, windows, or heating vents. Sudden temperature changes can stress the plant.
Fertilizing
Feed your spider plant monthly during the active growing season (spring through summer). Use a balanced, water-soluble fertilizer with an NPK ratio around 10-10-10, diluted to half strength. Excess fertilization can burn roots, leading to brown leaf tips or stunted growth. In fall and winter, when growth slows, reduce feeding to once every six to eight weeks or stop altogether.
Pruning and Cleaning
Trim brown or damaged leaf tips with clean, sharp scissors to maintain a tidy appearance. Remove any dead or yellowing leaves at the base to encourage fresh growth.
Wipe foliage with a damp cloth to clear dust, which can block sunlight and invite pests. If plantlets outgrow the pot, snip them off near the base and pot them separately to expand your collection.
Monitoring and Troubleshooting
Watch for common issues like brown tips, often from fluoride in tap water or low humidity. Yellow leaves may indicate overwatering or nutrient deficiencies. Inspect regularly for pests such as spider mites, mealybugs, and aphids.
If you spot pests, wipe leaves with a mild soapy solution or use insecticidal soap. Root rot appears as mushy, discolored roots, repot immediately in fresh, dry soil. With these care techniques, your spider plant will remain lush, healthy, and an attractive addition to any room.
Benefits of Spider Plants
Growing spider plants offers more than just attractive foliage. They improve indoor air quality and require minimal care.
- Air purification: Spider plants remove pollutants like formaldehyde and xylene from the air. This creates a healthier home environment.
- Low maintenance: These plants thrive in bright, indirect light and tolerate occasional neglect. They don’t need frequent fertilizing or fancy soil.
- Pet-friendly: Unlike many houseplants, spider plants are non-toxic to cats and dogs. You can decorate freely without worrying about curious pets.
- Easy propagation: Spider plants produce baby plantlets that root quickly. You can share new plants with friends or fill multiple pots at little cost.
- Humidity boost: Their lush leaves release moisture into the air through transpiration. This gentle humidity helps prevent dry skin and respiratory irritation.
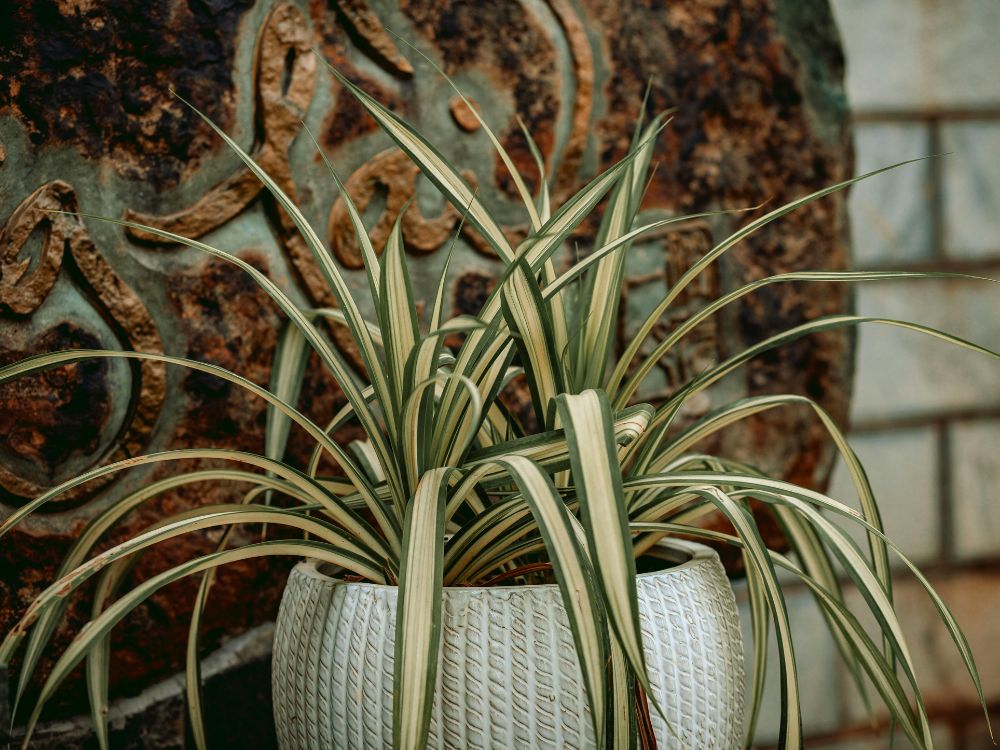
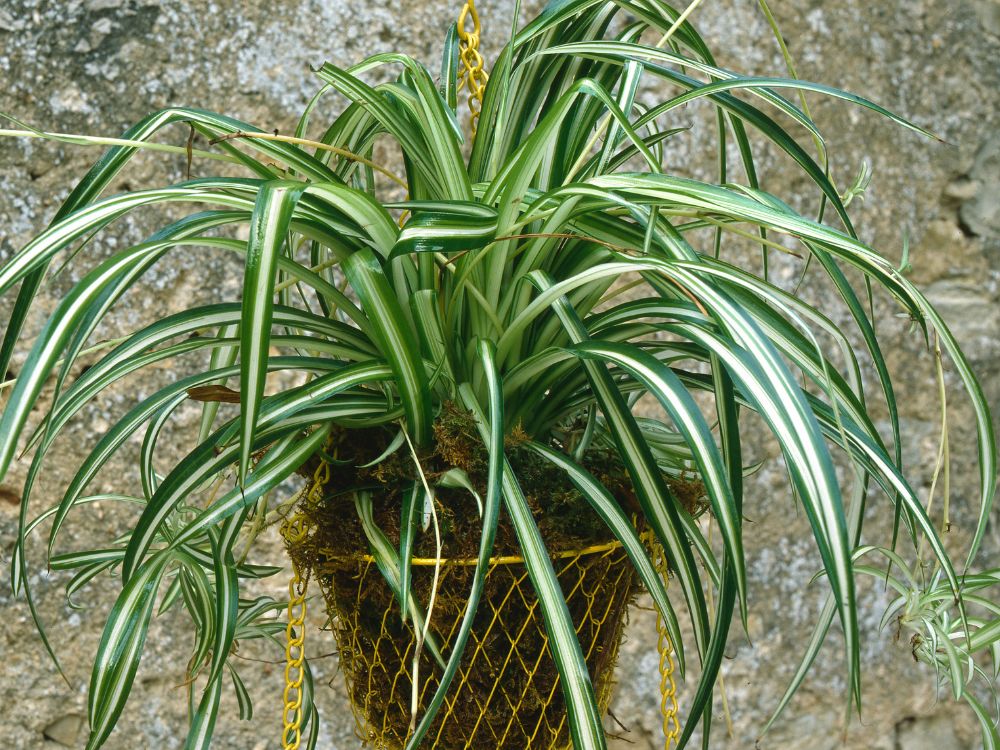
- Visual appeal: The arching green leaves with white stripes add texture and interest to any room. They work well in hanging baskets or on shelves.
- Stress reduction: Studies show indoor plants can reduce stress and improve focus. Having a spider plant nearby brightens your mood and enhances productivity.
Common Pests and Diseases
Growing a spider plant is easy but you still need to watch for pests and diseases that can harm its leaves and roots.
Spider Mites and Aphids
Spider mites thrive in dry, dusty conditions. You’ll see tiny webs and speckled leaves when they feed on your plant. Aphids cluster on new growth, sucking sap and causing curled leaves. To treat these pests, wipe leaves with a damp cloth and spray insecticidal soap. Repeat every week until you see no more signs of infestation.
Mealybugs and Scale Insects
Mealybugs look like small cottony clumps on stems and leaf joints. They feed on sap, leaving behind sticky honeydew that attracts mold. Scale insects appear as small, round bumps on leaves and stems.
They also excrete honeydew, which can lead to sooty mold. You can remove both pests with a cotton swab dipped in rubbing alcohol. Check under leaves and along stems regularly.
Root Rot
Root rot happens when you overwater or pot lacks drainage. The soil stays soggy and roots turn brown and mushy. You might see yellowing leaves or wilting despite moist soil. To fix this, remove the plant from its pot and cut away rotten roots. Repot in fresh, well-draining soil and water less frequently.
Leaf Tip Blight
Brown tips on leaves often occur when humidity is too low or watering is irregular. Fluoride in tap water can also cause leaf tip browning. To prevent this, use filtered or distilled water and keep humidity moderate by misting leaves. Trim brown tips with clean scissors to keep the plant looking neat.
Fungal Leaf Spots
Fungal leaf spots look like small, dark circles with yellow halos. They spread when water sits on leaves for too long. To manage this, remove affected leaves and improve air circulation around the plant. Avoid getting water on foliage when you water. Use a fungicide labeled for indoor plants if spots persist.
Tips for Propagation and Maintenance
Propagating spider plants is simple and rewarding. With a few key steps, you can expand your collection. Proper upkeep ensures healthy growth and lush foliage.
- Use healthy plantlets: Select baby spiderettes with small roots or aerial roots. Place them in water until roots grow about an inch long. This boosts survival when you move them to soil.
- Soil propagation: Fill a small pot with well-draining mix. Make a hole, set the rooted spiderette inside, and firm the soil around it. Keep the soil moist until new growth appears.
- Division method: Remove the mother plant from its pot. Gently tease apart root clumps, ensuring each division has leaves and roots. Repot divisions in fresh soil to give them room to grow.
- Maintain proper watering: After propagating, water gently to settle soil. Keep it lightly moist, not soggy. Overwatering can suffocate new roots and cause rot.
- Provide consistent light: Place young plants in bright, indirect light. Avoid direct sun that can scorch delicate leaves. Adjust position as plants grow to keep light even.
- Regular cleaning: Dust leaves with a soft, damp cloth. Clean foliage helps the plant photosynthesize efficiently and reduces pest attraction.
- Fertilize sparingly: Begin feeding newly rooted plants after a month. Use a balanced liquid fertilizer at half strength every four weeks during spring and summer.
- Monitor humidity: Mist leaves weekly to keep humidity moderate. Higher humidity aids root development and prevents leaf tip browning.
- Prune spent foliage: Remove yellow or damaged leaves to direct energy into new growth. Clean cuts reduce disease risk and maintain plant health.
- Watch for pests: Check new plants for pests like aphids or mealybugs. Treat infestations early with insecticidal soap or neem oil to protect young roots and foliage.
Conclusion
With consistent care, spider plants reward you with lush foliage and air-purifying benefits. They thrive in bright, indirect light and require only simple watering routines. Propagating new spiderettes lets you expand your collection or share plants with friends. Keeping an eye on common pests and trimming brown tips preserves their health and appearance. Enjoy these resilient houseplants as a living accent that improves your home environment.
Spider plants are not the only one that can purify your indoor air. Check out 17 more house plants to consider.