Repotting an orchid can seem intimidating due to its delicate roots. The health of your orchid depends critically on these roots, which often grow above ground and take up moisture from the atmosphere. Repotting an orchid with air roots requires extra care to guarantee the plant’s ongoing vitality. This guide will walk you through the processes so that you may repot your orchid with confidence and knowledge, so preserving its delicate root system.
These guidelines on repotting an orchid will ensure they have the nutrients and room to flourish brilliantly.
How to Repot an Orchid
Contents
Transferring your orchid should not be a difficult job. With the proper care and use of tools, you can preserve your orchid’s health as it heads to a new home. Below is our complete guide to repot an orchid.
Materials You Will Need
- Orchid pot with drainage holes
- Fresh orchid potting mix (bark, sphagnum moss, or perlite mix)
- Clean scissors or pruning shears
- Bowl of lukewarm water
- Rubbing alcohol (for sterilizing tools)
- Optional: Orchid stakes or support clips
Instructions
Step 1: Preparing Your Orchid
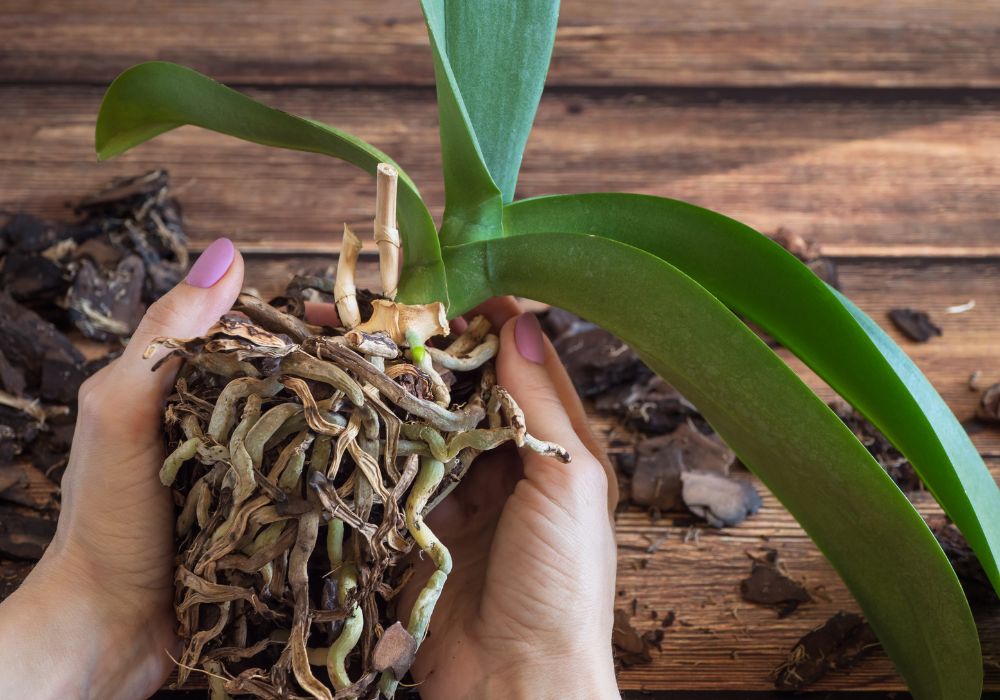
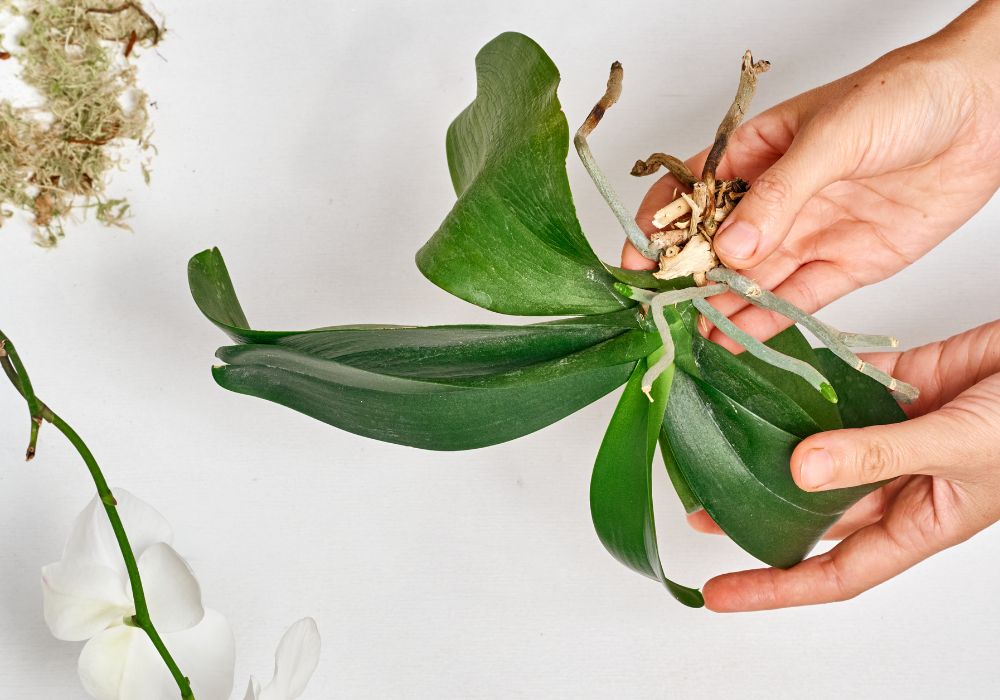
Give your orchid lots of water before repotting. This softens the roots, so increasing their flexibility and simplicity of handling. Tip the pot slightly to gently remove the orchid from its present container, then loosen the roots from the sides.
Avoid forcefully pulling your orchid to prevent root damage. Should the orchid become caught, gently press the pot’s sides to free the root ball. Once out of the pot, look for rot or damage on the roots. Since the air roots are so important to the plant’s health, be careful not to break them.
Step 2: Inspecting and Trimming the Roots
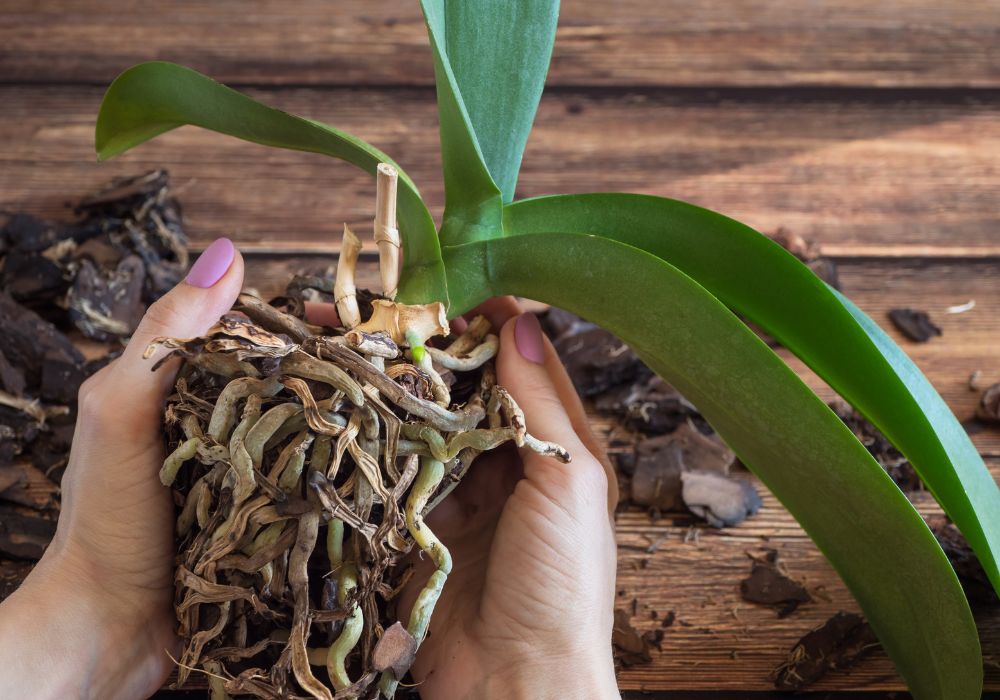
Once you have taken your orchid out of its pot, closely study the roots. Good roots ought to be white or green and strong. Using sterile, clean scissors, remove any indications of rot, soft, mushy, brown roots, from your plants. To stop the spread of germs, clean your scissors with rubbing alcohol before cutting.
Do not damage the air roots, which might seem silvery or white. Keep these roots whole since they are necessary to draw moisture from the air. Cut away any dead or damaged air roots as well; steer clear of cutting healthy ones here.
Step 3: Choosing the Right Pot and Potting Mix
Choose a pot with many drainage holes to enable appropriate airflow and stop water from pooling around the roots. As orchids prefer tight pots, it should be bigger than the last pot, allowing enough room for the roots to spread but not overly big.
Use a potting mix designed especially for orchids, usually combining bark, sphagnum moss, and perlite. These materials replicate an orchid’s natural surroundings and enable outstanding drainage. Steer clear of regular soil, as it absorbs too much moisture and might cause root rot.
Step 4: Repotting the Orchid
Starting with a small bit of fresh orchid potting mix in the bottom of the new pot, Center the orchid in the pot such that the air roots hang organically. Starting around the roots, gently work the potting mix into the spaces between them with your fingertips.
Remember not to pack the mix too tightly; the roots need breathing space. Ensure the air roots are not buried too far; some should remain visible since they are supposed to absorb moisture from the air. Just enough pressure of the mix will hold the orchid steady without compaction once it is firmly in place.
Step 5: Post-Repotting Care
Water the orchid gently following repotting to aid in the settling of the potting mix; do not soak it. To help the orchid recover from the repotting process, place it in a spot with indirect light and good air circulation.
To avoid root shock, cut watering somewhat for the first week or two; orchids require adjusting time. Track the plant for any stress indicators, such yellowing or wilting leaves, and modify its treatment accordingly. If the stem leans, it’s also a good time to help the plant with stakes or clips. Maintaining your usual orchid care schedule will help to guarantee appropriate humidity and light to promote fresh growth.

Why Orchids Develop Air Roots
Orchids are fascinating plants with unique growing habits. One of their most distinctive features is the development of air roots, which often grow outside of the pot, hanging freely in the air. These roots play a crucial role in the health of the plant and understanding them is essential, especially when you need to repot an orchid. This section will explain why orchids develop air roots and what you need to know when caring for your plant.
The Purpose of Air Roots
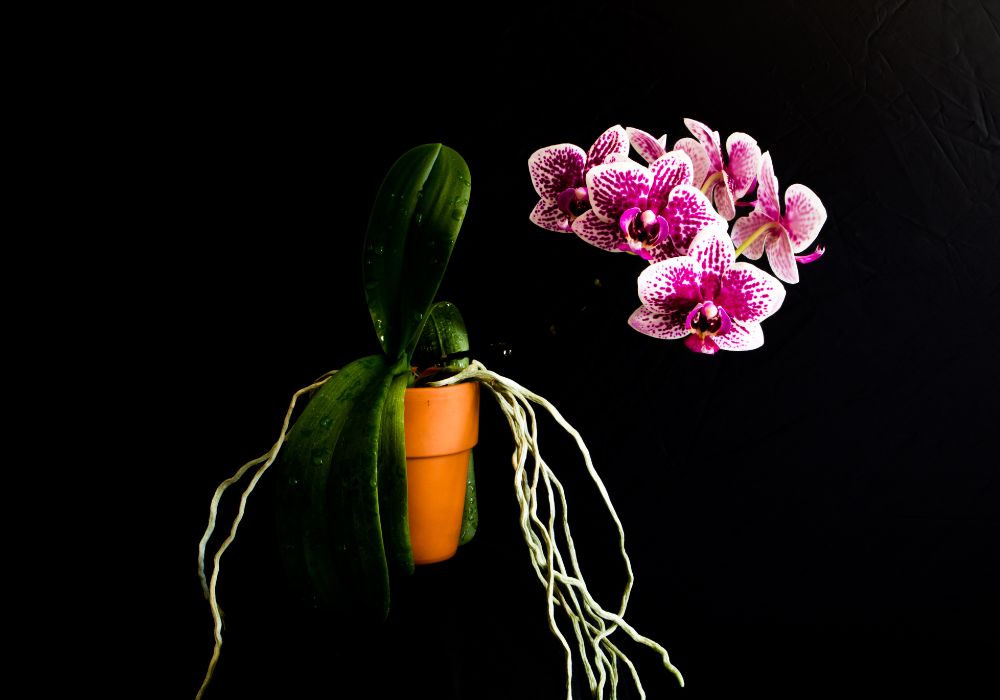
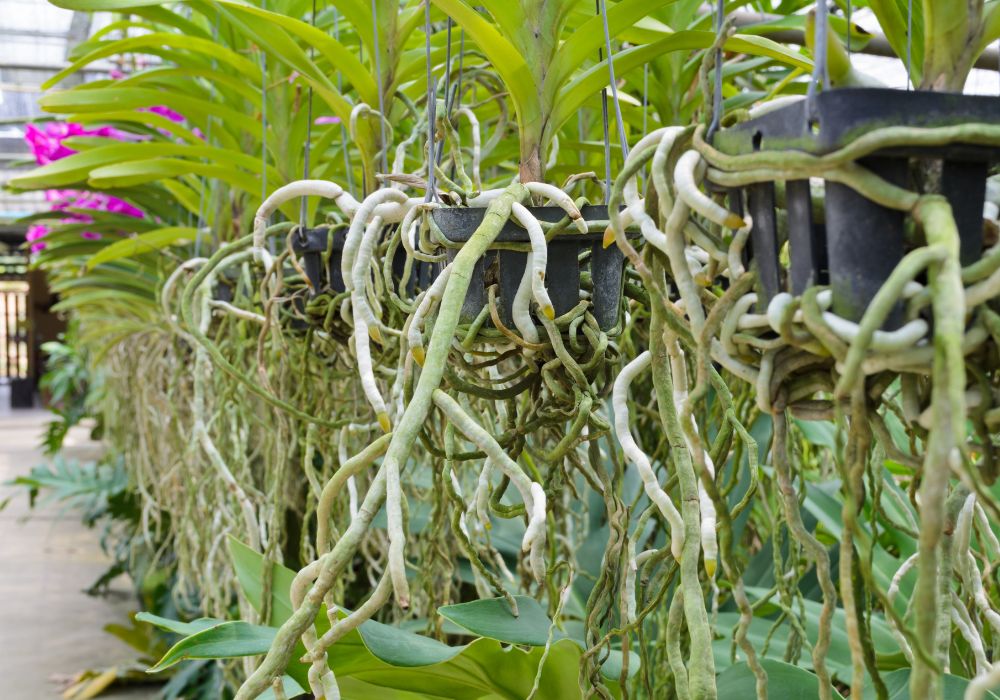
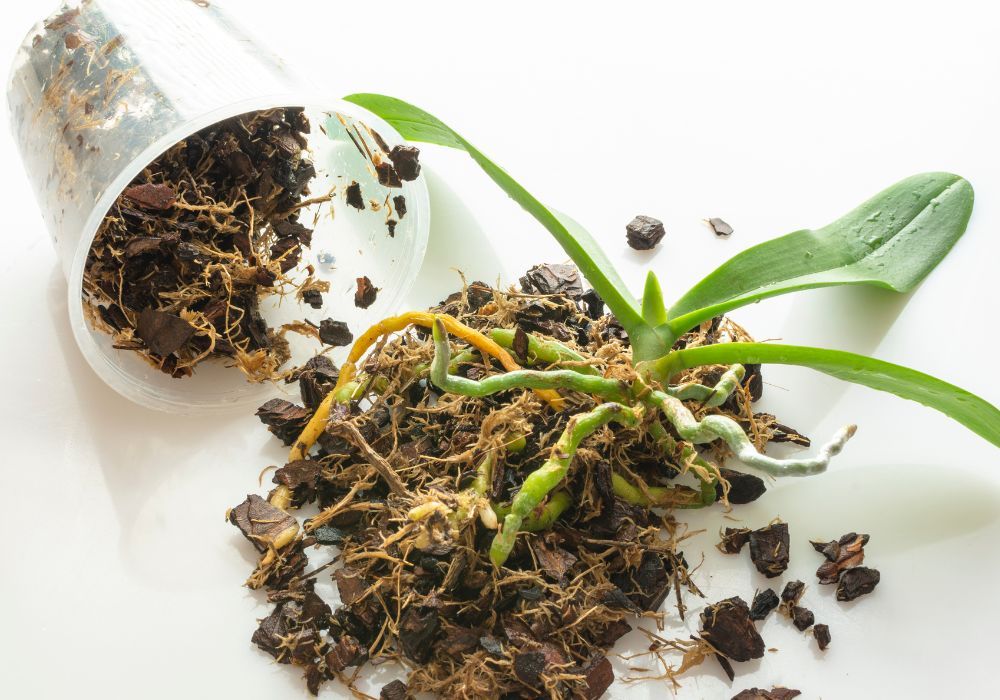
Air roots serve several important functions for orchid. It needs special attention when you repot an orchid. In their natural environment, orchids are epiphytes, which means they grow on trees rather than in soil. Their roots cling to the bark of trees and absorb moisture and nutrients directly from the air. This adaptation allows them to thrive in humid environments with abundant atmospheric water. When you repot an orchid, it’s important to recognize the function of these air roots and handle them with care.
Air roots help orchids absorb moisture and nutrients from their surroundings. In your home, they will serve the same purpose, pulling in humidity from the air and absorbing nutrients from any water or misting they receive. This is why you should avoid burying air roots when you repot an orchid, they are meant to remain exposed to the air for maximum efficiency.
When Do Orchids Develop Air Roots?
Orchids naturally develop air roots as they grow and mature. However, certain environmental conditions may prompt your orchid to grow more air roots than usual. For example, if the humidity levels around your plant are high, you may notice an increase in air roots. This is a normal response, as the plant seeks to take advantage of the moisture in the air.
Another reason your orchid may develop more air roots is if it’s feeling cramped in its pot. Overcrowded roots can push out of the pot in search of more space and better airflow. This is one of the key signs that it’s time to repot an orchid. Repotting will give the plant fresh space to grow and prevent the roots from becoming overly congested.
Should You Remove Air Roots?
It may be tempting to trim off air roots, especially if they’re growing in all directions and looking untidy. However, it’s important not to remove healthy air roots, as they are crucial to your orchid’s survival. When you repot an orchid, you can trim any dead or damaged air roots, but be careful to leave healthy ones intact. Cutting them off can reduce your plant’s ability to absorb moisture, negatively affecting its growth and health.
How Air Roots Affect Repotting
Air roots require special consideration when you repot an orchid. Since they are designed to remain above the soil, you should never bury them completely when transferring your orchid to a new pot. Burying air roots can lead to rot, as they are not designed to be constantly wet like regular roots. Instead, arrange them to have plenty of space to breathe and absorb moisture from the air.
Additionally, the presence of air roots is often a sign that it’s time to repot an orchid. When the roots begin escaping the confines of the pot, it means your orchid is outgrowing its space. By repotting your orchid, you can give its roots, air, and regular, the room it need to continue growing and thriving.
Understanding why orchids develop air roots is key to caring for them properly. These specialized roots help orchids absorb moisture and nutrients, making them essential to the plant’s health. The next time you repot an orchid, remember to carefully handle the air roots, ensuring they stay exposed to the air and don’t get buried in the potting mix. By recognizing the importance of air roots, you can help your orchid continue to grow beautifully.
Common Mistakes to Avoid
Repotting an orchid is an important task for maintaining its health and encouraging its growth. However, it’s easy to make mistakes if you’re unfamiliar with the process, especially when dealing with air roots. Some common errors can hinder your orchid’s development, leading to problems like root rot or stunted growth.
By understanding these mistakes, you can ensure your orchid thrives after being repotted. Here are the most frequent mistakes people make when they repot an orchid, and how to avoid them.
Using the Wrong Potting Mix
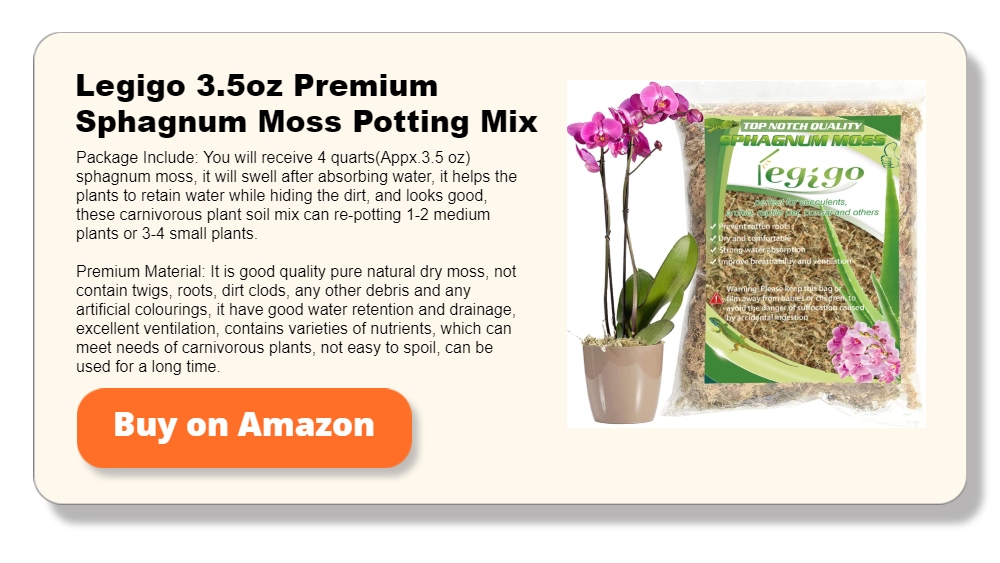
One of the most common mistakes when you repot an orchid is using standard soil or a potting mix that retains too much moisture. Orchids need a special medium like bark, sphagnum moss, or a blend specifically designed for orchids. Regular soil holds too much water and can suffocate the roots, causing root rot. Orchids naturally grow on trees in the wild, meaning their roots need good airflow and drainage to stay healthy.
When you repot an orchid, always choose a potting mix that allows for adequate air circulation around the roots. This helps the plant mimic its natural environment, promoting healthy growth. Avoid dense, heavy mixes, and opt for a medium that allows the water to drain quickly while still retaining enough moisture for the plant to absorb.
Choosing a Pot Without Proper Drainage
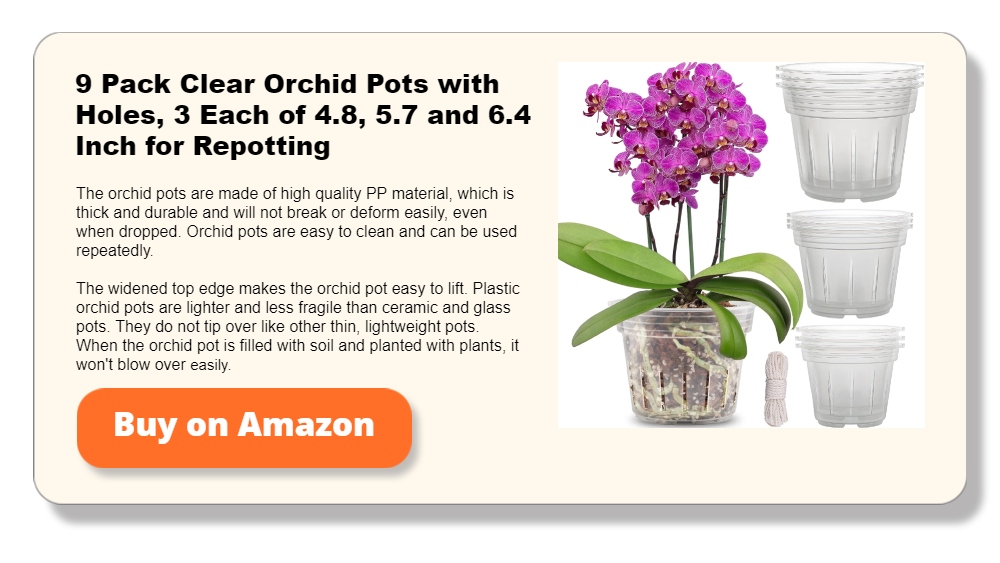
Another frequent mistake is selecting a pot without enough drainage holes. Orchids don’t like to sit in water, and poor drainage can quickly lead to root rot. When you repot an orchid, it’s crucial to choose a pot with sufficient drainage to allow excess water to escape. Some orchid pots even have side holes to improve air circulation.
Without proper drainage, water will accumulate at the bottom of the pot, suffocating the roots and causing them to decay. Always ensure your pot has multiple holes to keep the root system dry and healthy. A clear plastic pot can also help monitor the root health and moisture levels, as it allows you to see how wet the mix is before you repot an orchid.
Overwatering After Repotting
A common mistake when you repot an orchid is overwatering immediately after the process. While orchids do need water to settle into their new environment, too much water can cause the roots to become waterlogged and prone to rot. After repotting, orchids should be watered lightly, allowing the potting mix to settle but not become saturated.
It’s important to monitor the moisture levels after repotting an orchid. For the first few weeks, reduce watering slightly to allow the plant to recover from any stress caused by the move. This helps the orchid adapt to its new environment without being overwhelmed by excessive moisture. Gradually return to your regular watering schedule once the plant shows signs of new growth.
Burying Air Roots
Orchids often develop air roots that grow above the surface of the pot. These roots are essential in absorbing moisture from the air and should not be buried in the potting mix when you repot an orchid. A common mistake is to cover these air roots completely, which can prevent them from functioning properly and even lead to rot.
When you repot an orchid with air roots, keep the roots above the surface or partially exposed. These roots need access to fresh air and humidity to perform their function effectively. If you bury them, they may stay too wet, which can cause them to rot and affect the overall health of the plant.
Using an Oversized Pot
When you repot an orchid, it’s tempting to choose a pot that’s much larger than the previous one, thinking the plant will grow into it. However, orchids prefer snug environments for their roots. A pot that’s too large will retain excess moisture, which can lead to root rot and slow down the plant’s growth. Orchids thrive in pots that allow for a bit of crowding, as this mimics their natural growing conditions on trees.
Select a pot that’s only slightly larger than the current one, with enough room for the roots to expand but not so much space that the plant becomes waterlogged. Keeping the pot size appropriate helps maintain the right balance of air and moisture for the orchid’s root system.
Neglecting to Sterilize Tools
Another mistake when you repot an orchid is failing to sterilize your tools before trimming roots or handling the plant. Orchids are sensitive to bacteria and infections, and using unclean tools can introduce harmful pathogens to the plant. Always clean and sterilize your scissors or pruning shears with rubbing alcohol before cutting any roots or removing dead parts.
Neglecting this step can result in the spread of disease, leading to damaged roots and poor growth. By sterilizing your tools before you repot an orchid, you can prevent infections and help your orchid stay healthy during the repotting process.
Repotting at the Wrong Time
Repot an orchid and timing is everything. Usually when they are not in their most active growth phase, or after they finish blooming, orchids should be repotted. Repotting either too early in the growth cycle or during the bloom will stress the orchid and maybe lead to flower loss or stunted new development.
An orchid should be repotted when it shows indications that it has outgrown its pot, such roots emerging from the drainage holes or circling the pot’s inside. Repotting at the appropriate moment will reduce plant stress and enable smooth adaptation to new pot size.
Not Monitoring After Repotting
Ignoring to check on the plant following the process is one of the last errors to prevent while repotting an orchid. Although repotting can revive an orchid, it can also cause brief stress. Following repotting is crucial to monitor the plant to make sure it is adjusting to its new surroundings.
Periodically check the roots to ensure they are neither overly moist or dry. Fresh roots or leaves are indicators of new development; they show the plant is adjusting to its new habitat. If you observe wilting, yellowing leaves, or other stress indicators, modify your care schedule to enable the orchid to heal.
Although the method to repot an orchid can be delicate, avoiding these common errors guarantees that your orchid remains healthy and keeps growing. A good repot depends mostly on using the correct potting mix, allowing enough drainage, and closely controlling air roots.
Spend some time learning about the requirements to repot your orchid. When you repot it, you will enable it to flourish robustly and beautifully. The long-term health of your plant will be much improved by consistent monitoring and meticulous attention to detail following repotting.
Conclusion
You encourage healthy growth when you repot an orchid. Moving the plant to an optimized location is essential for its growth and health, especially when dealing with air roots. Proper care during repotting ensures your orchid has the space and nutrients it needs to thrive. With attention to detail and the right materials, your orchid will continue to flourish after the transition.
We have more grow guide available. Read our narcissus flower guide next!


