Last Updated on February 4, 2025 by teamobn
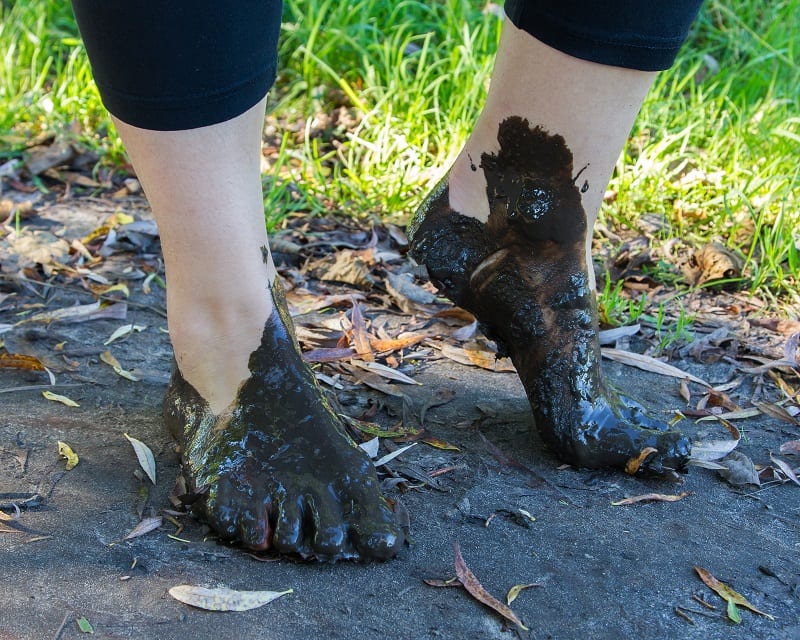
Spring is just around the corner and in many places, this means a time of copious natural moisture. The thawing winter and spring rains soak the ground, and rivers flood into the lowlands. Gardeners are familiar with the heavy dampness of early spring. Low-slung corners in the garden can become muddy or even flooded, sometimes unworkable until late in the growing season.
Working
wet ground is likely to damage soil structure and lead to compaction problems. Any
seeds you sow would probably rot.

Standing Water in the Garden
Contents
Although soil is largely made up of solid particles, there are pores in between the particles that contain oxygen and water. Plants draw almost all of their oxygen needs from those tiny spaces. Soils that have been wet for long periods of time – or worked when wet – lose that stored air.
Waterlogged soil also invites fungal disease while discouraging beneficial bacteria and organisms.
Do you have standing water in your garden? Below are a few strategies you can use to deal with the problem.
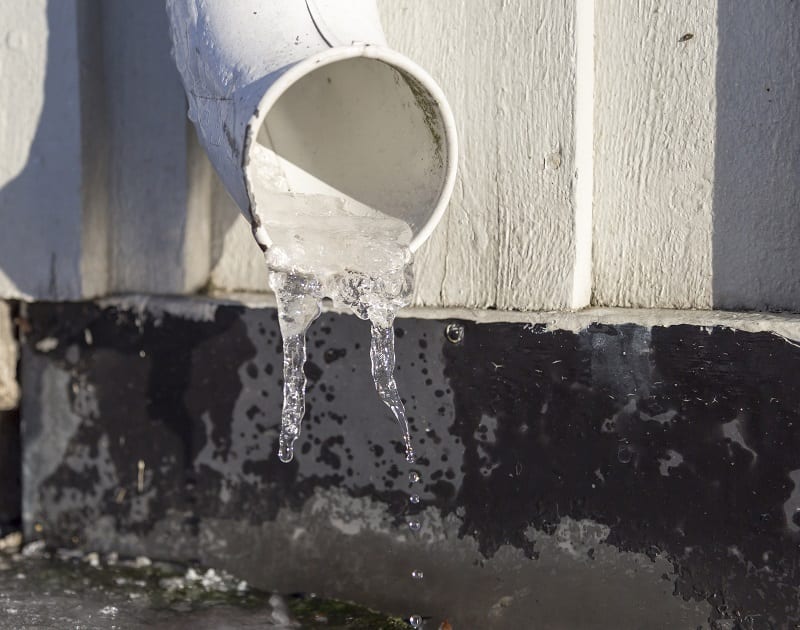
Check Your Downspouts
Standing water in your garden can be frustrating, but before making major changes, it’s important to assess the source of the problem. One of the most common yet overlooked causes is poor downspout drainage. If your gutters and downspouts are directing water to a low-lying area, you may be unintentionally creating a drainage issue. Fortunately, fixing this is often a simple and cost-effective solution.
Identify the Problem Area
Start by observing how rainwater flows from your roof and where it collects after a storm. Check the placement of your downspouts and look for any signs of erosion, soggy patches, or pooling water near your home’s foundation or garden. If water is consistently draining into a problematic spot, it’s time to adjust your setup.
Redirecting the Water Flow
If a downspout is causing excess moisture in your yard, consider extending it to a different location. A simple extension pipe can channel water toward a grassy area, gravel pit, or rain garden where it can safely disperse. Flexible downspout extenders are easy to install and can be adjusted to guide water away from vulnerable areas.
Installing a Splash Block or Drainage System
A splash block placed at the end of a downspout helps direct water farther from your home and reduces erosion. For more severe drainage issues, you may need to install a more advanced system, such as a buried PVC pipe that carries water underground to a designated drainage area.
Regular Maintenance Matters
Clogged gutters and downspouts can contribute to standing water problems. Leaves, dirt, and debris can block proper water flow, causing overflow that soaks into the ground near your foundation. Cleaning gutters regularly and ensuring that downspouts remain clear will help prevent unexpected drainage issues.
Making small adjustments to your downspouts can significantly improve water management in your yard. Before considering costly drainage solutions, take the time to evaluate how water moves around your home and make simple changes that can eliminate standing water with minimal effort.
Build A Berm
If standing water continues to be a problem in your garden and simple fixes like redirecting downspouts aren’t enough, a berm might be the solution. A berm is a raised mound of soil that can help divert excess water, create natural barriers, and improve drainage. These earthen structures not only serve a functional purpose but also enhance the aesthetics of your landscape.
How a Berm Helps with Drainage
Berms work by redirecting water away from low-lying areas and preventing it from pooling. They act as natural barriers, guiding rainwater toward designated drainage areas such as dry creek beds, rain gardens, or storm drains. By elevating the soil, berms also create drier planting spaces, making them ideal for flower beds, shrubs, or even small trees.
Choosing the Right Location
Before building a berm, assess your yard to determine where water collects and where it should be redirected. The ideal spot is near the problem area but positioned in a way that will channel water toward a better drainage zone. Ensure that you aren’t inadvertently directing water toward your home’s foundation or your neighbor’s property.
Constructing a Berm
Start by outlining the shape of the berm using a garden hose or stakes and string. A gentle, natural slope is more effective than a steep mound, as it allows water to flow gradually. To build the berm:
- Layer the base with coarse materials – Use sand, gravel, or rubble as the foundation. This improves drainage and prevents soil compaction.
- Add topsoil and compost – Once the base is in place, layer high-quality topsoil mixed with organic matter. This ensures stability while supporting plant growth.
- Shape the berm – Smooth and compact the soil, creating a gradual slope. The peak should be rounded, and the edges should taper off gently for a natural look.
- Plant strategically – Adding vegetation helps anchor the soil, preventing erosion. Choose drought-tolerant plants or native species that can thrive in the new landscape.
Maintaining a Berm
After construction, monitor the berm during heavy rainfall to see how effectively it diverts water. If necessary, adjust its shape or reinforce areas prone to erosion. Mulching around plants will help retain soil structure, and periodic weeding will keep the berm looking tidy.
By building a berm, you create a functional and attractive solution to standing water. Whether used to enhance garden aesthetics or improve drainage, a well-designed berm can transform a soggy yard into a thriving, water-efficient space.
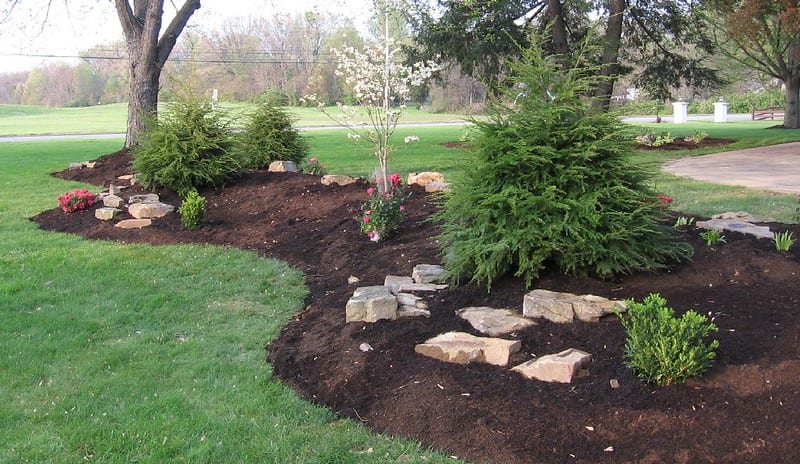
(Photo: Mara/Flickr)
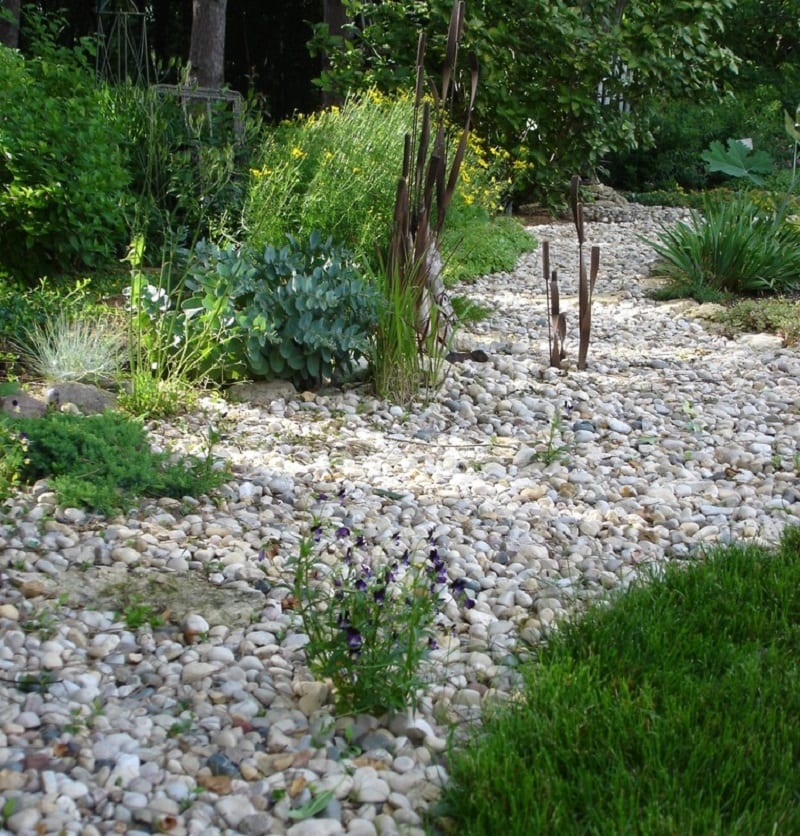
Create a Dry Creek Bed
A dry creek bed is a functional and visually appealing way to manage standing water in your yard. By mimicking the natural flow of a stream, it channels excess water away from low-lying areas, reducing pooling and soil erosion. Beyond its practical use, a dry creek bed can enhance your landscape, adding texture and movement to your outdoor space.
How a Dry Creek Bed Works
A dry creek bed acts as a natural drainage system that helps water flow away from problem areas. During heavy rains, the shallow trench captures runoff and directs it toward a more suitable location, such as a rain garden, well, or drainage outlet. When not in use, it remains a decorative feature, blending seamlessly with your garden’s design.
Planning the Layout
Before digging, assess the flow of water in your yard. Identify the low spots where water collects and determine the best path to guide it away. A well-planned dry creek bed should follow the natural contour of the land, winding slightly rather than forming a straight trench. This not only improves drainage efficiency but also gives it a more natural appearance.
Building the Dry Creek Bed
Once you’ve mapped out the location, follow these steps to create an effective and aesthetically pleasing dry creek bed:
- Excavate the trench – Dig a shallow trench about 6–12 inches deep and at least 12–36 inches wide, depending on the amount of water you need to redirect. The trench should have a gentle slope to help water flow naturally.
- Layer with landscape fabric – To prevent weeds from growing and to keep soil from washing away, line the trench with a breathable landscape fabric. This allows water to drain while keeping the structure intact.
- Add a gravel base – A layer of gravel at the bottom improves drainage and gives the creek bed a structured look. Choose river rock, crushed stone, or pea gravel for an authentic appearance.
- Place larger rocks and boulders – Arrange medium to large stones along the edges of the creek bed to create a natural-looking stream. Position them in irregular patterns to mimic the randomness of real creek beds.
- Incorporate plants for aesthetics and stability – Drought-tolerant plants, ornamental grasses, and native species can soften the edges and prevent erosion. Ground cover plants like creeping thyme or sedum add texture and visual appeal.
- Enhance with decorative elements – For added charm, consider placing a small wooden bridge, stepping stones, or even a dry waterfall effect with stacked rocks. These features make the dry creek bed a standout element in your landscape.
Maintaining Your Dry Creek Bed
A well-built dry creek bed requires minimal maintenance. However, occasional upkeep will keep it functioning effectively:
- Remove debris, leaves, and silt buildup that may obstruct water flow.
- Reposition stones if they shift after heavy rain.
- Refresh gravel or add new plants to maintain its appearance.
With a little planning and effort, a dry creek bed can transform a waterlogged yard into a beautiful and efficient drainage solution. It not only helps manage excess water but also adds a unique, natural element to your outdoor space.
a rain garden or a well.
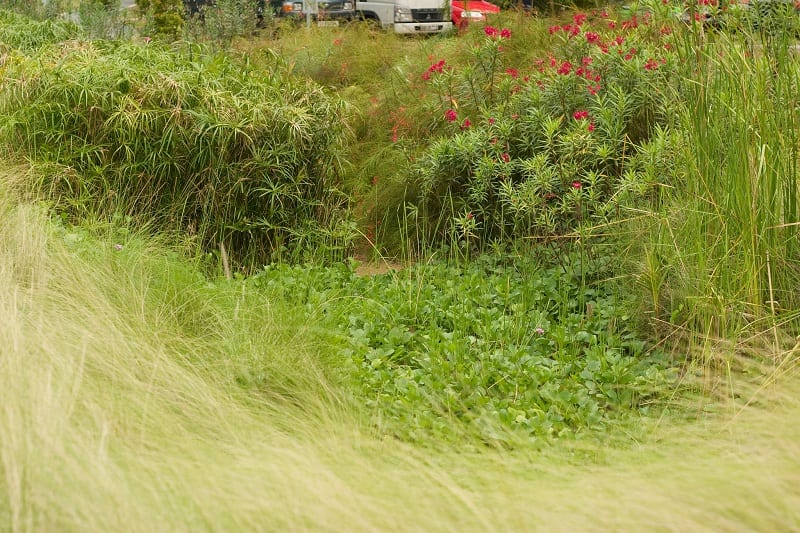
Grow A Rain Garden
A rain garden is an eco-friendly solution for managing excess water while enhancing the beauty of your landscape. Designed to collect and absorb runoff from rainstorms, it prevents standing water from accumulating in low-lying areas. By using water-loving plants, a rain garden naturally filters rainwater, improves soil health, and supports local biodiversity.
How a Rain Garden Works
Unlike a typical flower bed, a rain garden is strategically placed where water naturally pools after rainfall. It slows down runoff, allowing water to seep into the soil instead of forming stagnant puddles. The plants within a rain garden have deep, fibrous roots that help absorb moisture and prevent erosion. Additionally, they act as natural filters, removing pollutants and debris from rainwater before it enters the groundwater supply.
Choosing the Right Location
Selecting the ideal spot is key to a successful rain garden. It should be positioned at least 10 feet away from your home to prevent foundation damage but close enough to capture runoff from driveways, downspouts, or other drainage points. Avoid areas with compacted soil or where water sits for more than 48 hours after a storm, as this may indicate poor drainage. A slight slope is ideal for directing water into the garden naturally.
Designing and Constructing a Rain Garden
Once you’ve chosen a location, follow these steps to build an effective rain garden:
- Excavate a shallow depression – Dig a basin about 6–12 inches deep, sloping the sides gently to encourage water retention and slow absorption. The size should be based on the amount of runoff you need to manage.
- Improve the soil – If the area has heavy clay soil, amend it with sand and compost to improve drainage and aeration. The goal is to create loose, absorbent soil that holds water while allowing excess moisture to filter through.
- Choose water-loving plants – Select native species that thrive in moist conditions. Good choices include blue flag iris, swamp milkweed, Joe Pye weed, and cardinal flower. These plants tolerate fluctuating water levels while supporting pollinators like bees and butterflies.
- Create planting zones – Organize plants based on their moisture tolerance. Place the most water-loving species in the lowest part of the garden, while drought-tolerant plants can be positioned along the outer edges.
- Mulch for moisture control – Apply a 2–3 inch layer of shredded bark or wood chips to retain moisture, reduce weeds, and prevent soil erosion.
Benefits of a Rain Garden
A well-designed rain garden offers multiple benefits beyond just water management:
- Reduces the risk of standing water and soil erosion.
- Filters out pollutants from runoff, improving water quality.
- Provides a habitat for pollinators, birds, and beneficial insects.
- Enhances the aesthetics of your yard with a lush, diverse plant mix.
- Requires minimal maintenance once established, needing only occasional weeding and mulching.
Maintaining Your Rain Garden
To keep your rain garden in peak condition, inspect it after heavy rainfall to ensure proper drainage. Remove weeds that compete for nutrients, trim back overgrown plants, and refresh the mulch layer as needed. If sediment accumulates, lightly aerate the soil to restore its permeability.
A rain garden is a sustainable and beautiful way to handle standing water in your yard. By incorporating native plants and thoughtful design, you can transform a problem area into a thriving, low-maintenance landscape feature that benefits both your garden and the environment.
When All Else Fail
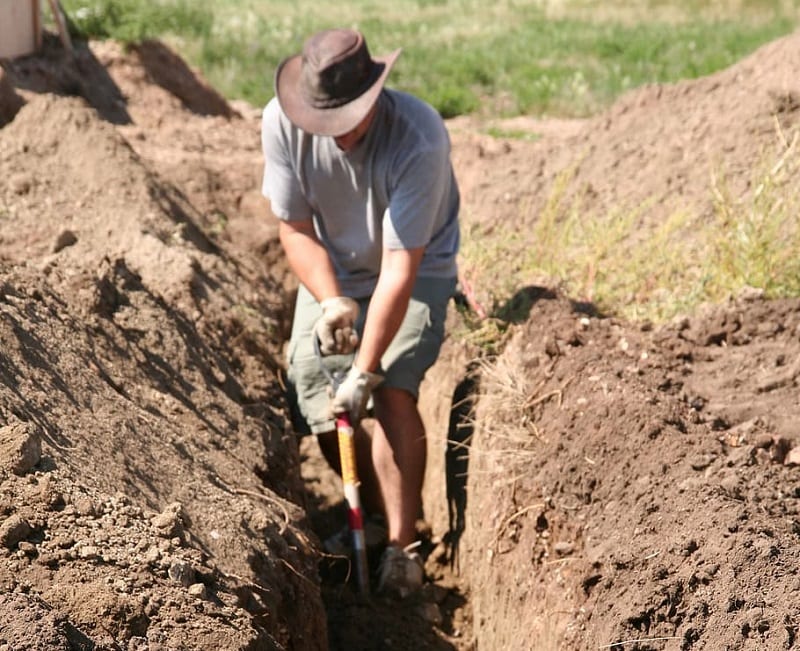
While standing water in the yard can be exasperating, gardeners can make adjustments. But if all else fails, you can simply drain the water away through an underground drainage pipe. This will only work if you have an area to discharge the water that’s lower than the inlet. Once you’ve found that area, dig a slowly sloping trench from the source to the outlet. You can then lay a plastic catch basin at the source and attach it to the discharge with a length of PVC drain pipe.
This system has a few advantages over a French drain. Since the pipe is not perforated, there’s no need to provide gravel for drainage, according to the Family Handyman.
Before doing this, you should make sure that the excess water you’ll be draining contains no traces of synthetic fertilizers, herbicides, and pesticides. Nobody wants those chemicals polluting groundwater reserves.
Conclusion
Managing standing water in your yard requires a combination of smart drainage solutions and strategic landscaping. Simple fixes like redirecting downspouts, building berms, and installing dry creek beds can effectively channel excess water, while rain gardens provide a natural way to absorb and filter runoff. With the right approach, you can transform problem areas into functional, attractive, and environmentally friendly features that enhance your outdoor space.