Last Updated on August 16, 2024 by teamobn
Who would have ever thought that gourds have other uses than just being a ‘plant’? Of course, we have heard about other fruits being used for something else – like the lemon peel used as an air freshener but, gourds? Really? How?
My mother-in-law loves gardening and she introduced this project to me. At first, I was wary of the idea. I didn’t think it would work. But surprisingly, it did!
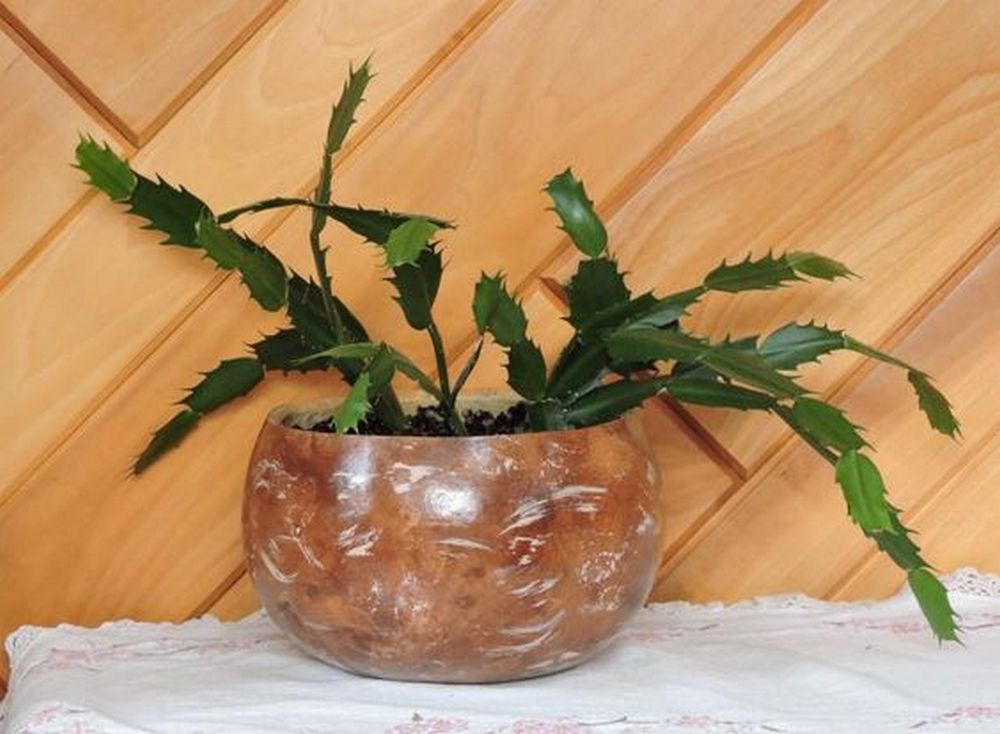
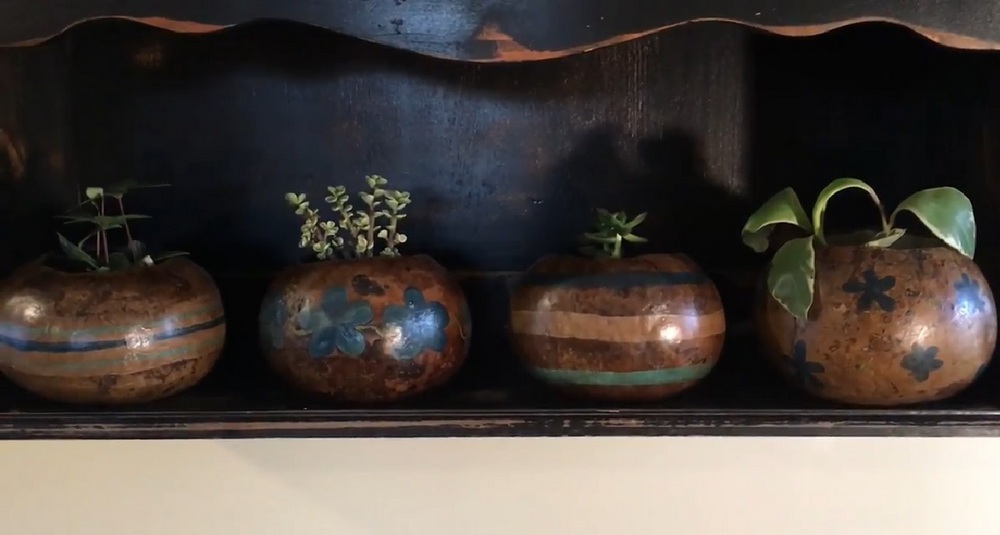
Well, we have to pay tribute to their hard skin. Because of it, gourds can be used as plant-box replacements. There’s no need to purchase plant boxes anymore; instead, you may plant your seeds inside the gourds. You may even decorate the outside, depending on your preference.
Building a Gourd Planter
Contents
Materials
- Gourd
- Acrylic paint
- Stain
- Clear Acrylic Sealer
Tools
- Butter knife
- Sandpaper
- Pencil
- Paint brushes
Instructions
Step 1: Select and Prepare Your Gourd
- Choose a gourd that is the right size for your intended plant and ensure it has a hard, intact surface without any cracks or soft spots.
- Wash the gourd thoroughly with soapy water to remove any dirt and debris, then rinse and allow it to dry completely.
Step 2: Hollow Out the Gourd
- Cut the top off the gourd using a butter knife. You can make a straight cut or design it in a jagged or patterned edge for additional visual interest.
- Scoop out the insides with the butter knife, removing all seeds and membranes. For tougher sections, you might need to scrape firmly.
Step 3: Sand the Gourd
- Smooth the edges and interior of the gourd using sandpaper. This will help in removing any rough spots and prepare the surface for painting.
- Wipe down the gourd after sanding to remove any dust.
Step 4: Decorate Your Gourd
- Sketch your design on the gourd with a pencil. This could be simple patterns, elaborate scenes, or anything that suits your style.
- Apply a base coat of acrylic paint and let it dry. This will help your additional colors adhere better and enhance their vibrancy.
- Paint your design using various colors. Be creative and make it personal! Let the paint dry between coats if you are applying multiple layers.
Step 5: Apply Stain
- Stain the gourd to give it a richer finish. Use a paintbrush to apply the stain evenly over the painted areas and the natural parts if desired. Wipe away excess stain with a cloth and allow it to dry.
Step 6: Seal the Gourd
- Apply a clear acrylic sealer to the entire gourd, both inside and out. This will protect the paint and stain from moisture and make the planter more durable. Apply several coats for best results, allowing drying time as specified on the sealer’s instructions.
Step 7: Final Touches
- Drill drainage holes in the bottom of your gourd if it will be used for live plants. This is crucial for preventing water accumulation and ensuring plant health.
Step 8: Add Your PlantFill the gourd planter with suitable potting soil and plant your choice of flowers, herbs, or small greens. If you’re not using it for live plants, you can use it to hold artificial plants or even as an organizer for small items.
Click on any image to start the lightbox display. Use your Esc key to the lightbox.

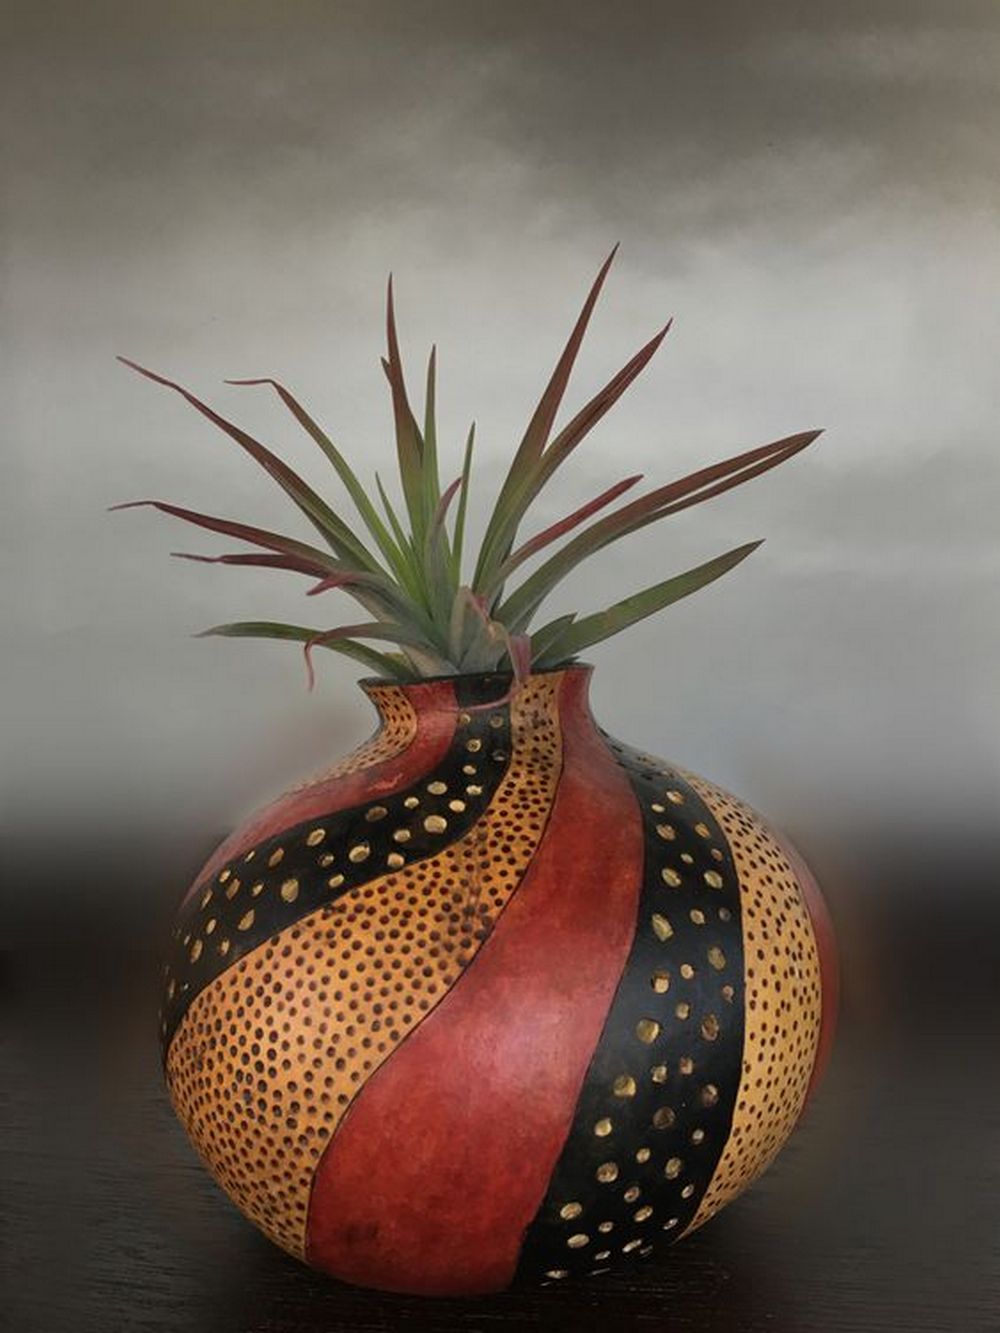
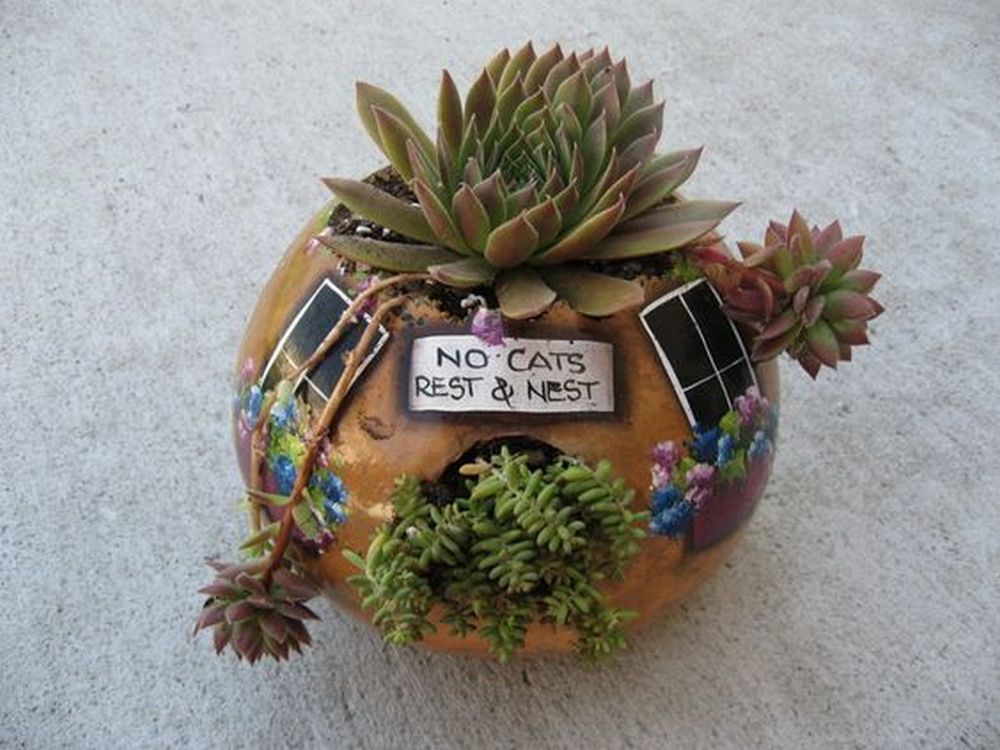
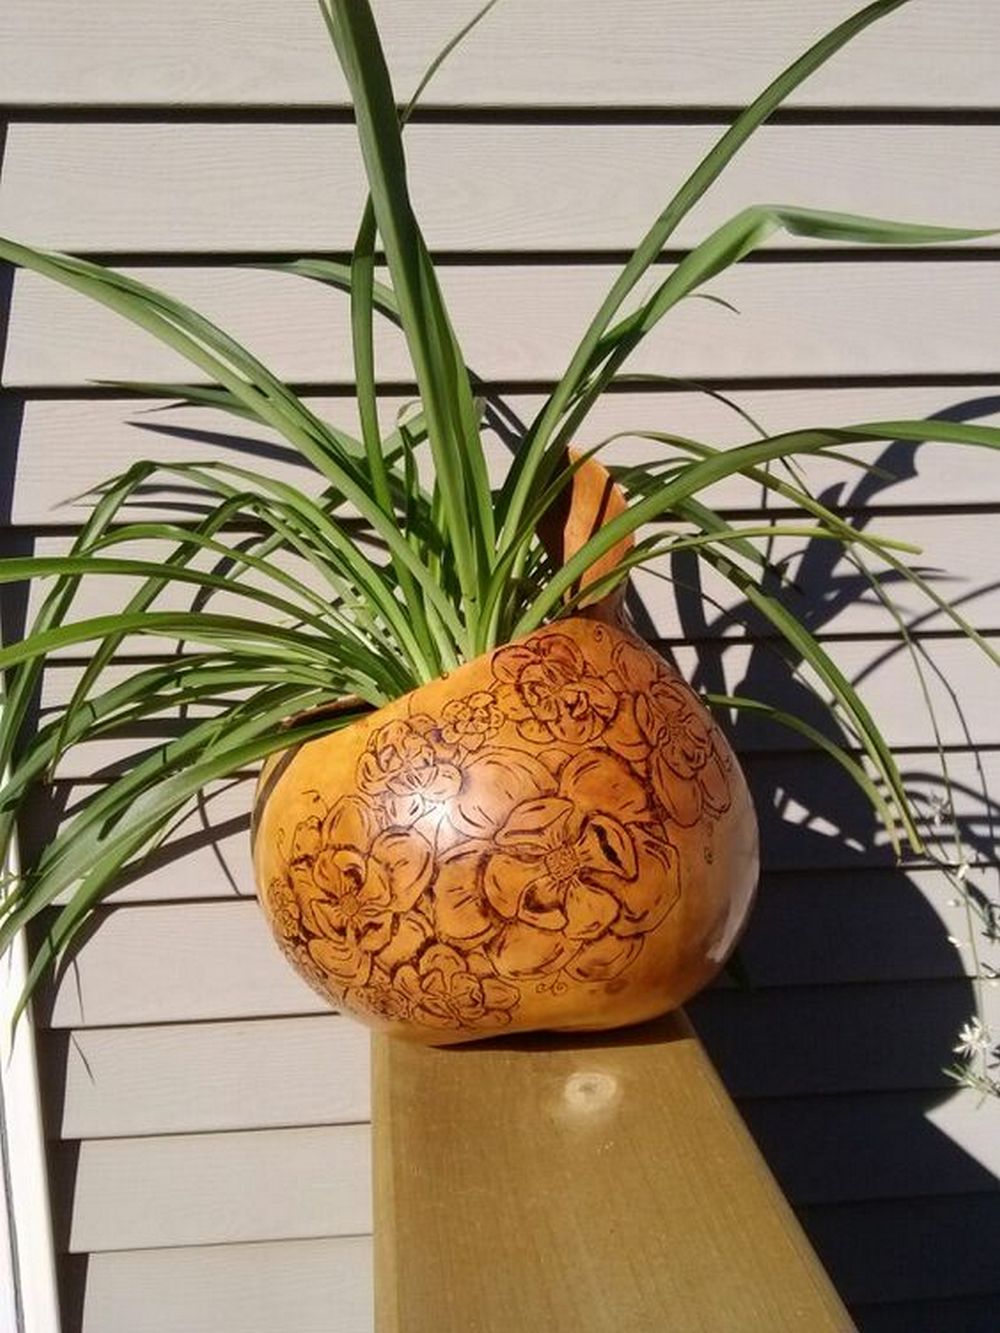

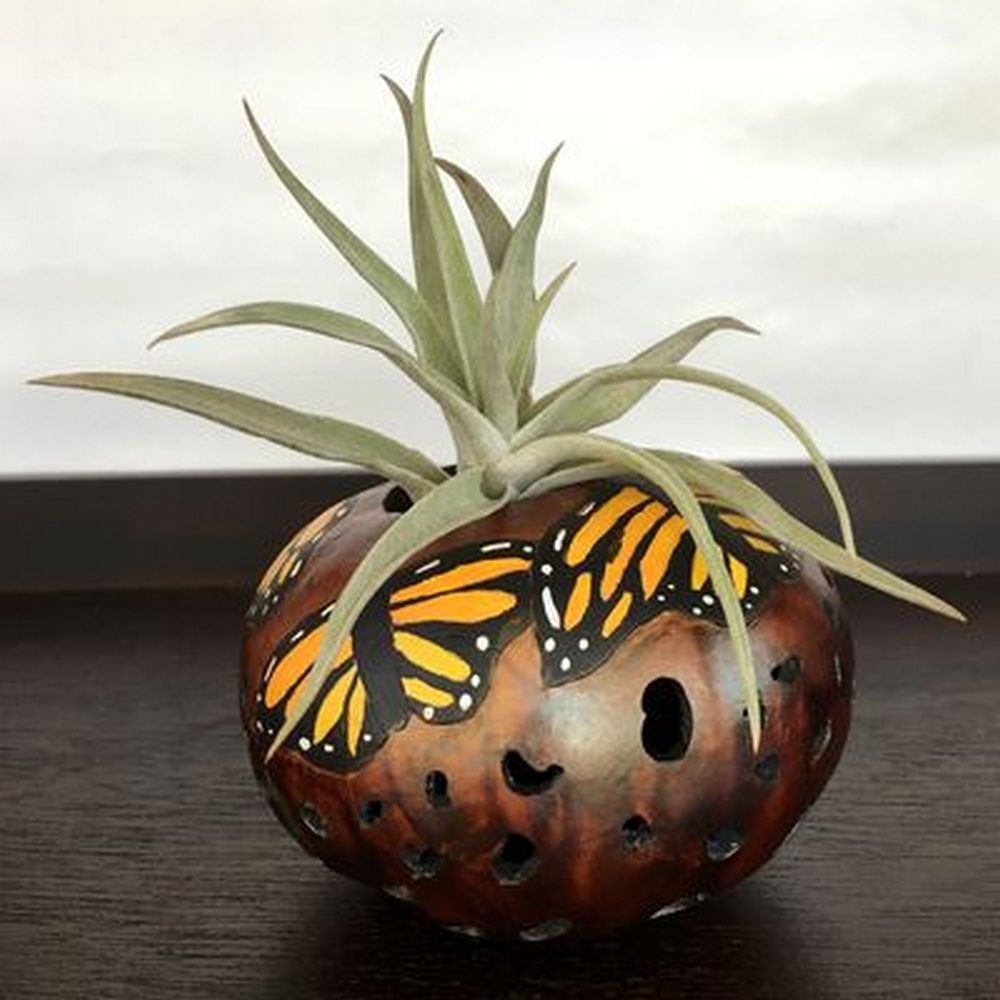

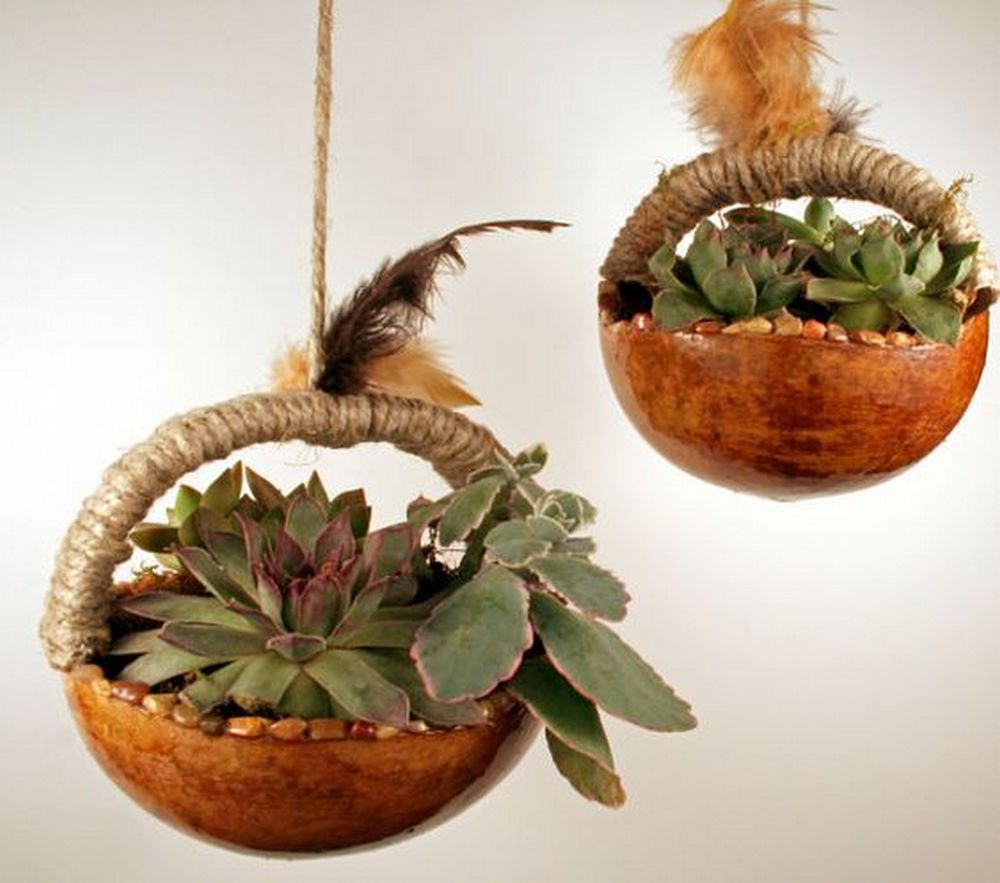
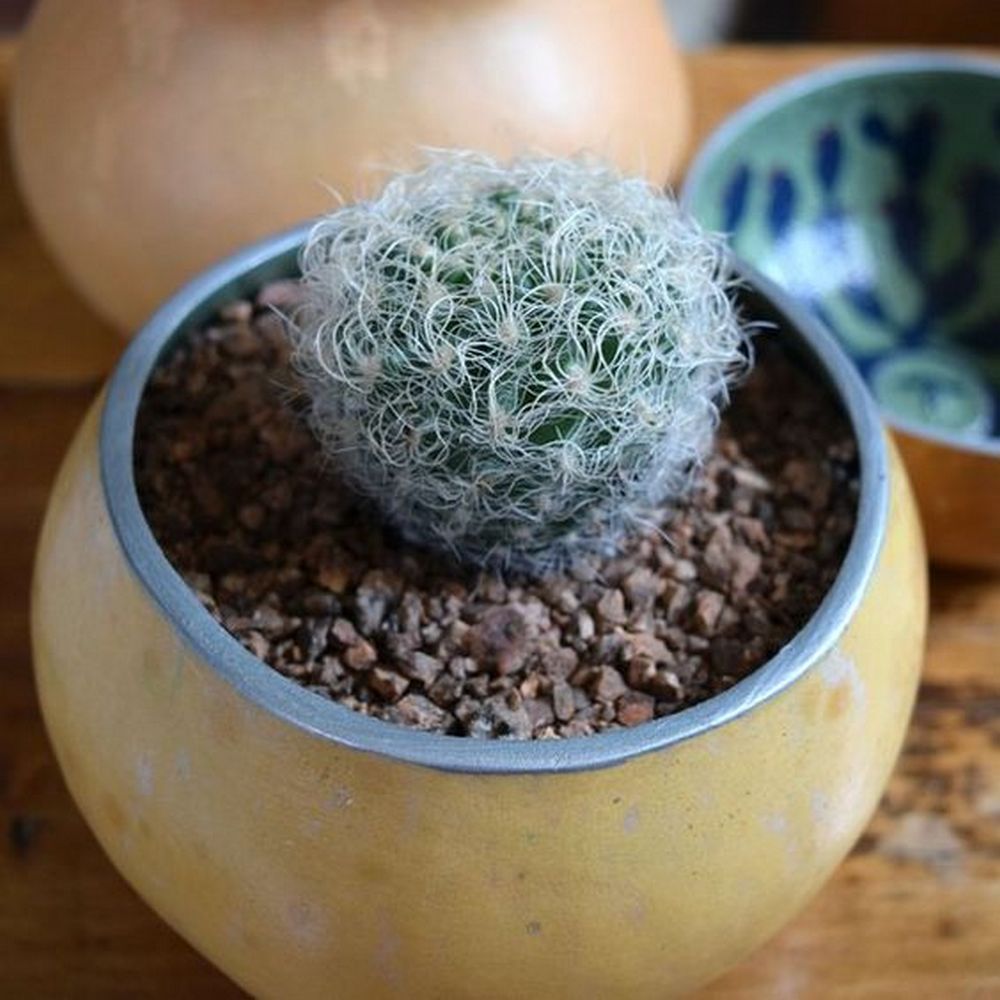
Watch the video below to learn how to make a gourd planter…
Preparation and Treatment of Gourds
Making a gourd planter presents a decorative and environmentally friendly way of gardening. The gourd must be properly prepared and treated if it is to last through the seasons and offer a safe habitat for your plants. Here’s how to treat and prepare gurds for usage as planters:
Selecting the Perfect Gourd
Making your gourd planter calls for first careful selection of the gourd type. Choose firm gourds with a flawless, unbroken surface. Mature, dried gourds are less prone to decay and more workable, thus they are advisable to use.
Cleaning the Gourd
Your gourd must be first completely cleaned to eliminate any dirt and organic residue before turning it into a gourd planter. Using warm water and a light detergent, wash the outside. Use a scrub brush to gently clean the surface if the gourd has mildew or some tough stains.
Hollowing Out the Gourd
You have to hollow your gourd out if you want it turned into a gourd planter. Depending on the intended form of your planter, cut the top or one side of the gourd with a sharp knife. Using a spoon or another like instrument, remove all seeds and fibers. This hollowing process gets the gourd ready to be a plant and soil receptacle.
Drying the Gourd
The gourd planter must be totally dry following hollowing to stop mold development and get it ready for further treatment. For several days, leave the gourd in a dry, well-ventilated area until the inside and cut edges feel dry to the touch.
Sanding and Smoothing
Sand the gourd planter’s inside and outside once dry to smooth out any sharp edges and get it ready for finishing treatments. This stage is essential to guarantee a good application of sealant and paint, so giving a more polished appearance.
Sealing the Gourd
Apply a clear sealant inside and out to guard your gourd planter from moisture and damage. Any decorative accents you put on the gourd’s outside will also help to retain this sealant. For the best protection, several coats could be required; hence, enough drying time between each coat is important.
Following these preparation and treatment guidelines will help to guarantee that your gourd planter stays a vivid and strong component of your garden décor for next seasons. Take pleasure in transforming a basic gourd into an exquisite and useful work of art!
Planting and Care Tips
A creative and environmentally friendly approach to present plants is turning a gourd into a planter. To make sure your gourd planter thrives, though, constant care and effective planting are absolutely vital. These ideas will help you decide which plants to use, arrange them for success, and keep your gourd planter looking great all through the seasons, regardless of your level of experience with gardening.
Choosing Plants for Your Gourd Planter
Think on the size of the gourd and the surroundings where the planter will be placed while choosing plants for your gourd garden. Because of their little root systems and adaptability, succulents, small herbs, or annual flowers are great choices. Choose plants that can coexist peacefully in the same container by selecting those needing comparable levels of water and sunlight.
Preparing the Soil
Plant health in your gourd planter depends mostly on good soil preparation. Choose a top-notch potting mix with good aeration and drainage. Particularly in a gourd planter to prevent water from sitting at the bottom and causing rot, you can enhance commercial potting soil with perlite or vermiculite to improve drainage.
Planting in the Gourd Planter
Once your gourd planter is prepared and sealed, and you’ve chosen the right soil mix, it’s time to plant. Fill the gourd about two-thirds full with your potting mix. Arrange your plants inside, gently spreading the roots. Add more soil around the plants to secure them in place, leaving about an inch of space from the top of the gourd to avoid overflow when watering. Tamp the soil gently to eliminate air pockets.
Watering Your Gourd Planter
Watering needs can vary based on the plant species, the size of the gourd planter, and the climate conditions. Start by watering thoroughly after planting to settle the soil around the roots. Going forward, check the soil moisture regularly by touching the soil; if the top inch is dry, it’s time to water. Be careful not to overwater, as the gourd’s natural materials can retain moisture longer than traditional pots.
Providing Adequate Light
Most plants in a gourd planter will need plenty of light to thrive, although the specific needs can vary. Place your gourd planter in a location where it will receive the appropriate amount of sunlight for the chosen plants. If you are growing herbs or vegetables, they typically require at least six hours of direct sunlight per day. For indoor settings, a south-facing window is ideal, or consider supplemental lighting if natural light is insufficient.
Fertilizing and Ongoing Care
Feed your plants in the gourd planter with a balanced, water-soluble fertilizer, following the manufacturer’s recommendations for dilution and frequency. Over-fertilizing can harm the plants, so it’s important to follow guidelines carefully. Additionally, monitor your plants for signs of disease or pests and address any issues promptly to keep the gourd planter healthy.
Seasonal Adjustments
Adjust care routines as seasons change. During hot summer months, your gourd planter may require more frequent watering. In contrast, during cooler months, reduce watering and protect the planter from frost by bringing it indoors or placing it in a sheltered area.
By following these planting and care tips, you can ensure that your gourd planter not only adds a unique aesthetic touch to your garden or home but also supports healthy plant growth. Enjoy the beauty and satisfaction of nurturing life in such a distinctive and sustainable way.
Conclusion
Gardeners wishing to give their area a natural touch will find gourd planters to be a great option since they provide a special mix of environmental sustainability and visual appeal. Apart from their biodegradability and customizing ability, these planters provide an artistic approach for reusing natural resources. Using these imaginative planters accentuates any garden or house with their rustic appeal and adaptability.


