Last Updated on March 28, 2024 by teamobn

Serious gardeners often make their own compost. While it’s easy to buy compost from the store, there’s something satisfying about making your milk crate composter. It’s inexpensive and you know which mixture works best on your plants.
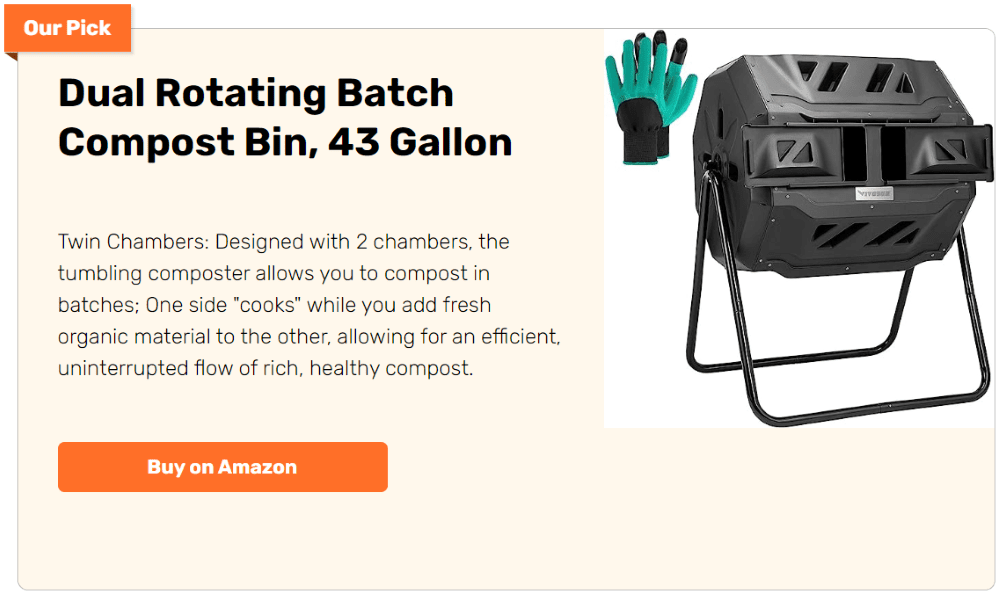
There are a lot of DIY compost bins projects that you can easily use. For example, there are those made from wooden pallets, cinder blocks, bricks, cardboard boxes, and straw bales. To add to this list, you can also use milk crates for composting.
If you’re an avid gardener and you already have milk crates at home, this project is for you. It’s an inexpensive project that you’ll surely appreciate. Plus, it’s easy to make, too. Gather up your tools and materials and start working!
Building a Milk Crate Composter
Contents
Materials
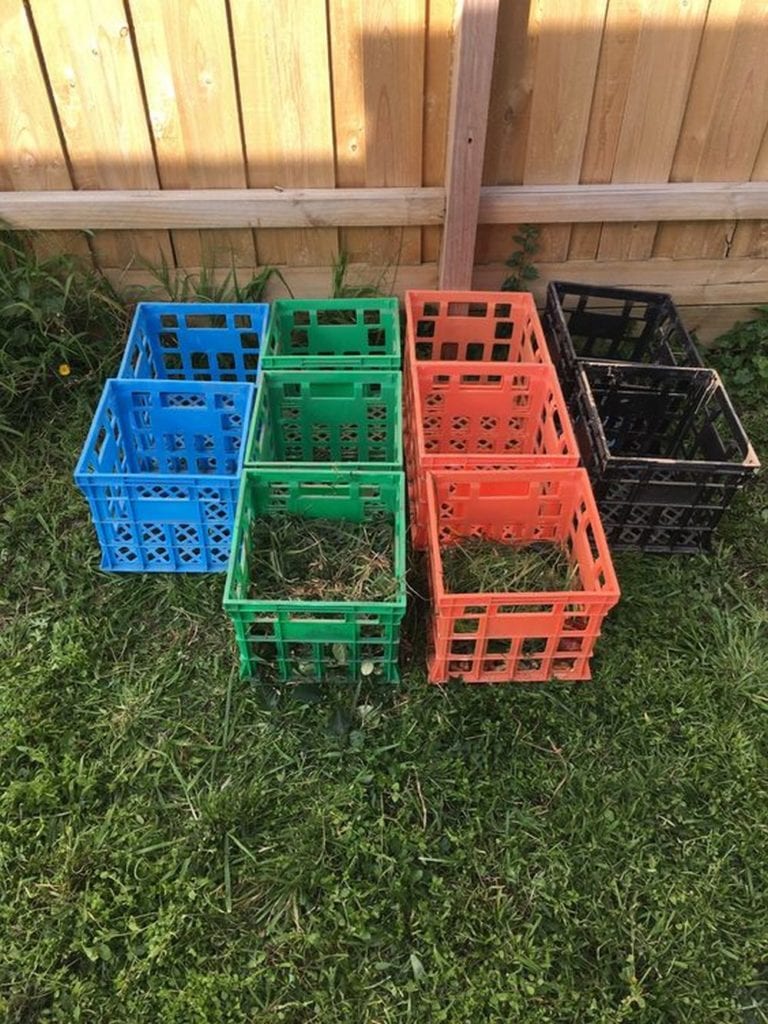
- milk crates
- mesh/screen
- newspaper
- weed barrier fabric
- wood
- old drawer handles
- organic waste
- varnish
- old mosquito net (optional)
Tools
- scissors
- hand drill
- saw
- rag
- paint
Instructions
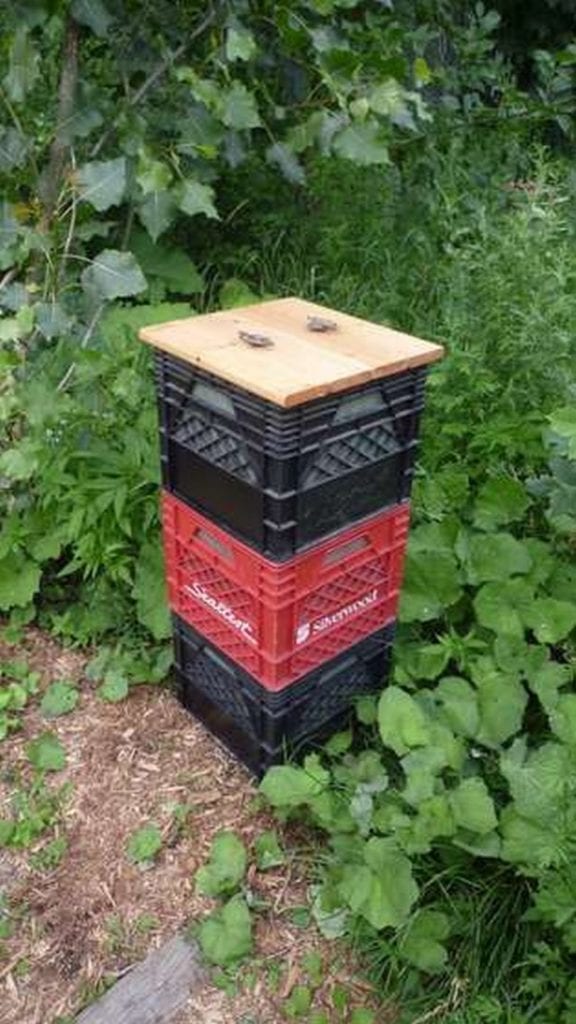
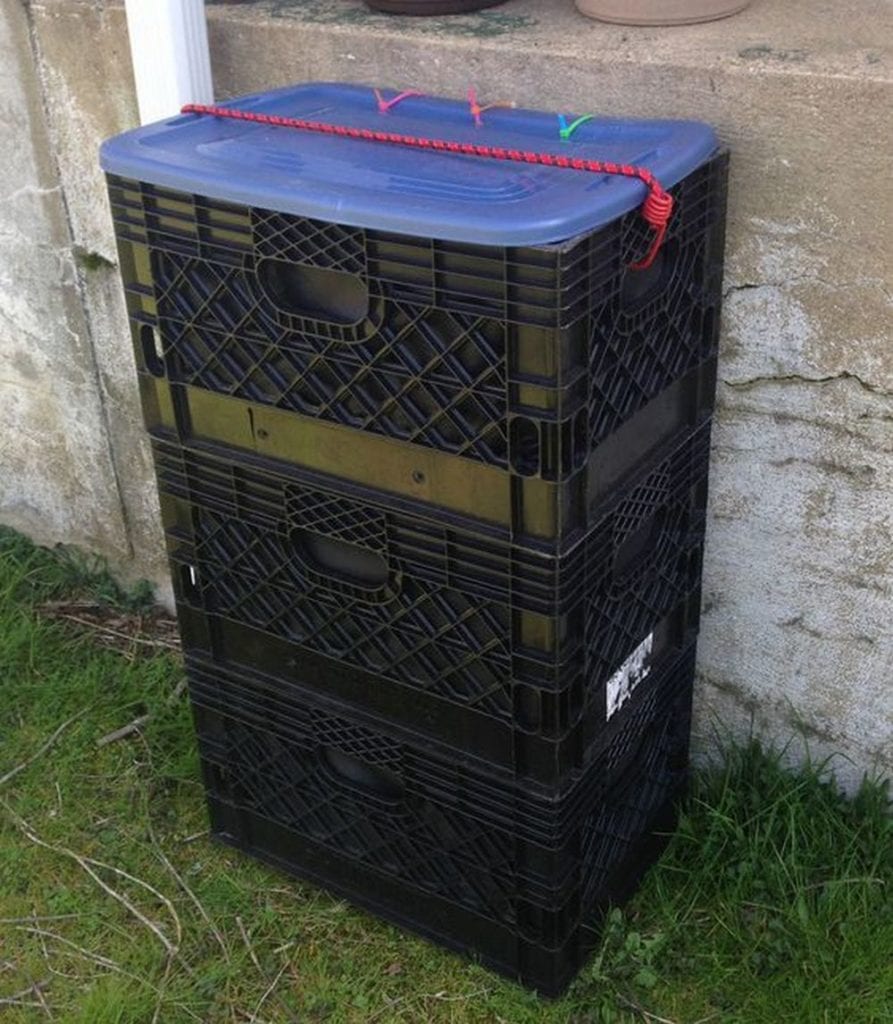
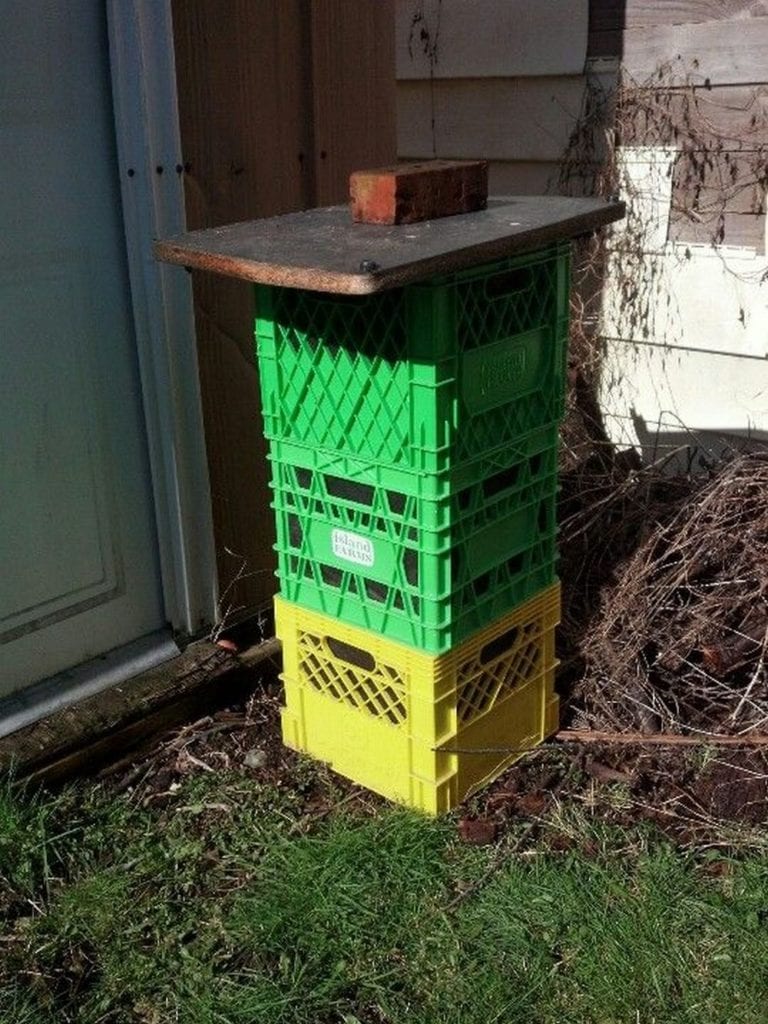
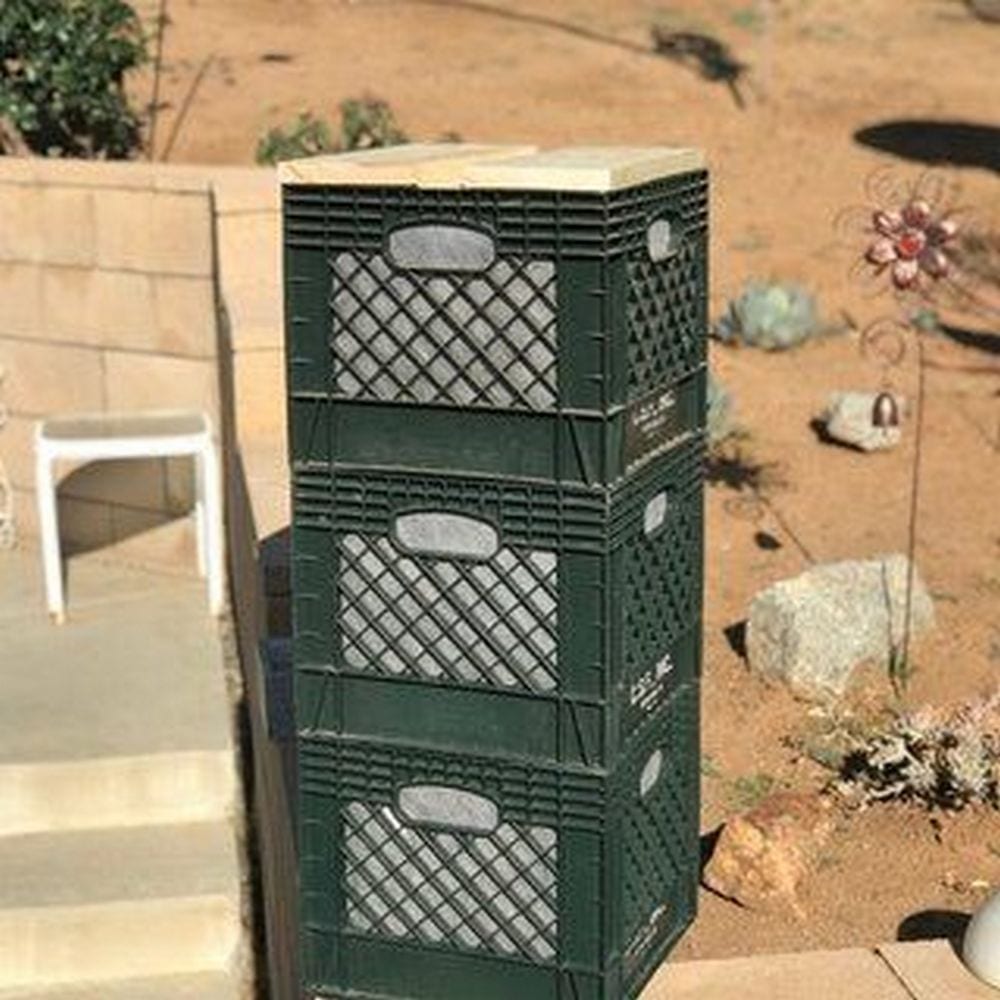
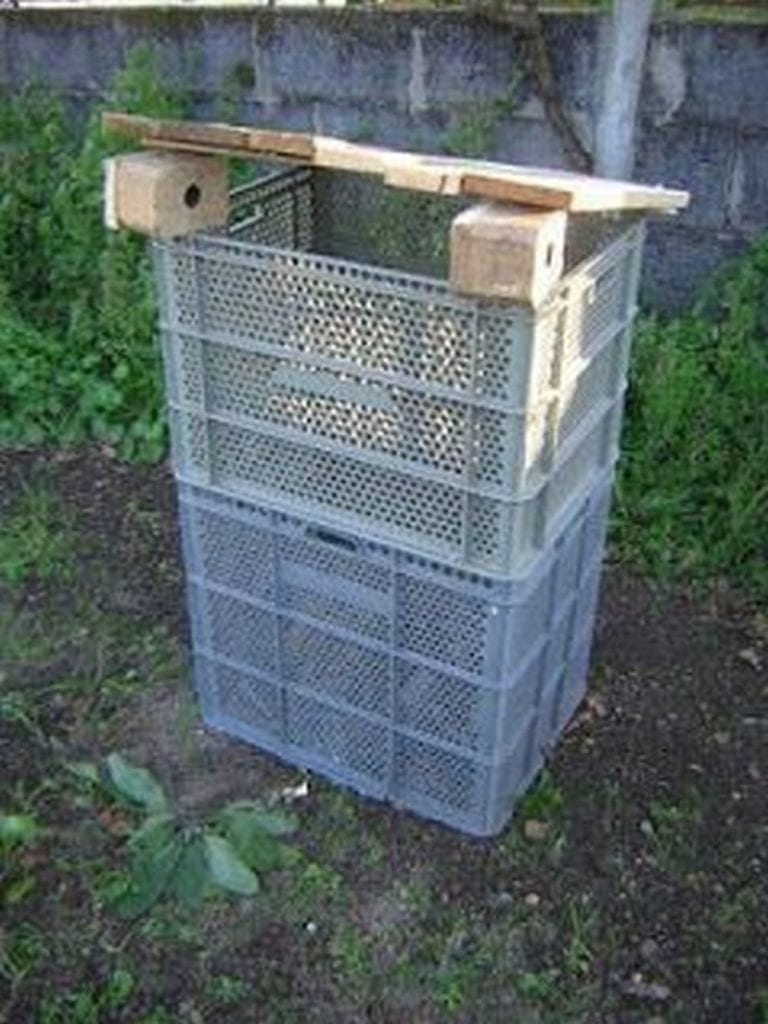
Step 1: Prepare the Milk Crates
- If your milk crates have large openings, use the mesh or screen to cover them. This will prevent compost material from falling out. Cut the mesh to size with scissors and attach it to the inside of the crate using a hand drill and small screws or zip ties.
Step 2: Add a Base
- Measure and cut a piece of wood to fit the bottom of a milk crate. This will serve as a sturdy base and help contain the compost. Drill holes in the wood base for drainage and attach it to the bottom of the crate with screws.
Step 3: Apply Varnish
- To protect the wood base from moisture and decay, apply varnish using a rag. Allow it to dry completely before proceeding.
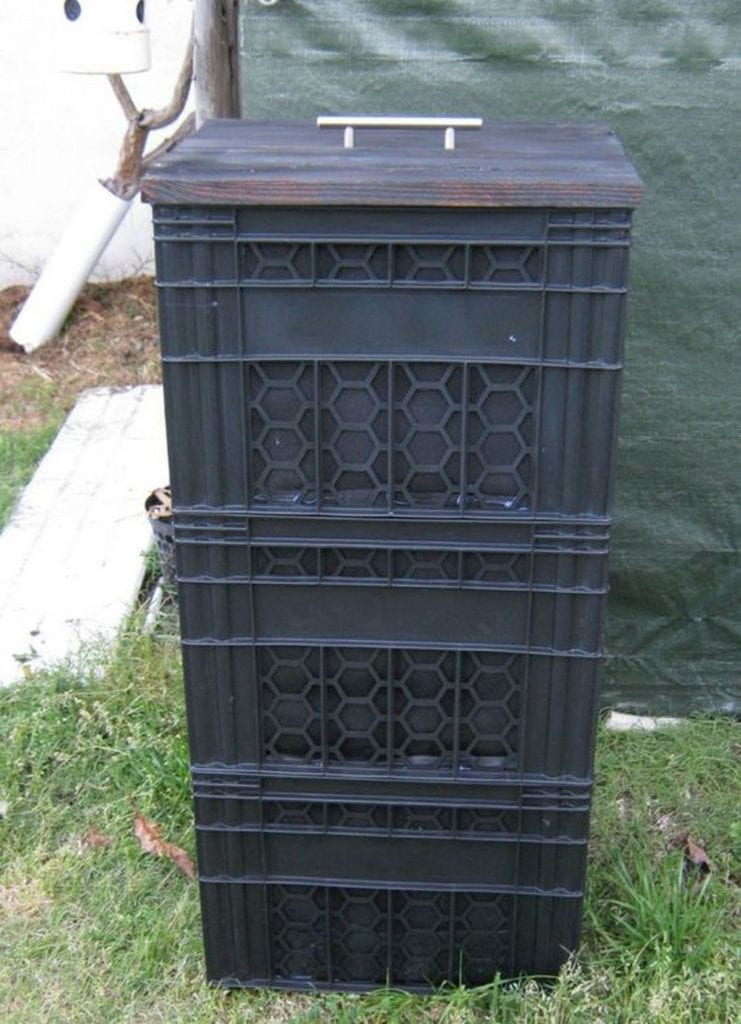
Step 4: Prepare the Lid
- Cut another piece of wood to fit the top of the milk crate for a lid. Drill a hole in the center and attach an old drawer handle for easy opening. If you choose, paint the lid to match your garden decor. Allow the paint to dry completely.
Step 5: Line with Newspaper
- Line the bottom of the crate with a few layers of newspaper. This will help absorb excess moisture and keep the compost in place.
Step 6: Add Weed Barrier Fabric
- Cut a piece of weed barrier fabric to fit inside the milk crate on top of the newspaper. This layer will help retain moisture and prevent small compost particles from escaping.
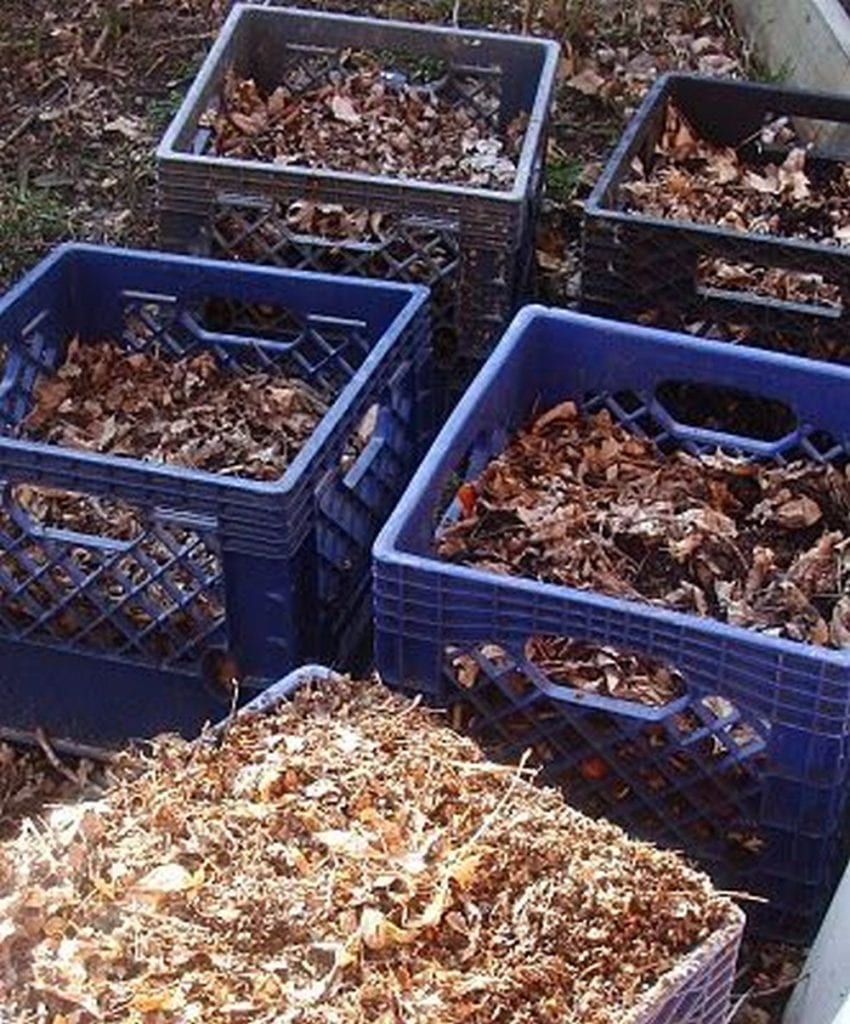
Step 7: Start Composting
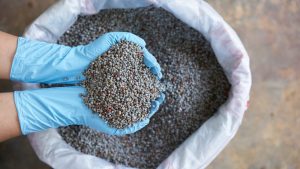
- Begin filling your composter with organic waste. Layer your kitchen scraps with yard waste, alternating between green (nitrogen-rich) and brown (carbon-rich) materials. For optimal composting, maintain a balance of roughly 2:1, brown to green.
Step 8: Cover and Place
- Once you’ve added your initial compost materials, cover the crate with your prepared lid. Place your milk crate composter in a sunny or partially shaded spot in your garden where it can get adequate air flow.
Step 9: Maintenance
- Every week, turn the compost with a garden fork to aerate it, which speeds up the decomposition process. If the compost seems dry, sprinkle water to maintain moisture. Your compost can be used for your garden within six months or early if the season is humid.
Click on any image to start the lightbox display. Use your Esc key to close the lightbox.
Watch this video to get a visual instruction on making your milk crate composter.
Using Your Compost in the Garden
The compost you’ve patiently created in your milk crate composter is packed with nutrients essential for plant growth. You’re using this compost in your garden to improve soil structure, enhance moisture retention, and promote healthier plant growth.
Here’s how to use your milk crate compost effectively in your garden.
Preparing Compost for Use
Before using your compost, ensure it’s fully decomposed. The compost from your milk crate composter should be dark, crumbly, and have an earthy smell. If you see large pieces of organic material or it smells unpleasant, give it more time to decompose.
Top Dressing
One of the simplest ways to use your milk crate composter’s output is by top dressing your garden beds. Spread a thin layer of compost around the base of your plants. This method is particularly beneficial for feeding established plants, enriching the soil surface, and suppressing weed growth.
Soil Amendment
Before planting, mix the compost from your milk crate composter into the garden soil. A good rule of thumb is to add a 2- to 4-inch layer of compost and work it into the top 6 to 8 inches of soil. This improves soil structure, increases nutrient content, and enhances soil biodiversity.
Potting Mix Additive
For container gardening, enrich your potting mix with compost from your milk crate composter. Mix one part compost with two parts potting soil to provide your potted plants with a nutrient-rich growing medium. This blend supports vigorous growth and improves moisture retention.
Making Compost Tea
Compost tea is a nutrient-rich liquid fertilizer made by steeping compost in water. Fill a burlap sack with compost from your milk crate composter and suspend it in a barrel of water for a few days. Use this liquid to water your plants, supplying them with a gentle, consistent nutrient boost.
Mulching
Compost can also serve as an effective mulch. Apply a 2- to 3-inch layer of compost from your milk crate composter around your plants. This helps retain soil moisture, regulate soil temperature, and reduce weed competition.
Revitalizing Lawn Areas
If your lawn looks tired or patchy, the compost from your milk crate composter can help. Spread a thin layer (up to ½ inch) of fine, sieved compost over the lawn. Over time, this will improve soil quality and grass health, leading to a lush, green lawn.
Using compost from your milk crate composter is an excellent way to close the loop in your garden’s ecosystem. It’s a sustainable practice that reduces waste, saves money on fertilizers, and dramatically enhances your garden’s health and productivity. Whether you’re enriching the soil, mulching, or making compost tea, the efforts you put into composting pay off with vibrant plant growth and a flourishing garden.
Optimizing Your Compost Mixture
Optimizing your compost mixture is all about finding the right balance between nitrogen-rich green materials and carbon-rich brown materials. This balance is crucial for the microorganisms in your milk crate composter to break down organic waste efficiently, producing high-quality compost for your garden.
Green Materials: Your Nitrogen Source
Green materials are rich in nitrogen, which is essential for the growth and reproduction of composting microorganisms. Examples include kitchen scraps, coffee grounds, grass clippings, and green leaves. To optimize your compost in the milk crate composter, aim to add one part green material for every two to three parts brown material.
Brown Materials: Your Carbon Source
Brown materials provide the carbon that microorganisms need for energy. Items such as dried leaves, straw, wood chips, and shredded newspaper are excellent brown materials. They also help add bulk and allow air to circulate through the compost in your milk crate composter, preventing it from becoming too wet and smelly.
Achieving the Perfect Balance
The ideal ratio of brown to green materials in your milk crate composter should be about 3:1 by volume. However, this can vary depending on the specific materials you’re using and environmental conditions. Pay attention to your compost’s moisture level and odor. If it’s too wet or smells bad, add more brown materials. If it’s too dry or decomposing slowly, add more green materials.
Monitoring Moisture and Aeration
Moisture and aeration are key to successful composting in your milk crate composter. Your compost should feel like a wrung-out sponge—moist but not dripping. Ensure your milk crate has enough ventilation and turn your compost regularly to introduce air and distribute moisture evenly.
Cutting Materials into Smaller Pieces
Smaller pieces decompose faster. By chopping or shredding your green and brown materials before adding them to your milk crate composter, you can accelerate the composting process. This is especially useful for tough or fibrous materials that might take longer to break down.
Seasonal Adjustments
The composition of your compost pile might change with the seasons, especially regarding the availability of green and brown materials. Adjust your composting practices accordingly and store excess materials when available to maintain a balanced mixture throughout the year.
Experiment and Observe
Each milk crate composter is unique, and finding the perfect balance can require some experimentation. Observe how different mixtures affect the decomposition process and adjust your ratios as needed. Over time, you’ll develop a sense for what works best in your composting setup.
Optimizing your compost mixture is crucial for maximizing the efficiency and output of your milk crate composter. By paying attention to the balance of materials, moisture levels, and aeration, you can produce high-quality compost that will enrich your garden soil, support plant growth, and contribute to a healthier, more sustainable ecosystem.
Conclusion
Building a milk crate composter offers a simple, effective way to recycle organic waste into valuable compost for your garden. This DIY project not only supports sustainable living practices but also enhances soil health and promotes plant growth with minimal environmental impact. By following these guidelines, anyone can transform milk crates into a functional composting system, contributing to a greener, more fruitful garden ecosystem.