Last Updated on August 9, 2024 by teamobn
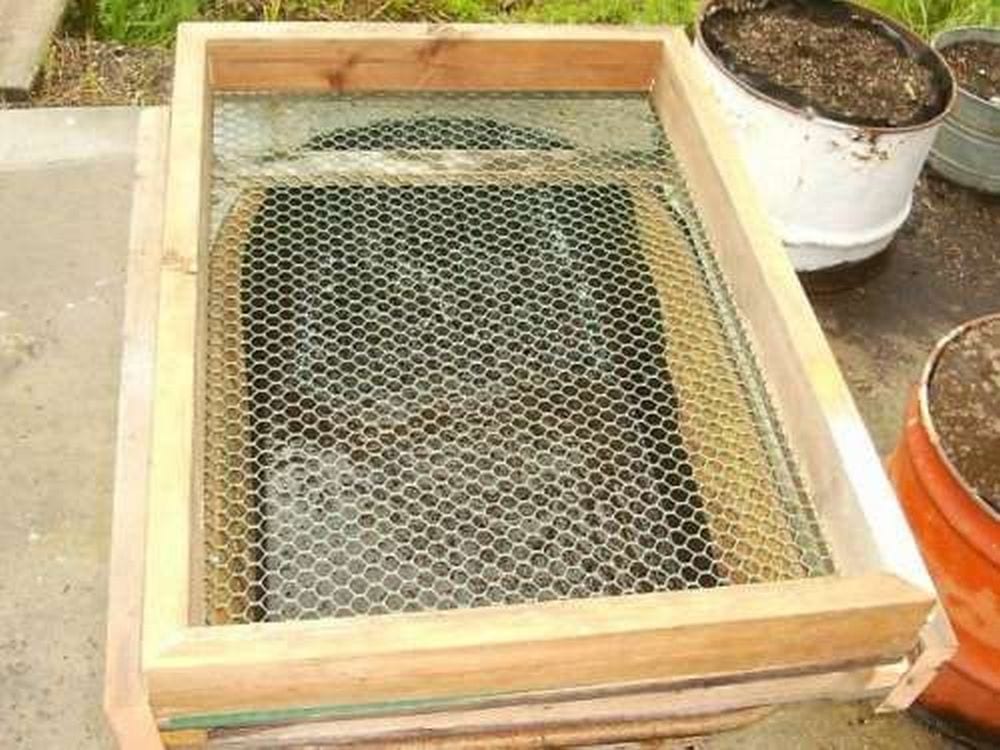
If you’re composting and you find that your compost is rough and bulky, don’t worry. I’m a firm believer in the adage that says for every problem, there is a solution. If you want your compost to look and feel like those that you bought from the garden store, it’s possible. In this case, you’ll need a compost sieve.

While there are ready-made compost sieves being sold, you can also make your own. That way, you can customize it according to your specifications. You can choose the shape and size so that it fits your needs. You can also choose your material so that the finished product is durable and sturdy.
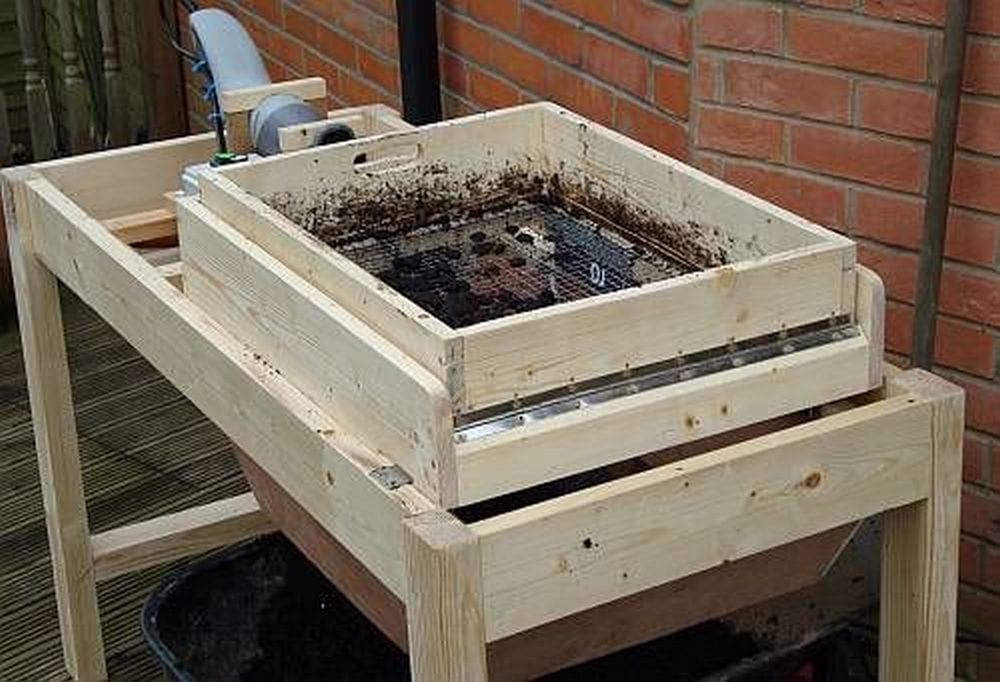
The best thing about this project is that it’s inexpensive. If you have scrap wood and tools, all you have to do is buy the hardware cloth. This is truly worth your effort.
Crafting a Compost Sieve
Contents
Materials
- ½ inch hardware cloth
- Scrap 2×4 wood
Tools
- Sharpie
- Wire cutter
- Circular saw
- Pneumatic nailer/drill and screws
- Pneumatic stapler/hand stapler
Instructions
Step 1: Design Your Frame
- Measure and mark the length of the 2×4 wood to create a square or rectangular frame. A common size is 2 feet by 3 feet, but you can adjust the dimensions based on your needs.
- Use the Sharpie for clear marking where you’ll cut.
Step 2: Cut the Wood
- Using the circular saw, cut the 2×4 wood according to the marks you’ve made. Ensure each piece is cut straight to form tight joints.
Step 3: Assemble the Frame
- Lay out the wood pieces on a flat surface to form your frame. Check the corners for squareness.
- Use the pneumatic nailer or drill to join each corner with screws. Ensure the frame is sturdy and the corners are square.
Step 4: Attach the Hardware Cloth
- Roll out the hardware cloth over the frame.
- Cut the hardware cloth to size using the wire cutter, ensuring it overlaps the frame slightly on all sides.
- Staple the hardware cloth to the frame using the pneumatic stapler or hand stapler. Make sure the cloth is taut and evenly attached to avoid sagging. Staples should be placed every few inches along the frame.
Step 5: Trim Excess Cloth
- Once the hardware cloth is securely attached, trim any excess mesh that extends beyond the frame using the wire cutter. This will give your sieve a neat finish.
Step 6: Reinforce the Frame
- For additional strength, consider adding a cross brace across the frame if it is large. Cut an additional piece of 2×4 to fit inside the frame and attach it with the pneumatic nailer/drill and screws.
Step 7: Sand and Finish
- Lightly sand any rough edges on the wood to prevent splinters.
- You can apply a coat of weather-resistant paint or sealant to protect the wood, especially if you plan to store the sieve outside.
Click on any image to start the lightbox display. Use your Esc key to close the lightbox.
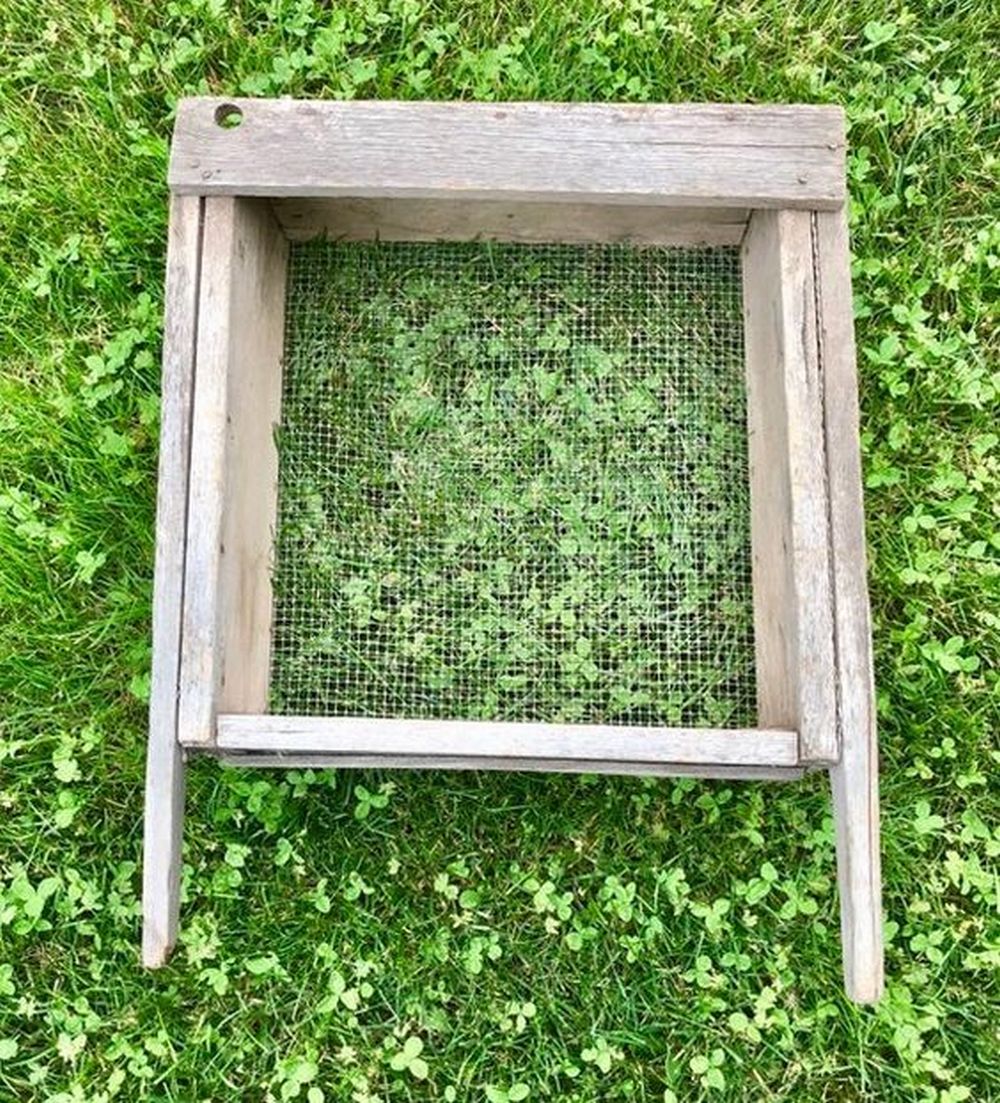

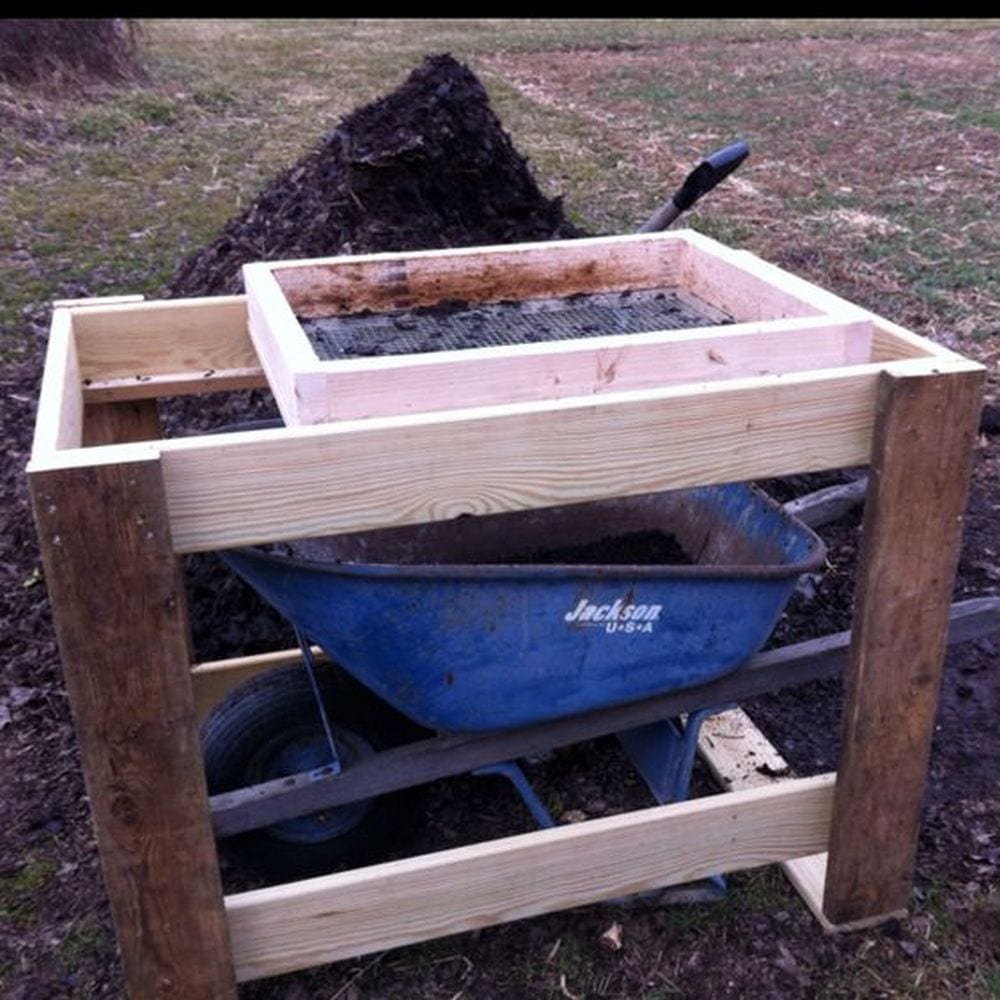

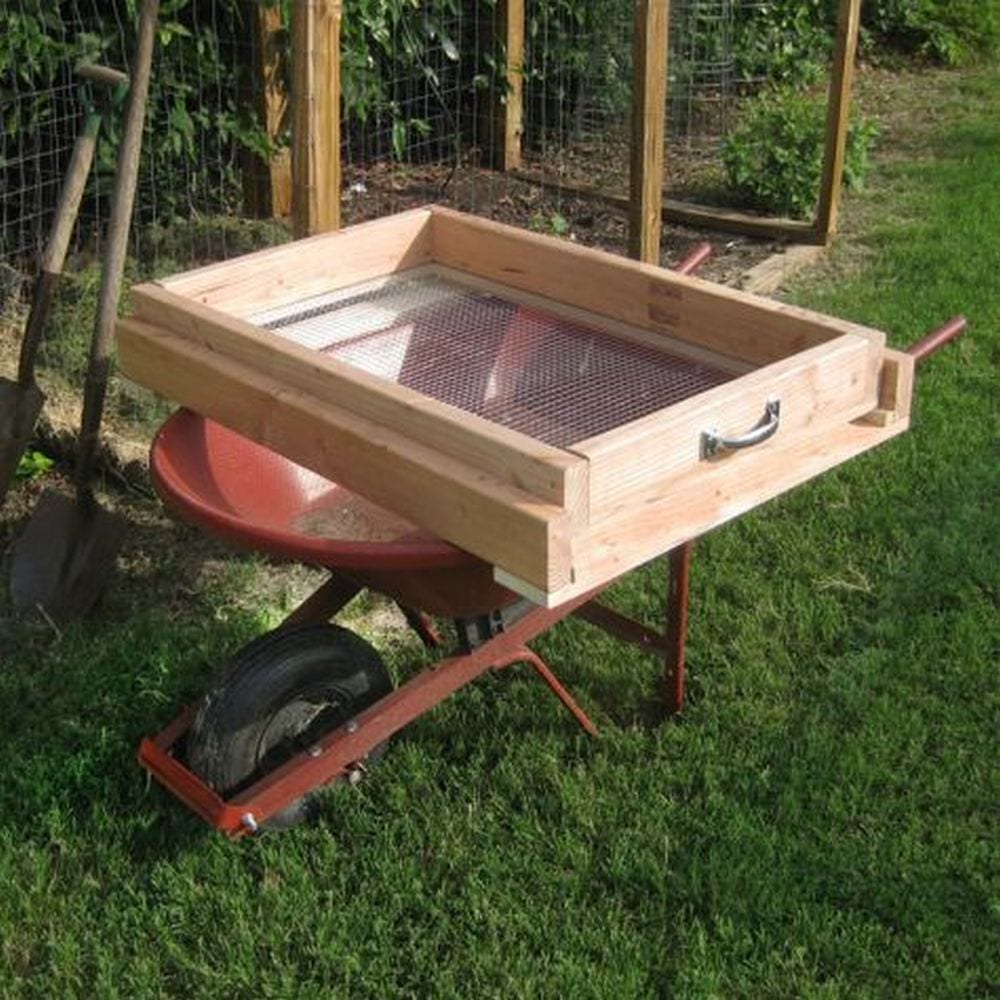
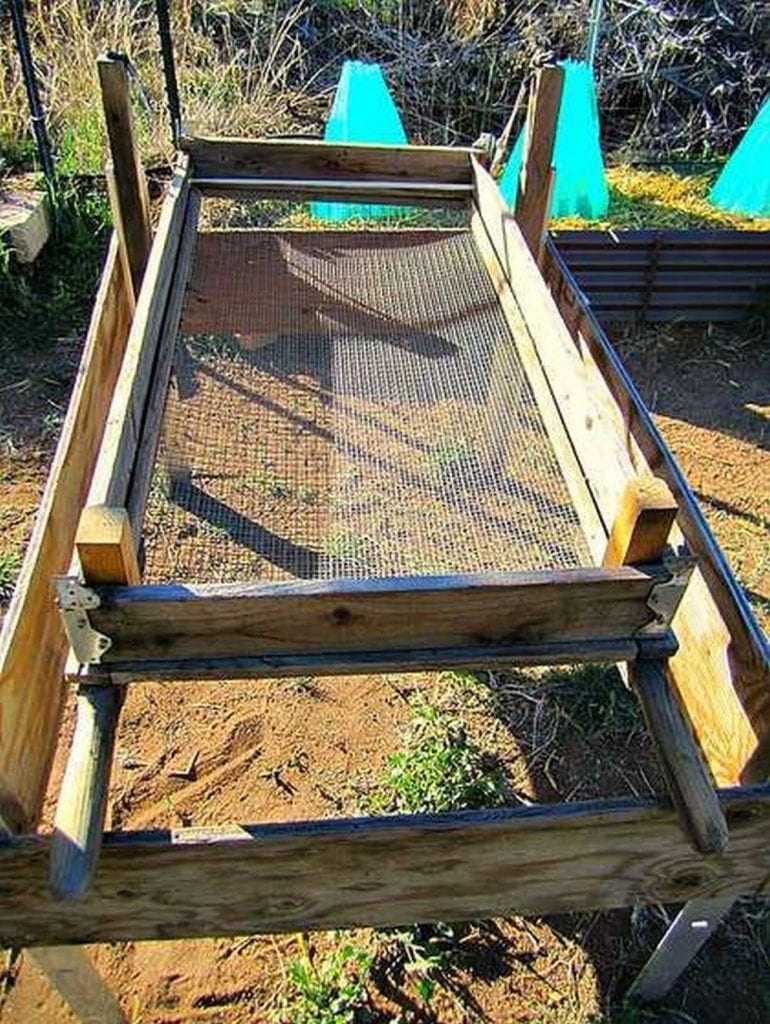
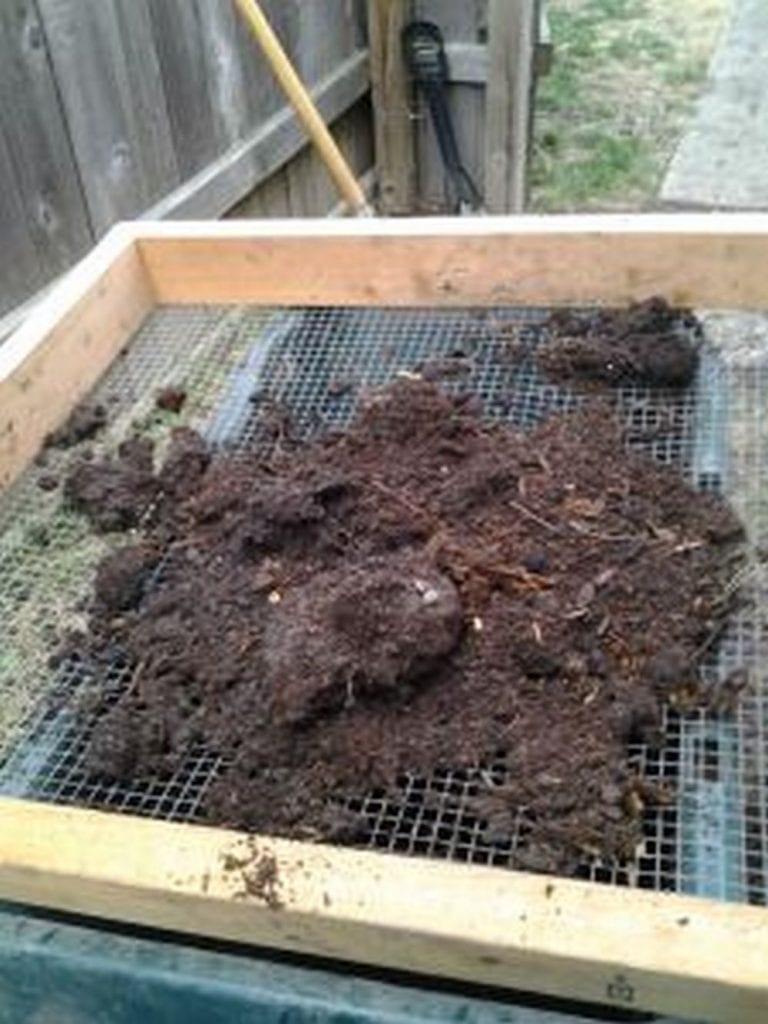
Watch this video to learn how to make your own compost sieve.
Using Your Compost Sieve Effectively
Using your homemade compost sieve effectively can significantly enhance the quality of your compost, ensuring finer and more uniform soil amendment for your gardening needs. By mastering the proper techniques and understanding the optimal timing, you can get the most out of this simple yet invaluable tool.
Here’s how to use your compost sieve to achieve the best results.
Know When to Sieve
The timing of sieving your compost is crucial for achieving the desired texture and consistency. Ideally, you should sieve your compost when it’s nearing the end of the composting process but is not completely decomposed.
This stage is usually apparent when the material is dark, crumbly, and mostly broken down, but still contains some larger, undecomposed chunks. Sieving at this point helps separate the unfinished compost, which can be returned to the compost bin for further decomposition.
Prepare the Compost
Before using your compost sieve, it’s important to prepare the compost to ensure it passes through the mesh easily. Dry compost works best, as moist compost can clump and stick to the sieve, making the process more labor-intensive and less effective. If your compost is too wet, spread it out under the sun to dry for a few hours before sieving. This will help in achieving a finer end product without clogging the mesh.
Efficient Sieving Techniques
To use your compost sieve most efficiently, follow these practical techniques:
- Shoveling Technique: Use a shovel to place small amounts of compost onto the sieve. This method is suitable for larger sieving jobs where you have a significant amount of compost to process.
- Manual Method: For smaller quantities or finer control, use your hands to rub the compost against the hardware cloth. This technique allows you to break down clumps and push finer material through, ensuring a uniform texture.
In both cases, gently shake the sieve back and forth. The rocking motion helps finer particles fall through the mesh while retaining the larger, uncomposted materials, which can be removed and put back into the compost bin for further breakdown.
Positioning Your Sieve
Where and how you position your compost sieve can also affect its usability and efficiency. Here are a couple of positioning tips:
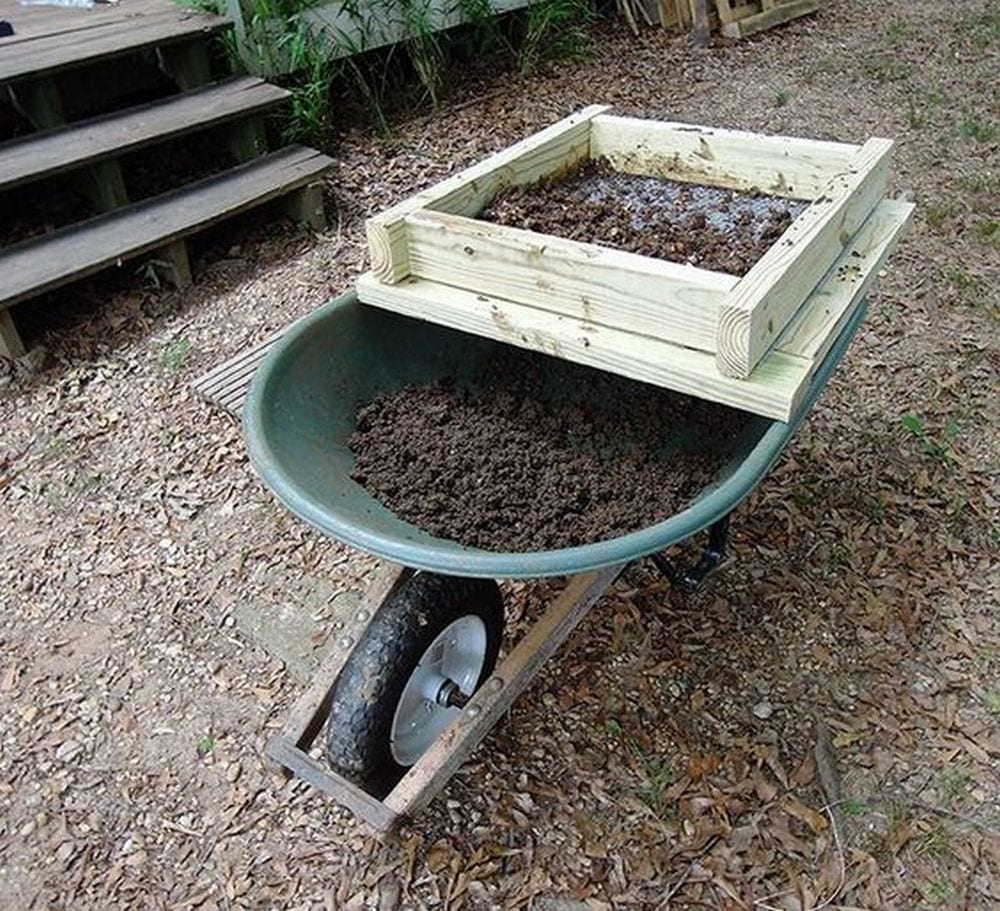
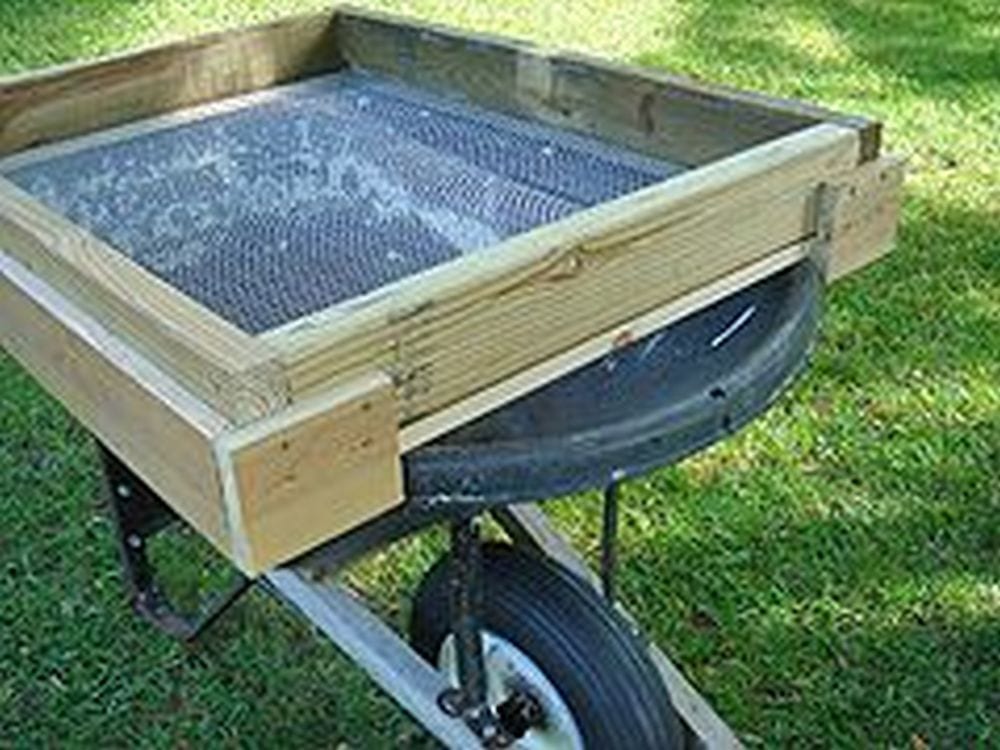
- Over a Wheelbarrow: Position the sieve over a wheelbarrow to collect the fine compost directly. This setup makes it easy to transport the finished compost to your garden or storage area.
- At a Comfortable Height: Set up the sieve at a height that is comfortable for you to work with, either by placing it between two chairs or setting it on top of a sturdy container. This reduces back strain and makes the sieving process more enjoyable.
By following these guidelines, you can maximize the functionality and durability of your compost sieve, turning your kitchen scraps and yard waste into gold for your garden. This simple tool not only helps improve soil texture but also contributes to a more sustainable gardening practice by reducing waste and enhancing soil health.
Maintenance and Care Tips for Your Compost Sieve
Maintaining and caring for your compost sieve ensures its longevity and performance, enabling you to consistently produce high-quality compost for your gardening projects. Regular maintenance not only extends the life of your sieve but also ensures it remains effective and easy to use. Here are detailed tips on how to maintain and care for your compost sieve effectively.
Routine Cleaning
- After Each Use: Always clean your compost sieve after each use. Remove all the debris and compost particles from the mesh. This can be done by gently tapping the frame on a hard surface to dislodge stuck particles or using a soft brush to sweep away the remnants.
- Deep Cleaning: Periodically, give your compost sieve a more thorough cleaning. Use a hose to spray down the hardware cloth and the frame. If dirt and compost have built up, a mild soap solution can be used to clean the mesh without damaging it. Rinse thoroughly with clean water to prevent any soap buildup.
Checking for Damage
- Inspect the Mesh: Regularly inspect the hardware cloth for any signs of wear or damage such as tears or holes. Even small damages can compromise the effectiveness of your sieve, allowing larger particles to pass through and contaminating the finer compost.
- Examine the Frame: Check the wooden frame for any signs of rot, warping, or loose joints. The outdoor environment can be harsh on wood, and exposure to moisture can lead to deterioration. Tighten any loose screws and make repairs as needed to keep the frame stable and secure.
Protective Treatments
- Wood Treatment: To protect the wooden frame from moisture and decay, treat it with a wood sealant or paint. This not only extends the life of the frame but also enhances its appearance. Choose an environmentally friendly product to ensure that your compost remains organic and free from harmful chemicals.
- Metal Protection: If your hardware cloth is not stainless steel, consider applying a rust-resistant coating. This can prevent rusting, which not only affects the sieve’s integrity but could also stain your compost. Regular checks will help catch any rust formation early, allowing for timely treatment.
Proper Storage
- Store Under Cover: Always store your compost sieve in a dry, covered area when not in use. Direct exposure to elements like sun and rain can quickly degrade both the metal and wood components. If you don’t have a shed or garage, consider using a waterproof cover.
- Elevate Off the Ground: Keep the sieve elevated off the ground to prevent moisture from seeping into the wood from the bottom. This can be done using bricks or wooden blocks. Ensuring good airflow around the sieve will also help prevent moisture accumulation and mold growth.
Periodic Upgrades
- Replace Hardware Cloth: Over time, the hardware cloth may become too worn or damaged to function effectively. Replacing it is a straightforward process that will refresh your sieve’s performance. Measure and cut a new piece of mesh, then staple it securely to the frame.
- Refurbish the Frame: If the wooden frame becomes too worn or aesthetically displeasing, consider refurbishing it. Sand down the wood to remove any rough patches or peeling paint, then apply a new coat of sealant or paint for a fresh look.
By following these maintenance and care tips, you can ensure your compost sieve remains a reliable tool in your gardening arsenal for many years. Regular care not only preserves its functionality but also promotes a more sustainable and productive gardening practice.
Conclusion
Building your own compost sieve is a rewarding project that enhances your gardening efforts with finer, more uniform compost. With simple materials and tools, anyone can create a durable and cost-effective sieve that stands the test of time. Regular maintenance and proper use will ensure your sieve remains a valuable asset in achieving a thriving garden.
We have more articles to boost the look of your home. check out our gravel garden guide!


