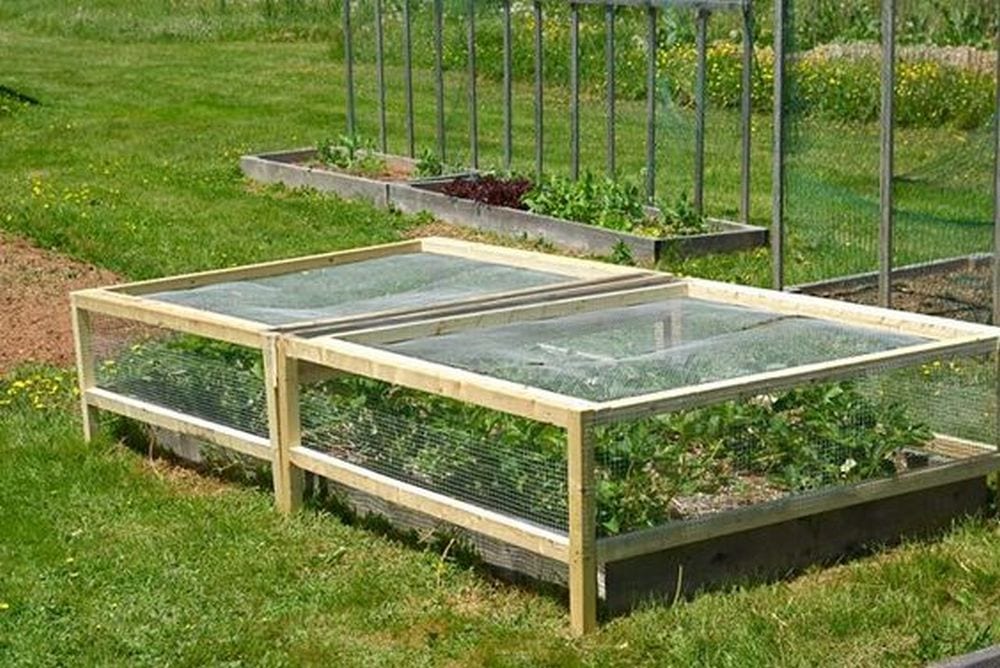
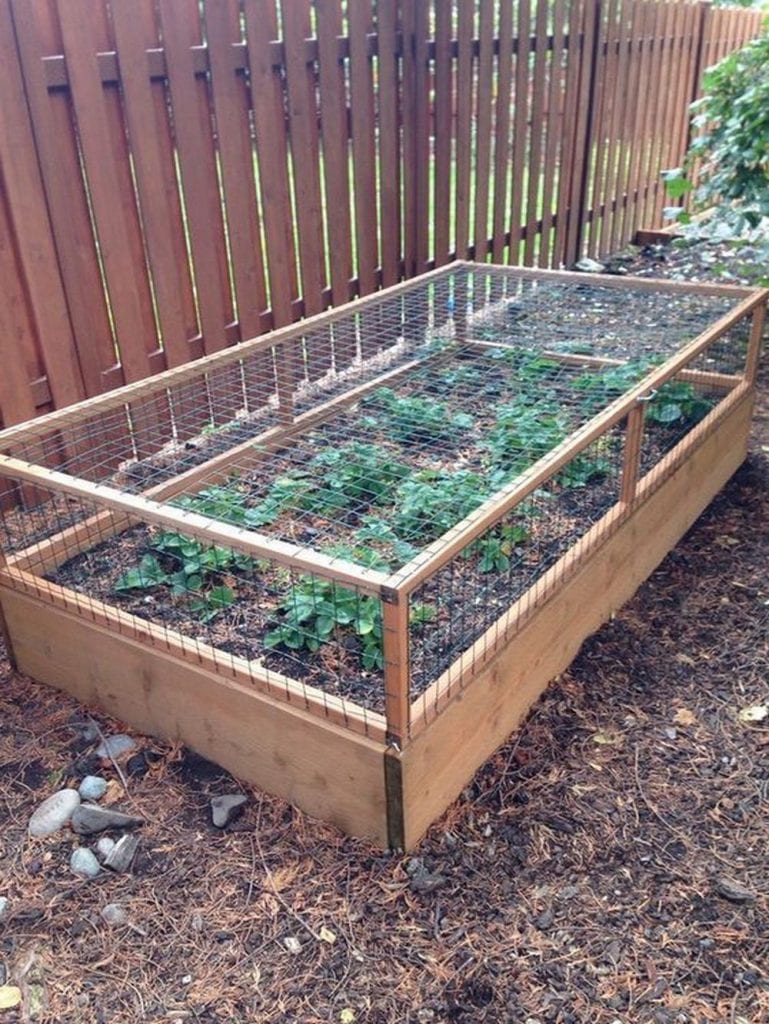
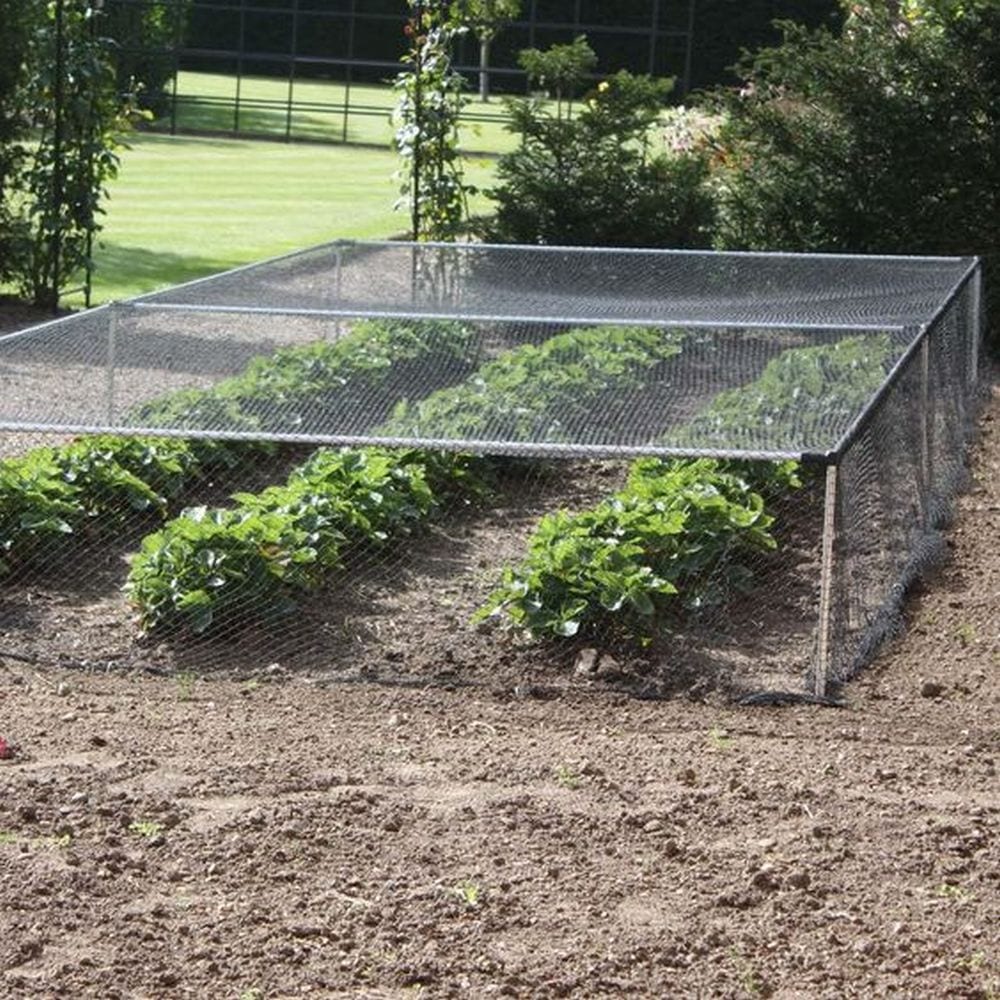
My small family loves strawberries a little too much. This love affair with strawberries has prompted my mother-in-law and me to grow our own. We started a strawberry garden all excited and hopeful. As they were beginning to bear fruit, we suddenly woke up one morning to find them badly damaged. Some strawberry-loving animals and critters wanted them, too.
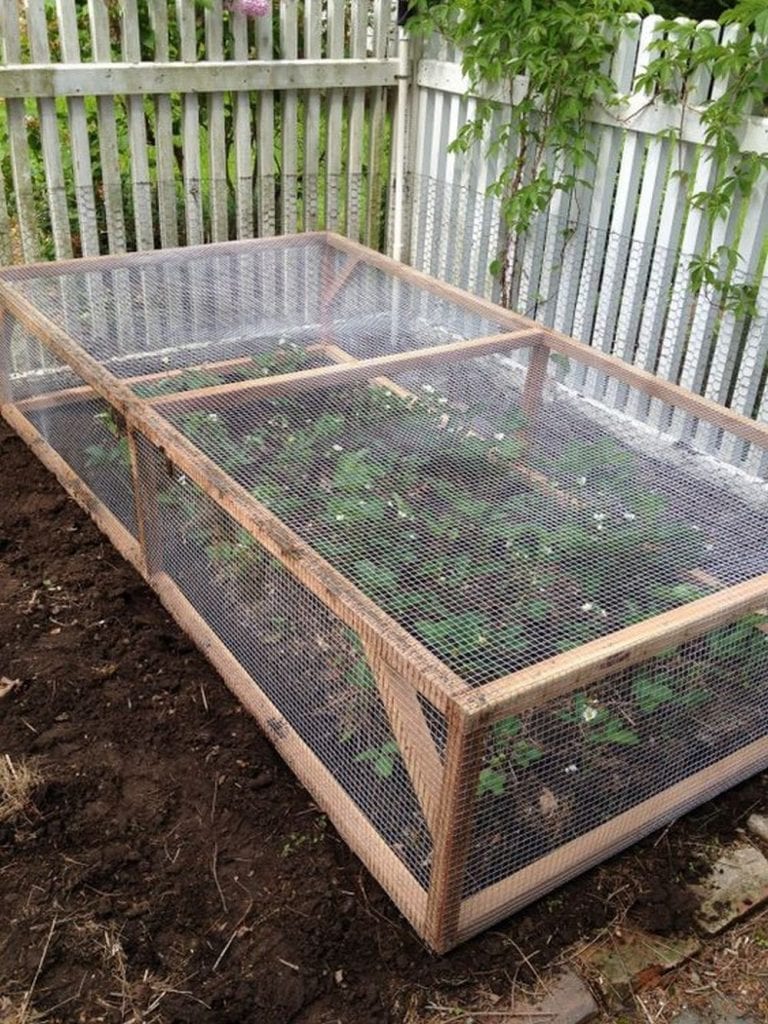
Instead of feeling discouraged, we sat down and looked for a way to protect our plants. The best project that we found is this strawberry cage. It provided the protection that we needed while allowing our strawberries to thrive and grow.
This is an easy build. It’ll take less than a day to make one. We have made six cages so far and we’ll surely make some more as we continue to expand our strawberry garden. This worked for us; we’re pretty sure it’ll work for you, too.
How to Build a Strawberry Cage
Contents
Materials:
- Cedar Timber
- Hardware Cloth
- Heavy Duty Hinges
- Hooks
- Handles
- Wood Screws
Tools:
- Measuring Tape
- Table Saw
- Drill
Click on any image to start the lightbox display. Use your Esc key to close the lightbox.

Steps:
Step 1: Gather Materials
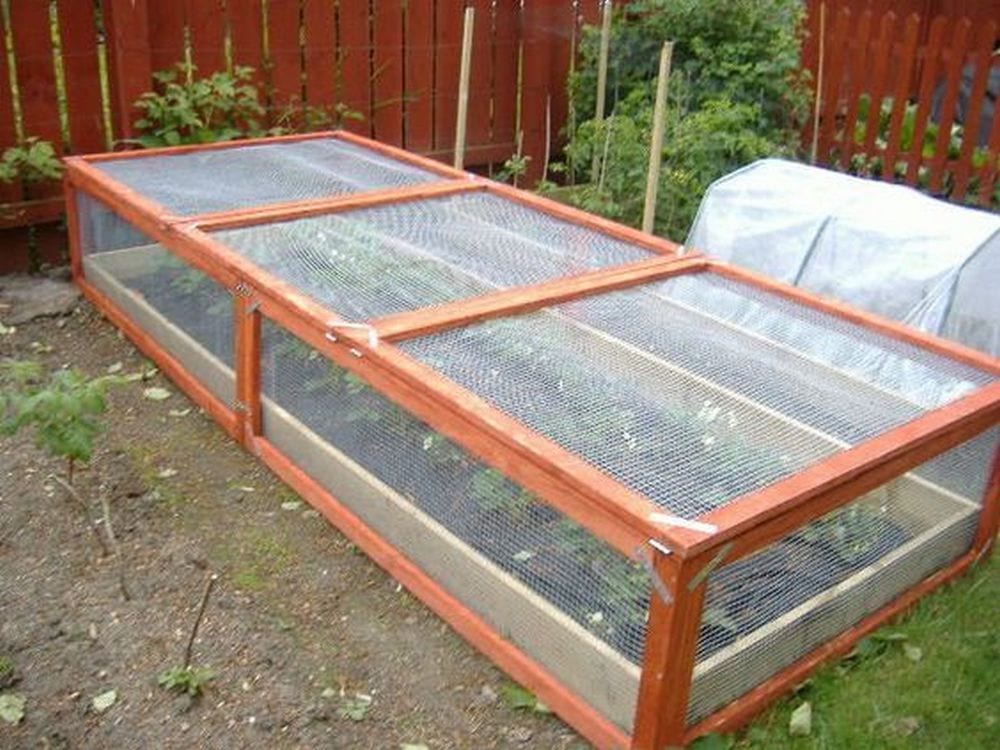
Gather all the necessary materials, including cedar timber, hardware cloth, heavy-duty hinges, hooks, handles, and wood screws. Make sure you have the correct measurements and enough materials to complete the project.
Step 2: Cut Cedar Timber
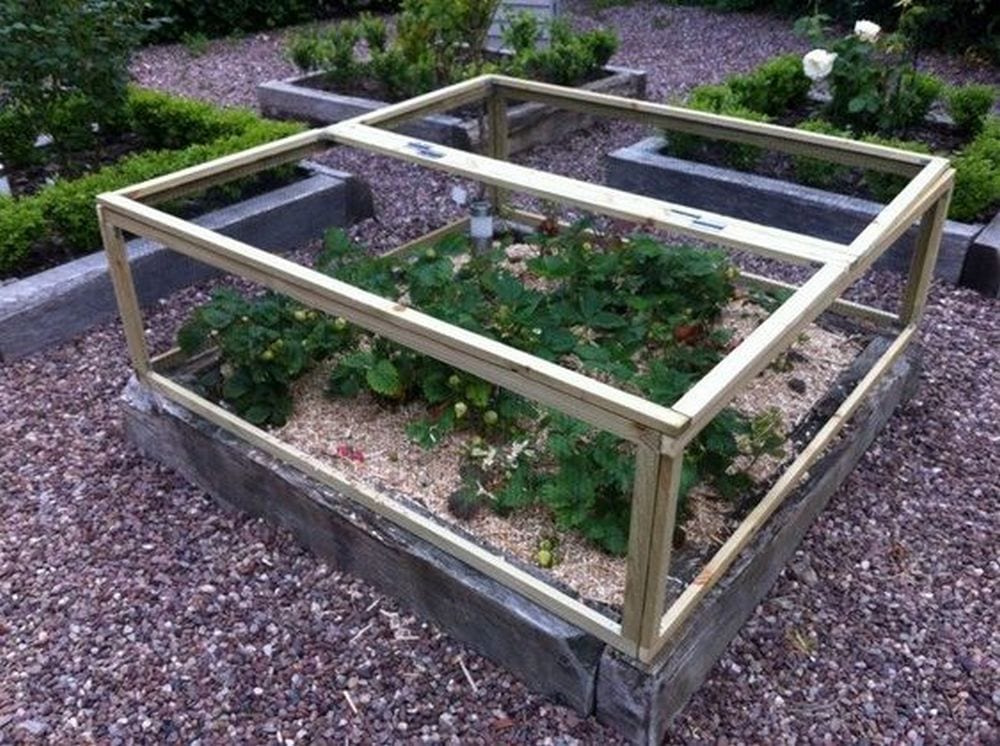
Using a saw, cut the cedar timber to the desired dimensions for the frame of the strawberry cage. You’ll need four pieces for the sides and four pieces for the corners, depending on the size of your cage.
Step 3: Assemble Frame
Assemble the cedar timber pieces to create the frame of the strawberry cage. Use wood screws to secure the corners and ensure the frame is sturdy and stable.
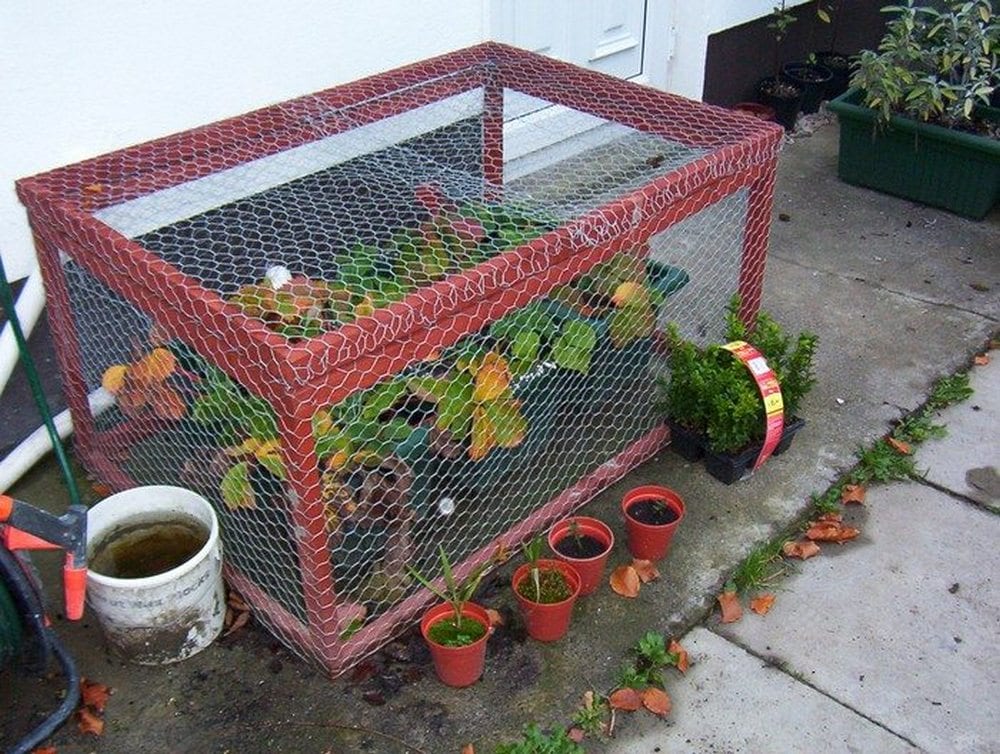
Step 4: Attach Hardware Cloth
Cut the hardware cloth to fit the dimensions of the cedar frame, leaving extra to overlap the edges. Use staples or screws to attach the hardware cloth to the inside of the frame, creating a secure barrier to keep pests out.
Step 5: Install Heavy-Duty Hinges
Attach heavy-duty hinges to one side of the frame to create a door for easy access to the strawberries. Make sure the hinges are securely fastened to the frame and allow the door to swing open and close smoothly.
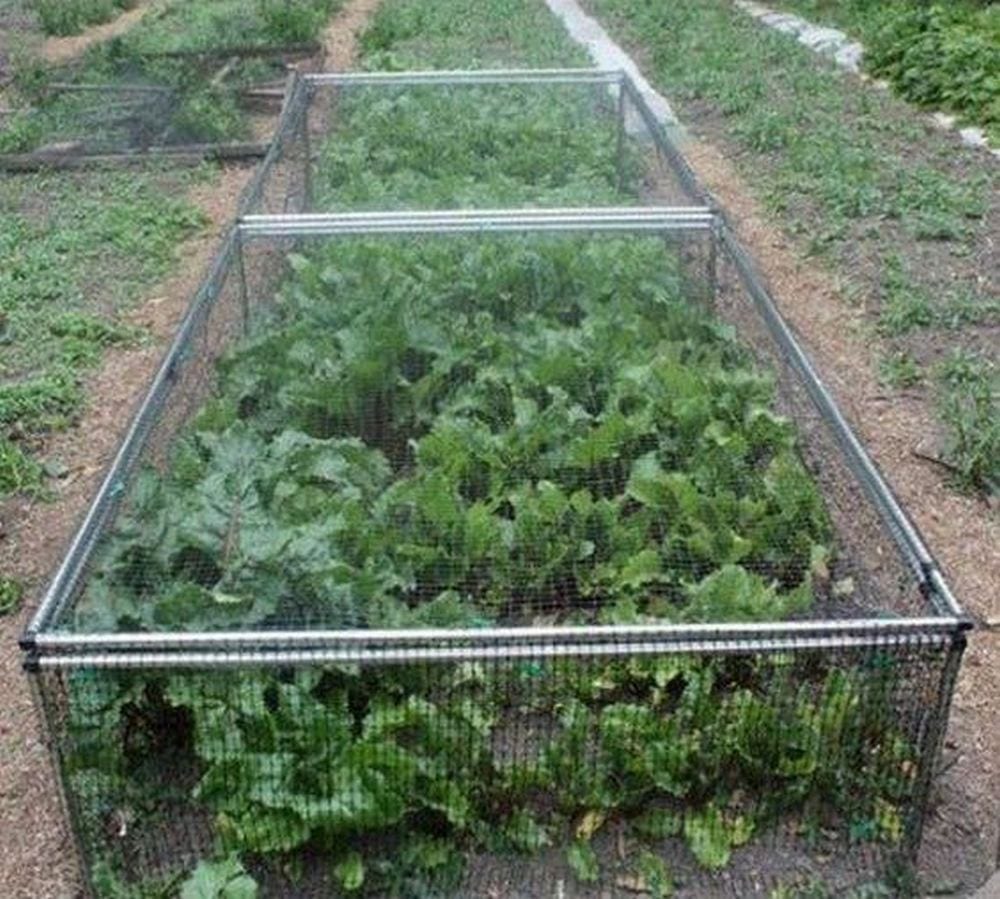
Step 6: Add Hooks
Attach hooks to the top of the strawberry cage to hang it from a support structure, such as a trellis or fence. Make sure the hooks are strong enough to support the weight of the cage and secure them tightly to prevent accidents.
Step 7: Final Touches
Install handles on the door for easy opening and closing. Double-check all screws and connections to ensure everything is secure and stable. Place the strawberry cage in your garden or outdoor space, making sure it’s positioned in a sunny spot with good airflow for healthy strawberry growth.
With these 7 effortless steps, you can build a sturdy and functional DIY strawberry cage using cedar timber, hardware cloth, heavy-duty hinges, and hooks to protect your strawberry plants from pests and ensure a bountiful harvest.
Thanks to Gardening Jones for sharing strategies on how to make a strawberry cage.
Advantages of Building a DIY Strawberry Cage
1. Cost Savings
Constructing your strawberry cage is typically more budget-friendly than purchasing a pre-made one from a store. By using affordable materials and basic tools, you can create a functional and effective cage at a fraction of the cost.
2. Customization
DIY projects offer the freedom to tailor the design of your strawberry cage to suit your specific needs and preferences. You can adjust the size, shape, and features of the cage to fit your garden layout and accommodate the number of strawberry plants you want to protect.
3. Control Over Materials
When building your strawberry cage, you have control over the quality and type of materials used. You can choose durable, weather-resistant materials that will withstand outdoor conditions and provide long-lasting protection for your plants.
4. Personalization: Building your strawberry cage allows you to add personal touches and creative elements to the design. You can customize the appearance of the cage to match your garden aesthetic and incorporate decorative elements to make it unique.
5. Skill Development
Engaging in DIY projects provides an opportunity to learn new skills and techniques. Constructing a strawberry cage allows you to develop skills in carpentry, measuring, cutting, and assembly, which can be valuable for future projects.
6. Satisfaction
Completing a DIY project like building a strawberry cage can be incredibly rewarding. It provides a sense of accomplishment and pride in creating something useful and functional with your hands.
7. Long-Term Solution
A well-built DIY strawberry cage can provide long-term protection for your plants, allowing you to enjoy a bountiful harvest year after year. With proper maintenance, the cage can withstand the elements and continue to protect your plants for seasons to come.
Durability and Reliability: A DIY strawberry cage, crafted with attention to detail and quality materials, serves as a robust shield against various threats such as pests, birds, and adverse weather conditions. Its sturdy construction and resilience ensure that it can withstand the test of time, providing reliable protection for your precious strawberry plants.
Seasonal Adaptability: The versatility of a well-built strawberry cage enables it to adapt to changing seasons seamlessly. Whether facing harsh sunlight, heavy rains, or frosty winters, the cage remains steadfast in its duty to safeguard your plants, ensuring their survival and continued growth throughout the year.
Year-Round Performance: Unlike temporary solutions that may require frequent replacements or repairs, a DIY strawberry cage offers consistent performance year after year. Its enduring design and structural integrity allow it to endure multiple growing seasons without compromising on effectiveness, making it a cost-effective and sustainable choice in the long run.
Minimal Maintenance: With proper care and maintenance, a DIY strawberry cage can retain its functionality and appearance for extended periods. Routine inspections, tightening of fasteners, and occasional cleaning are all it takes to preserve the cage’s integrity and ensure optimal performance over time, minimizing the need for costly repairs or replacements.
Sustainable Gardening: By investing in a long-term solution like a DIY strawberry cage, you embrace sustainable gardening practices that prioritize resourcefulness and environmental consciousness. Rather than relying on disposable or temporary measures, you create a lasting infrastructure that promotes biodiversity, reduces waste, and fosters a healthier ecosystem in your garden.
In essence, a well-built DIY strawberry cage represents more than just a practical solution for plant protection; it embodies a commitment to sustainability, resilience, and responsible stewardship of the environment. By embracing its long-term benefits, you not only safeguard your strawberry harvest but also contribute to the longevity and vitality of your garden for generations to come.
8. Environmental Impact
By repurposing materials and using sustainable practices in your DIY project, you can reduce your environmental impact and promote eco-friendly gardening practices. Building your strawberry cage allows you to minimize waste and contribute to a more sustainable lifestyle.
Resource Conservation: Repurposing materials for your DIY strawberry cage minimizes the demand for new resources, reducing the environmental footprint associated with manufacturing and transportation. By utilizing materials that might otherwise be discarded or destined for the landfill, you contribute to resource conservation and waste reduction.
Sustainable Practices: Adopting sustainable practices in your DIY project entails selecting environmentally friendly materials and construction methods. Choosing locally sourced, renewable materials such as sustainably harvested wood or recycled metal for the cage’s framework further reduces environmental impact and supports responsible land management practices.
Waste Reduction: Building your strawberry cage allows you to tailor the design to minimize waste and maximize resource efficiency. By repurposing leftover materials or salvaging components from existing structures, you minimize the generation of waste and promote a circular economy where materials are reused and recycled to their fullest potential.
Carbon Footprint Reduction: By reducing reliance on store-bought, mass-produced solutions, DIY projects like building a strawberry cage help lower carbon emissions associated with manufacturing, packaging, and transportation. By sourcing materials locally or using salvaged items, you minimize the carbon footprint of your project and contribute to climate change mitigation efforts.
Promotion of Sustainable Gardening: Building your strawberry cage not only minimizes environmental impact but also inspires others to embrace sustainable gardening practices. By sharing your experience and knowledge with fellow gardeners, you contribute to a culture of environmental stewardship and collective action towards a greener, more sustainable future.
In essence, by building a DIY strawberry cage with an emphasis on sustainability and eco-friendly practices, you play a vital role in reducing environmental harm, conserving resources, and fostering a healthier planet for future generations. Your efforts not only benefit your garden but also contribute to a larger movement towards sustainability and environmental responsibility.
Building a DIY strawberry cage offers numerous advantages, including cost savings, customization options, skill development, and long-term satisfaction. It’s a rewarding project that can enhance your gardening experience and provide lasting benefits for your strawberry plants.
Prioritize Safety When Building a Strawberry Cage
When building a DIY strawberry cage, it’s essential to prioritize safety. Here are some precautions to consider:
Personal Protective Equipment (PPE):
- Wear safety glasses or goggles to protect your eyes from debris and dust.
- Use gloves to protect your hands from splinters, sharp edges, and potential cuts.
Tool Safety:
- Ensure that all tools are in good working condition before use.
- Use tools according to their intended purpose and follow the manufacturer’s instructions.
- Keep cutting tools sharp to prevent accidents and ensure clean cuts.
Work Area Safety:
- Choose a well-ventilated area to work in, especially when using paints, stains, or sealants.
- Keep the work area clean and organized to prevent trips, falls, and accidents.
- Secure loose materials and cords to prevent tripping hazards.
Material Handling:
- Lift heavy materials properly by bending your knees and keeping your back straight.
- Use caution when handling sharp or pointed objects, and store them safely when not in use.
- Be mindful of splinters from wood materials and handle them carefully.
Assembly Safety:
- Follow the assembly instructions carefully, ensuring that all components are securely fastened.
- Use clamps or braces to hold pieces together during assembly to prevent slipping or misalignment.
- Double-check measurements and cuts to ensure accuracy and proper fit.
Electrical Safety:
- If using power tools, ensure they are properly grounded and in good working condition.
- Use extension cords rated for outdoor use if working outside.
- Keep power cords away from sharp objects and moving parts to prevent damage.
Height Safety:
- Use caution when working at heights, such as when installing the cage or attaching it to a support structure.
- Use a stable ladder or platform and have someone assist you if needed.
- Avoid overreaching or leaning too far when working at height.
Weather Considerations:
- Be mindful of weather conditions, especially if working outdoors. Avoid working in extreme heat, cold, or wet conditions.
- Secure materials and tools in windy conditions to prevent them from blowing away.
First Aid Preparedness:
- Have a first aid kit readily available with basic supplies such as bandages, antiseptic wipes, and adhesive tape.
- Know the location of the nearest medical facility and emergency contact numbers.
Safety for Others:
- Keep pets and children away from the work area to prevent accidents.
- Communicate with others in the vicinity to ensure everyone is aware of potential hazards.
By following these safety precautions, you can minimize the risk of accidents and injuries while building your DIY strawberry cage. Always prioritize safety and take necessary precautions to protect yourself and others involved in the project.
The Wrap Up
Embarking on the journey of constructing a DIY strawberry cage in 7 effortless steps offers numerous advantages, both practical and personal. By following the step-by-step instructions and considering safety precautions, you can create a durable and effective cage to protect your strawberry plants.
This project provides a customizable solution tailored to your garden’s specific needs and preferences, allowing you to optimize your strawberry harvest while promoting self-sufficiency and creativity. Whether you’re a beginner or an experienced DIY enthusiast, building a strawberry cage can be a rewarding and fulfilling endeavour that adds beauty and functionality to your garden.
Through the process of construction, you not only fortify your plants against pests and environmental factors but also cultivate a deeper connection with your garden. The satisfaction of witnessing your strawberries thrive within the confines of the carefully crafted cage serves as a testament to your resourcefulness and ingenuity.
In essence, building a DIY Strawberry Cage is more than just a practical gardening project; it’s a journey of self-discovery and empowerment. With each step taken towards its completion, you reaffirm your ability to shape and nurture your surroundings, fostering a sense of pride and accomplishment that extends far beyond the boundaries of your garden.
Frequently Asked Questions
1. What materials do I need to build a DIY strawberry cage?
The materials typically include cedar timber, hardware cloth, heavy-duty hinges, hooks, handles, and wood screws. You may also need basic tools such as a saw, drill, measuring tape, and screwdriver.
2. How long does it take to build a DIY strawberry cage?
The time required depends on your skill level, the complexity of the design, and the size of the cage. On average, it may take a few hours to a day to complete the project.
3. Do you need any special skills to build a DIY strawberry cage?
Basic carpentry skills are helpful, but the project can be completed by beginners with proper instructions and guidance. Following the step-by-step instructions carefully is key to success.
4. Can you customize the size and design of the strawberry cage to fit your garden?
Yes, one of the advantages of building your strawberry cage is the ability to customize it to suit your specific space requirements and preferences. You can adjust the dimensions, add shelves, or incorporate other features as needed.
5. Will the DIY Strawberry Cage protect my plants from pests and animals?
Yes, the cage, when properly constructed, serves as a barrier to keep out pests such as birds, squirrels, rabbits, and insects, protecting your strawberry plants from damage.
6. Can you paint or stain the DIY strawberry cage to match your garden decor?
Yes, you can customize the appearance of the cage by painting or staining it to match your garden aesthetic. Choose outdoor-grade paint or stain for durability and weather resistance.
7. Is the DIY strawberry cage portable or permanent?
The cage can be designed to be either portable or permanent, depending on your preference. If you plan to move it around your garden, consider adding wheels or handles for easier mobility.
8. How do you maintain the DIY strawberry cage?
Regular maintenance involves inspecting the cage for any damage, tightening screws or fasteners as needed, and keeping the area around the cage free of debris and weeds. Additionally, check for pests and remove any that may have found their way inside.
9. Can you expand or modify the DIY strawberry cage in the future?
Yes, the cage can be easily modified or expanded to accommodate changes in your garden or the number of strawberry plants you have. You can add additional sections or shelves as needed.
10. Where can you find step-by-step instructions to build a DIY Strawberry Cage?
You can find detailed instructions and tutorials online, in DIY books, or by consulting with gardening experts. Additionally, you can follow the 7 effortless steps provided to build your strawberry cage.