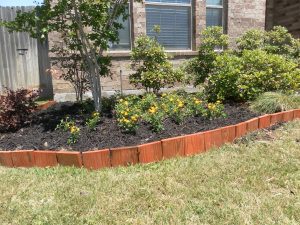
Decorative planters are adorable additions to any garden. If you want something new to spice up your backyard or any space, these planters will do the trick. I’ve found several designs on the internet but I was particularly drawn to animal-shaped ones. There’s a ladybug, an elephant, horses, rabbits, and a whole lot more.
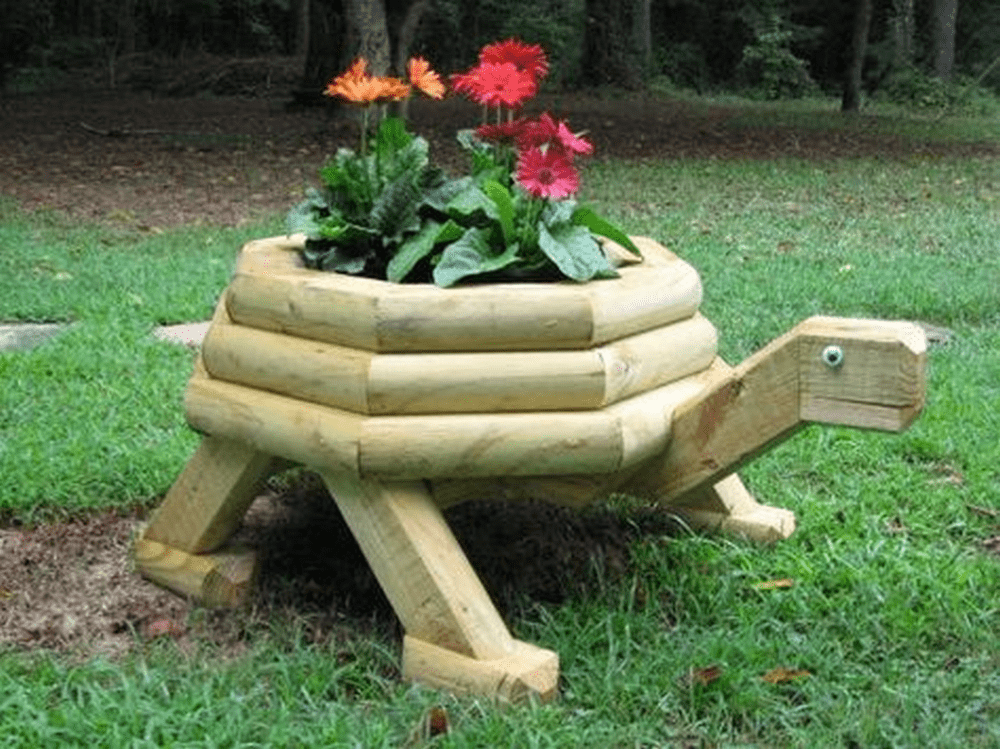
I have very limited woodworking skills so I decided to start simple. I found a video tutorial for a DY wooden turtle planter and it was perfect for what I needed. It was easy to follow and inexpensive so I went ahead and got to work.
Today, there are several of these turtle planters around our garden. The kids love them and whenever friends and family visit us, these planters become the subject of interesting conversations. It’s nice to have something unique and whimsical so we’ve decided we’ll be making some more to give away as gifts. Try this project for yourself, too!
How to Build Your Wooden Turtle Planter
Contents
Materials:
- Wood
- Wood glue
- Cork board
- Paint
Tools:
- Table saw
- Circular saw
- Miter saw
- Nail gun with nails
- Clamp
Click on any image to start the lightbox display. Use your Esc key to close the lightbox.
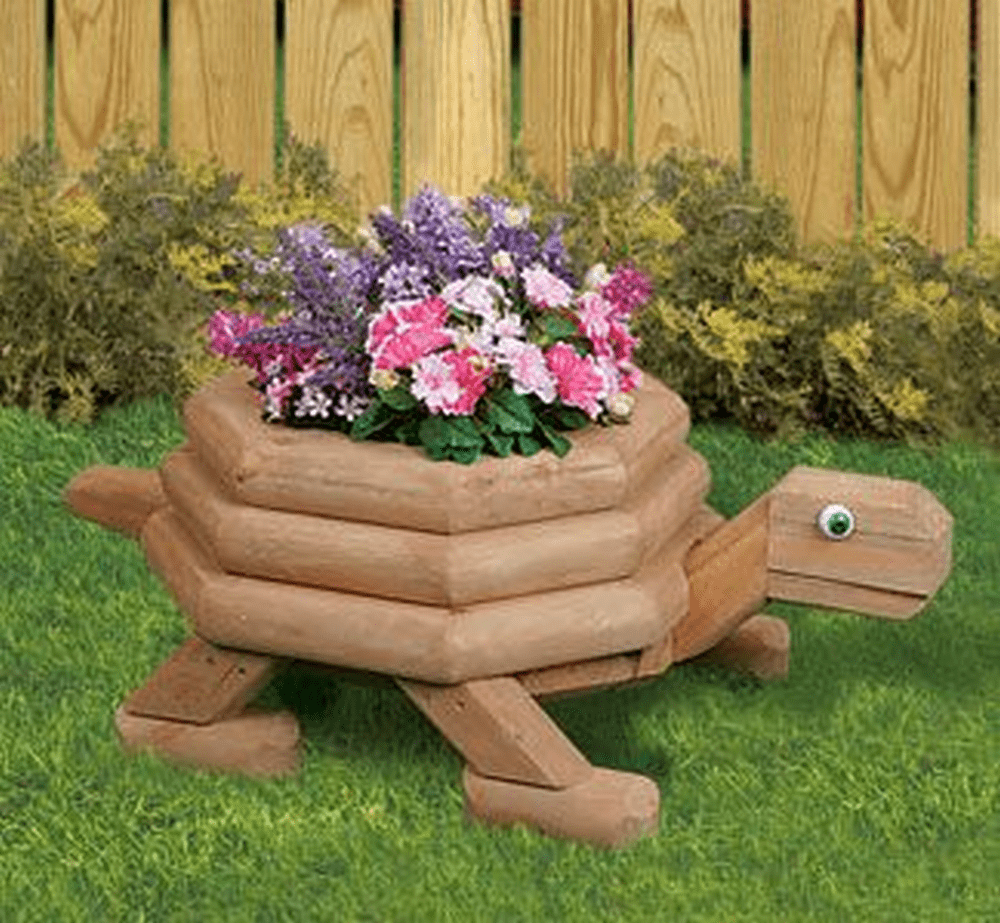

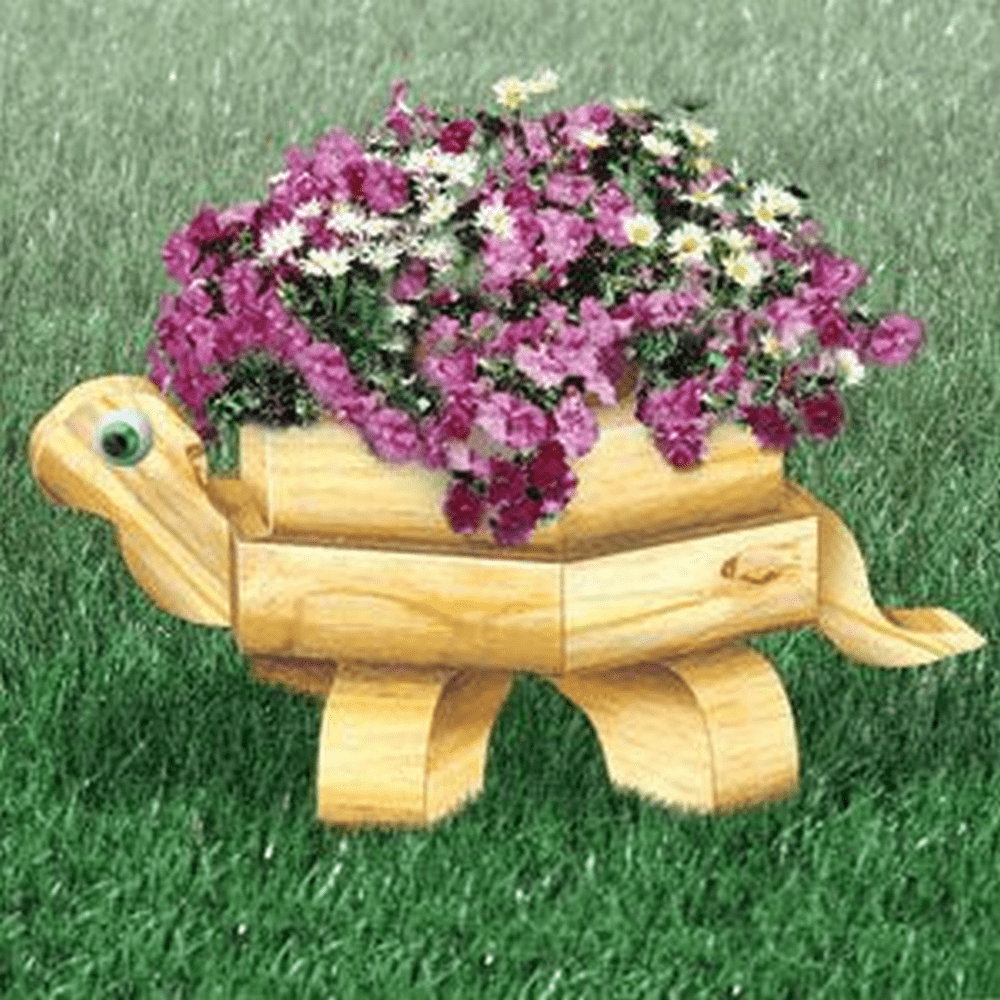
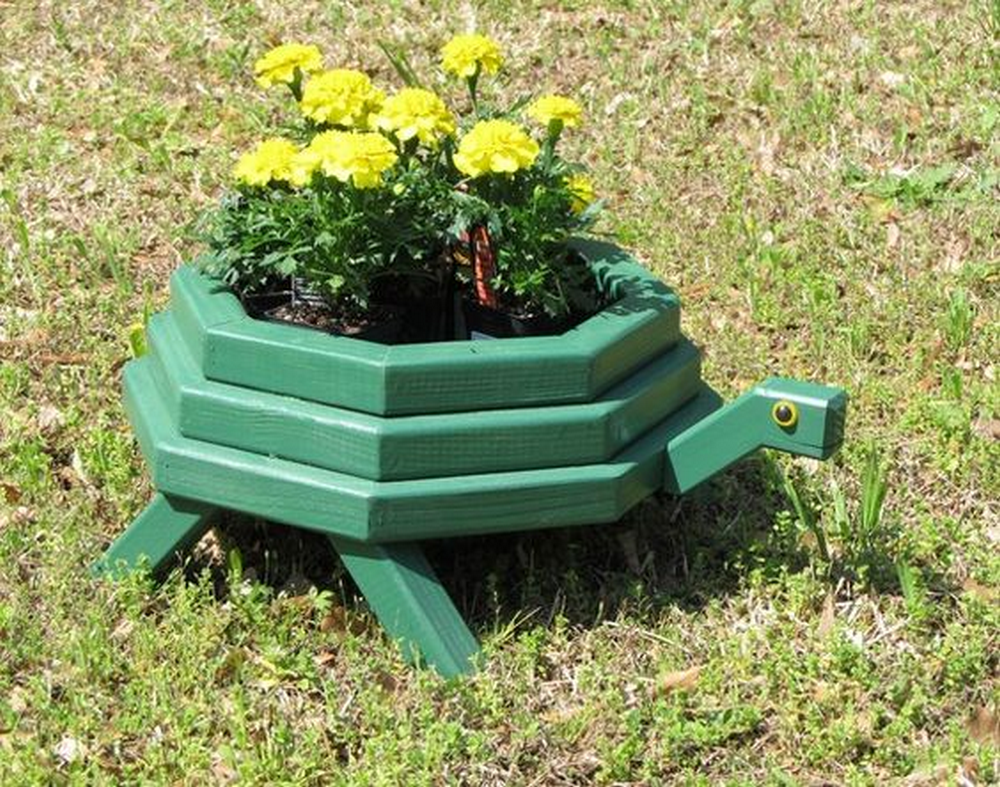
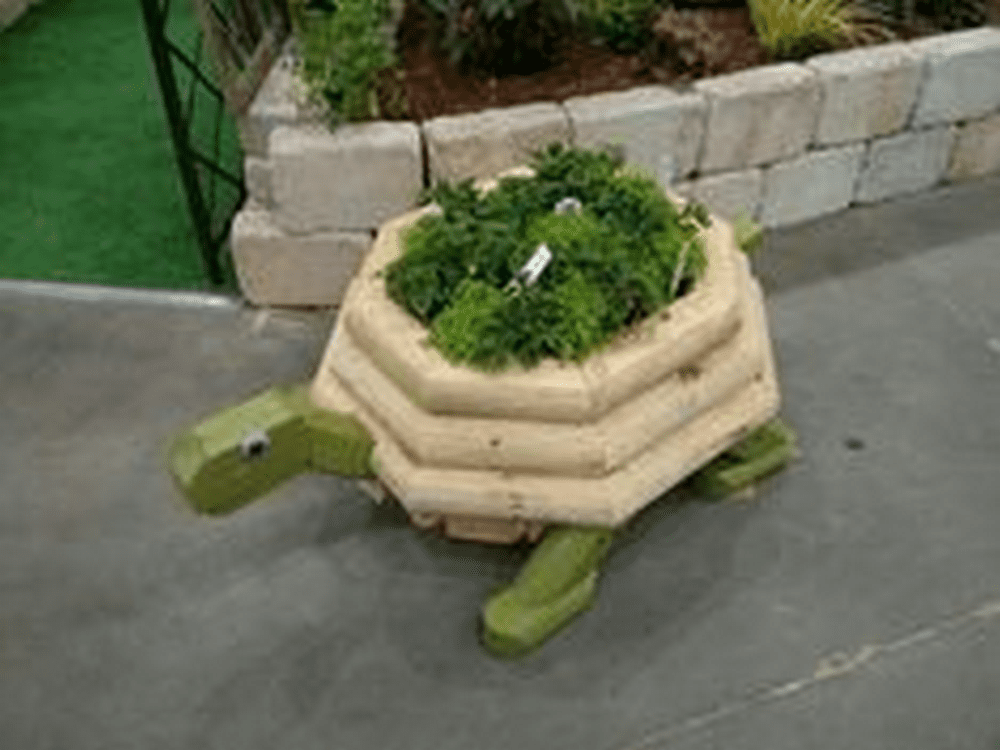
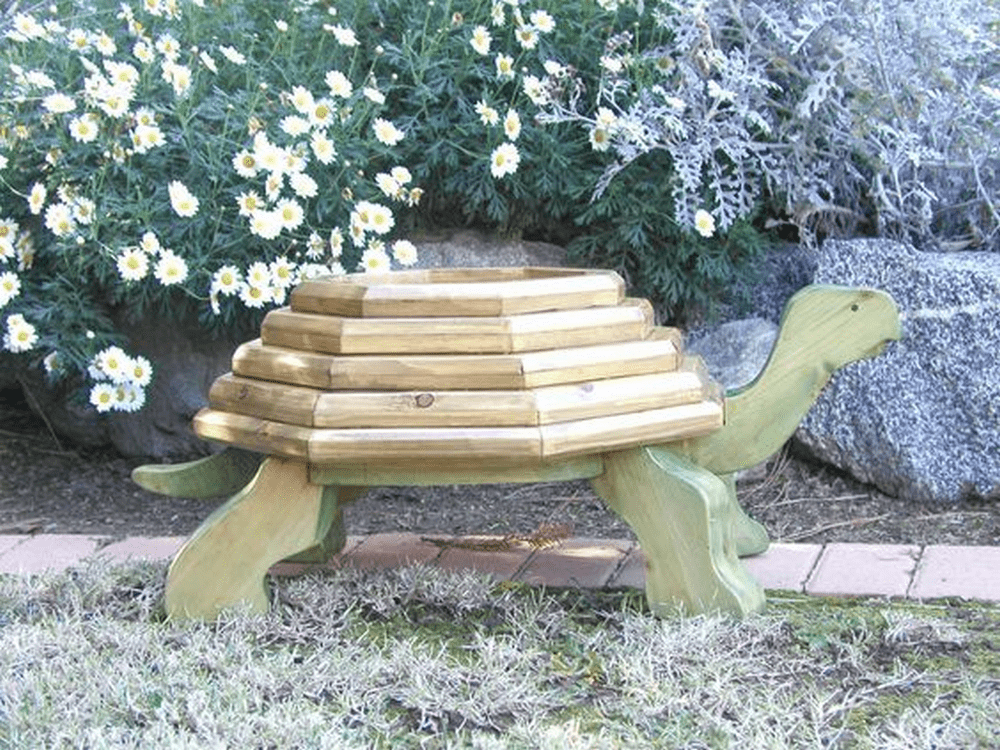
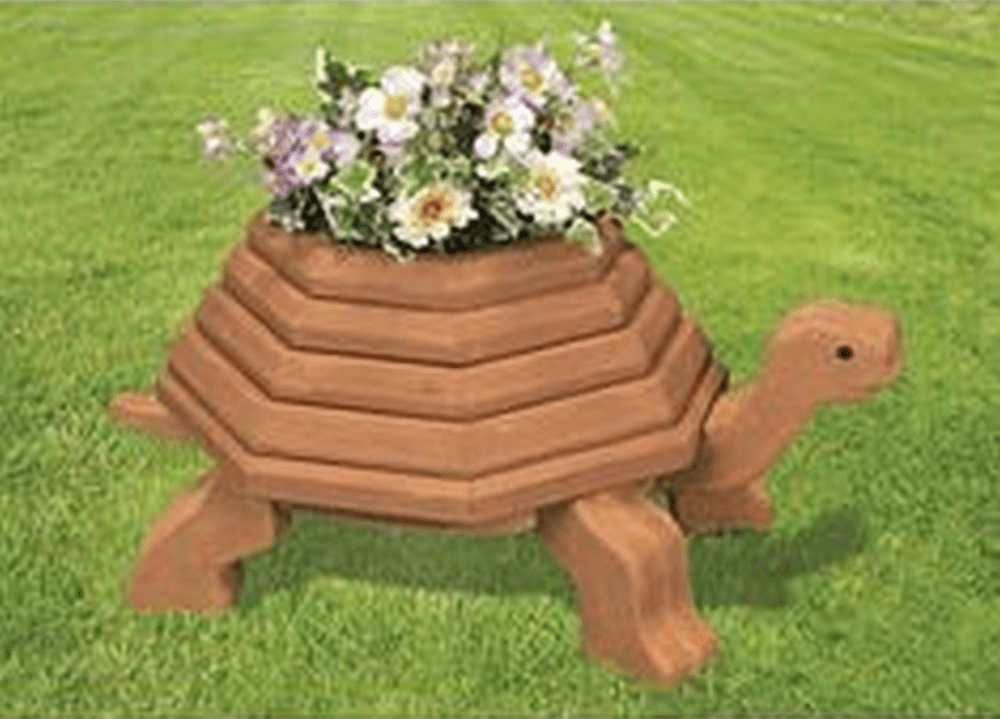
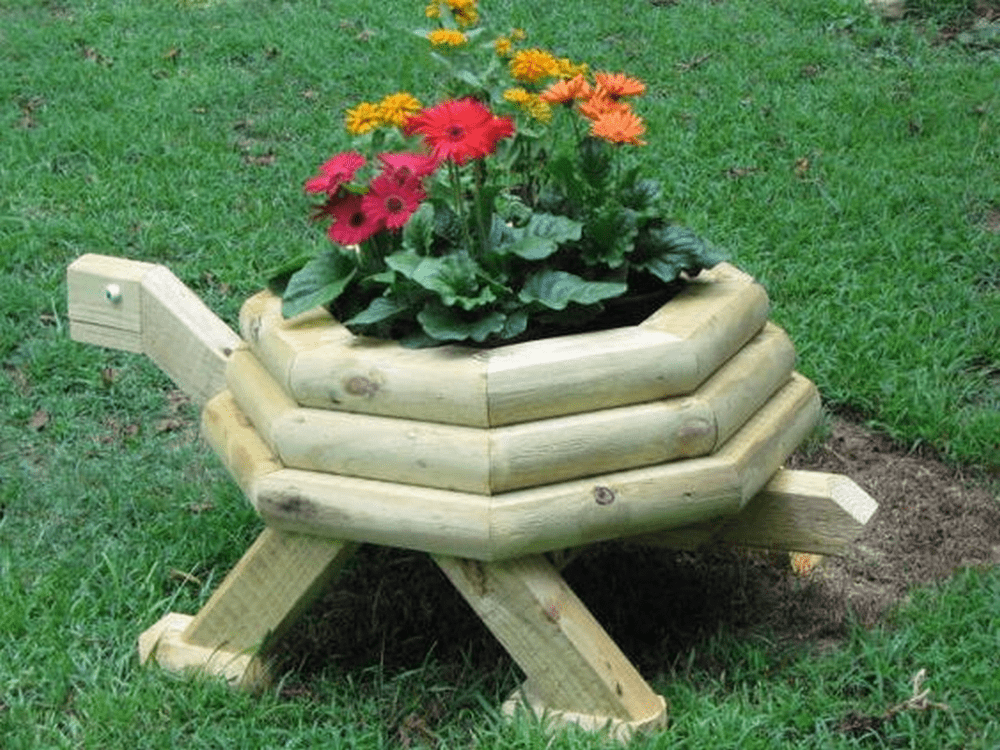
Do you want to make adorable wooden turtle planters for your garden? Here’s how.
Building a beautiful DIY wooden turtle planter offers several advantages:
1. Customization: Creating your wooden turtle planter allows you to customize its size, shape, and design according to your preferences and garden space. You can choose the type of wood, paint or stain colours, and decorative details to match your outdoor decor.
2. Unique Garden Feature: A wooden turtle planter adds a charming and whimsical touch to any garden or outdoor space. It serves as a unique focal point and conversation starter, enhancing the visual appeal of your landscape.
3. Personal Satisfaction: Building a DIY wooden turtle planter can be a rewarding and fulfilling experience. It allows you to exercise your creativity, woodworking skills, and craftsmanship while producing a functional and decorative piece for your garden.
4. Cost-Effective: Constructing your wooden turtle planter can be more cost-effective than purchasing a pre-made one from a store. By using basic woodworking tools and materials, you can create a stylish and durable planter at a fraction of the cost.
5. Longevity: When built with quality materials and proper construction techniques, a wooden turtle planter can withstand outdoor elements and last for many years. You can enjoy its beauty and functionality season after season with minimal maintenance.
6. Versatility: Wooden turtle planters can be used to grow a variety of plants, flowers, or herbs, depending on your gardening preferences. You can plant colourful flowers for a vibrant display or culinary herbs for a practical and aromatic addition to your outdoor space.
7. Educational Opportunity: Building a DIY wooden turtle planter can be a fun and educational project for families and children. It provides an opportunity to learn about woodworking, plant care, and environmental stewardship while fostering creativity and teamwork.
Tips for Building a Beautiful DIY Wooden Turtle Planter
Here are some tips for building a beautiful DIY wooden turtle planter
1. Choose the Right Wood: The success of your DIY wooden turtle planter largely depends on the type of wood you select. It’s crucial to opt for a species that is specifically suitable for outdoor use and can withstand exposure to various weather conditions. Cedar, redwood, or treated lumber are all excellent choices due to their natural durability and resistance to rot, decay, and insect damage.
These types of wood are known for their longevity and ability to maintain their structural integrity even when exposed to moisture and humidity. By using high-quality wood, you ensure that your wooden turtle planter will remain sturdy and attractive for years to come, enhancing the beauty of your outdoor space while providing a charming home for your plants.
2. Use Basic Tools: You can construct a wooden turtle planter with basic woodworking tools such as a saw, drill, hammer, and screws. Ensure that your tools are in good condition and appropriate for working with wood.
3. Plan Your Design: Before you begin cutting the wood, sketch out your desired turtle planter design, including the dimensions and shape. Consider how large you want the planter to be and where you will place it in your garden or outdoor space.
4. Follow Safety Precautions: Always wear appropriate safety gear, such as goggles and gloves, when working with wood and power tools. Take necessary precautions to prevent accidents and injuries during the construction process.
5. Assemble Carefully: Take your time to measure and cut the wood accurately according to your design specifications. Use clamps or braces to hold the pieces together securely before drilling pilot holes and driving screws to assemble the planter.
6. Consider Drainage: Consider Drainage: Proper drainage is essential for the health of your plants. Drill several holes in the bottom of your wooden turtle planter to allow excess water to escape freely. This prevents water from pooling at the bottom and causing root rot or other moisture-related issues.
Additionally, consider adding a layer of gravel or small rocks to the bottom of the planter before adding soil. This layer helps improve drainage by creating space for water to collect without saturating the soil. With adequate drainage, your plants will thrive and remain healthy in their new wooden turtle planter.
7. Add Decorative Touches: Enhance the appearance of your wooden turtle planter by adding decorative details such as painted designs, carved patterns, or engraved accents. Let your creativity shine to make your planter truly unique and beautiful.
Elevate the aesthetic appeal of your wooden turtle planter by incorporating decorative elements. Consider painting whimsical designs, carving intricate patterns, or engraving personalized accents onto the surface of the wood. Let your creativity roam free, infusing your planter with unique charm and personality. These decorative touches not only enhance the visual appeal of your planter but also add a touch of artistry to your outdoor space.
8. Protect the Wood: Apply a weather-resistant finish or sealant to the exterior of the planter to protect the wood from moisture, UV rays, and other outdoor elements. This will help prolong the life of your planter and maintain its appearance over time.
By following these tips and using simple materials, you can create a beautiful DIY wooden turtle planter to showcase your gardening skills and add charm to your outdoor space.
Maintaining Your Wooden Turtle Planter
Maintaining a wooden turtle planter is essential to ensure its longevity and preserve its appearance. Here are some maintenance tips:
1. Regular Cleaning: Wipe down the surface of the planter with a damp cloth to remove dirt, dust, and debris. For tougher stains, dip the cloth or sponge into the mild soap solution and gently scrub the affected areas. Avoid using abrasive cleaners or brushes that could damage the wood.
Once you’ve treated the stains, rinse the planter thoroughly with clean water to remove any soap residue. After rinsing, use a clean, dry cloth to wipe away excess water and allow the planter to air dry completely before adding soil or plants.
Make it a habit to clean your wooden turtle planter regularly, especially during the growing season when it’s more susceptible to dirt and grime buildup.
2. Inspect for Damage: Periodically check the planter for any signs of damage such as cracks, splinters, or rot. Repair any damage promptly to prevent it from worsening. Take a close look at the exterior and interior of the planter for signs of damage, such as cracks, splinters, or rot. Pay particular attention to areas where water may collect, such as the bottom and corners.
Gently press on different areas of the planter to check for soft spots or areas that give way under pressure. These could indicate underlying issues such as rot or decay. If you notice any cracks or splinters, use sandpaper to smooth out the surface and prevent further damage. For larger cracks, consider filling them with wood filler or epoxy resin to reinforce the structure.
3. Reapply Sealant: If the planter was sealed with a waterproof sealant, check it annually for signs of wear. Reapply sealant as needed to protect the wood from moisture and weathering.
Choose a high-quality waterproof sealant designed for outdoor wood surfaces. Follow the manufacturer’s instructions for application carefully. Apply the sealant evenly, using a brush or roller, and ensure complete coverage of the entire surface of the planter.
Allow the newly applied sealant to dry and cure completely according to the manufacturer’s recommended timeframe. Avoid placing soil or plants in the planter until the sealant has fully cured to prevent contamination.
4. Monitor Drainage: Ensure that the drainage holes in the bottom of the planter remain clear and unclogged. This will prevent water from pooling and causing rot or mould.
5. Protect from Weather: During periods of heavy rain or snow, consider moving the planter to a sheltered area or covering it with a tarp to prevent water damage.
6. Seasonal Care: In colder climates, protect the planter from frost damage by wrapping it with insulating material or bringing it indoors during the winter months.
7. Fertilize and Water: Depending on the plants you have in the planter, be sure to water and fertilize them regularly to promote healthy growth. Avoid overwatering, as this can lead to root rot.
8. Inspect Hardware: If your planter has any metal hardware such as screws or brackets, check them periodically for rust or corrosion. Replace any damaged hardware to maintain structural integrity.
By following these maintenance tips, you can keep your wooden turtle planter looking beautiful and functional for years to come.
The Wrap Up
Crafting your wooden turtle planter is not only a delightful DIY endeavour but also a rewarding one that adds a unique touch to your outdoor decor. By embarking on this project, you not only get to showcase your creativity but also contribute to the aesthetic appeal of your garden or patio. With just a few simple materials and some basic woodworking skills, you have the opportunity to infuse your outdoor space with charm and whimsy that will be enjoyed for years to come.
One of the most rewarding aspects of creating a wooden turtle planter is the ability to customize it according to your preferences and style. Whether you choose to paint it in vibrant colours, add intricate details, or keep it natural and rustic, the final result will reflect your personal taste and creativity.
Building and maintaining a wooden turtle planter also fosters a deeper connection with nature. As you nurture and care for your plants or flowers within the planter, you’ll develop a greater appreciation for the natural world and the beauty it brings to your surroundings.
Completing a DIY project like a wooden turtle planter provides a sense of accomplishment and pride. Knowing that you’ve created something beautiful and functional with your own hands is incredibly gratifying and can boost your confidence in your DIY skills.
Unlike store-bought decor that may lose its appeal over time, a handmade wooden turtle planter has enduring charm. It becomes a cherished part of your outdoor space, evoking fond memories of the time and effort you invested in its creation.
Building a wooden turtle planter can also be a fun activity to share with friends or family. Whether you collaborate on the design and construction or simply enjoy the finished product together, the experience fosters camaraderie and strengthens bonds.
By opting for a DIY wooden turtle planter, you’re also making a sustainable choice. Using locally sourced materials and repurposing wood reduces your environmental footprint compared to purchasing mass-produced planters made from non-renewable materials.
In essence, creating a wooden turtle planter is more than just a DIY project—it’s a journey of self-expression, connection with nature, and enjoyment of the simple pleasures of crafting. So gather your materials, unleash your creativity, and embark on this fulfilling adventure that will enrich your outdoor space and bring joy for years to come.
Frequently Asked Questions
1. What materials do you need to build a wooden turtle planter?
To build a wooden turtle planter, you will need four simple materials: wood (such as cedar or pine), screws or nails, wood glue, and a waterproof sealant.
2. Do you need any special tools to construct a wooden turtle planter?
While basic woodworking tools like a saw, drill, and measuring tape are helpful, you don’t necessarily need any specialized tools. A hammer, screwdriver, and sandpaper may also be useful for assembly and finishing touches.
3. Is building a wooden turtle planter suitable for beginners?
Yes, building a wooden turtle planter is a beginner-friendly DIY project. With clear instructions and some basic woodworking skills, even those new to DIY can successfully complete this project.
4. How long does it take to build a wooden turtle planter?
The time required to build a wooden turtle planter can vary depending on factors such as your woodworking experience, the complexity of the design, and the drying time for the waterproof sealant. Generally, you can expect to complete the project within a day or two.
5. Can you customize the design of your wooden turtle planter?
Yes, one of the advantages of building your wooden turtle planter is the ability to customize the design according to your preferences. You can adjust the size, shape, and decorative details to suit your aesthetic vision.
6. How do you protect your wooden turtle planter from the elements?
Applying a waterproof sealant is essential to protect your wooden turtle planter from moisture, rot, and weather damage. Be sure to choose a sealant suitable for outdoor use and reapply it periodically for ongoing protection.
7. What type of plants are suitable for a wooden turtle planter?
You can plant a variety of flowers, herbs, or small shrubs in your wooden turtle planter, depending on your personal preferences and the growing conditions in your area. Consider factors such as sunlight exposure and soil moisture when selecting plants.
8. How do you maintain your wooden turtle planter?
Regular maintenance involves inspecting the planter for any signs of damage, such as cracks or rot, and addressing them promptly. You may also need to periodically reapply the waterproof sealant to ensure continued protection against the elements.
9. Can you use recycled or reclaimed wood to build your wooden turtle planter?
Yes, using recycled or reclaimed wood is a sustainable option for building your wooden turtle planter. Just be sure to inspect the wood carefully for any signs of damage or decay before beginning construction.
10. Is it necessary to add drainage holes to your wooden turtle planter?
Yes, providing adequate drainage is essential to prevent water from pooling at the bottom of the planter and causing root rot in your plants. Be sure to drill drainage holes in the bottom of the planter before filling it with soil.
These FAQs should provide helpful guidance for anyone interested in building their own wooden turtle planter.